You can set up unlimited Employee accounts with your InventoryLab membership!
These can be created for anyone you want to have access to your InventoryLab account, such as people who help source, list, prep, help with bookkeeping, etc. You are able to select the amount of access you want each Employee account to have and multiple people can sign into the same Employee account at the same time if needed.
Note: Currently, an email address can only be used once in InventoryLab's system. This means that if an email address has already been used for a different main account or Employee account, it will not be able to be used to create an additional Employee account.
Editing or Deleting an Employee Account
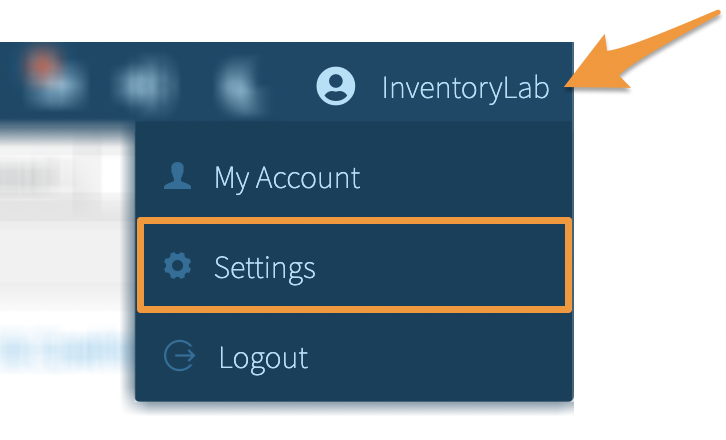
To manage your Employee accounts, click your Account Name and select Settings from the dropdown menu.
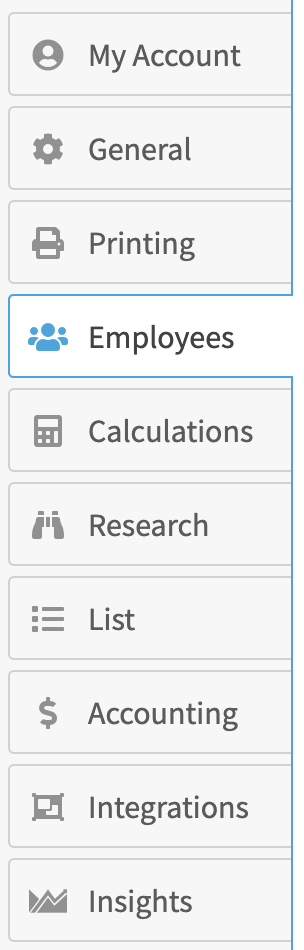
Click Employees from the left menu.
Adding an Employee Account
To create a new Employee account, click Add Employee.

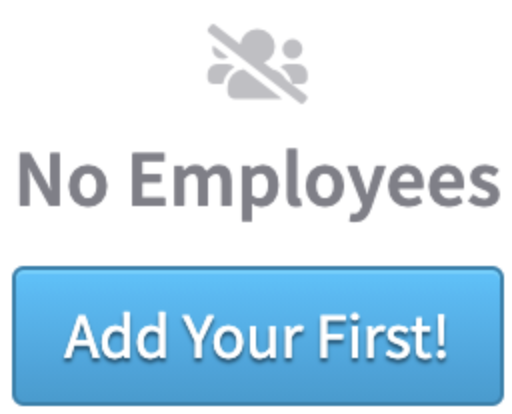
Or, if you haven't added an Employee account yet, click Add Your First! to create one.
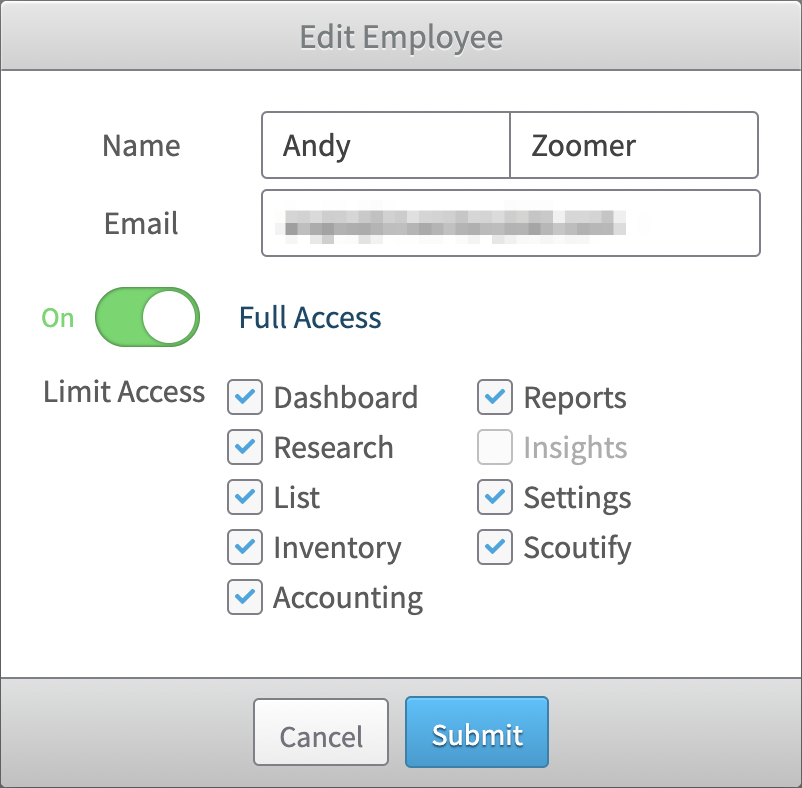
Enter the employee's first and last name, email address, and select which menus you'd like them to have access to.
Available menus:
- Dashboard
-
Research
- Scout
- Scout History
-
List
- List & Prep
- Closed Batches
- Amazon Listing Errors
-
Inventory
- FBA
- Merchant
- Unlisted Inventory
-
Accounting
- FBA Sales
- Merchant Sales
- Refunds
- Reimbursements
- Other Income
- Inbound Shipping
- Mileage
- Other Expenses
- Disposition Management
-
Reports
- Supplier Profitability
- Category Profitability
- SKU Profitability
- ASIN Profitability
- Inventory valuation
- Velocity Report
- Removals & Disposals
- Sales Tax Report
- Profit & Loss
-
Insights
- Restock Report
- Settings
- Scoutify
Note: The Insights menu will not be available to select if you are not subscribed to Insights.
If you want the employee to have access to all menus in your account, click the Full Access toggle.
Once you've made your selections, click Submit to proceed or click Cancel to go back.
This will generate an activation link to the email address provided for the Employee account.
You can resend the activation link if needed by clicking the green mail icon under Actions.
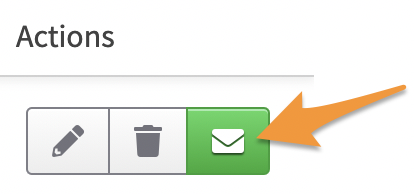
Note: Please keep in mind that sending new activation links will automatically make all the previously sent activation links invalid.
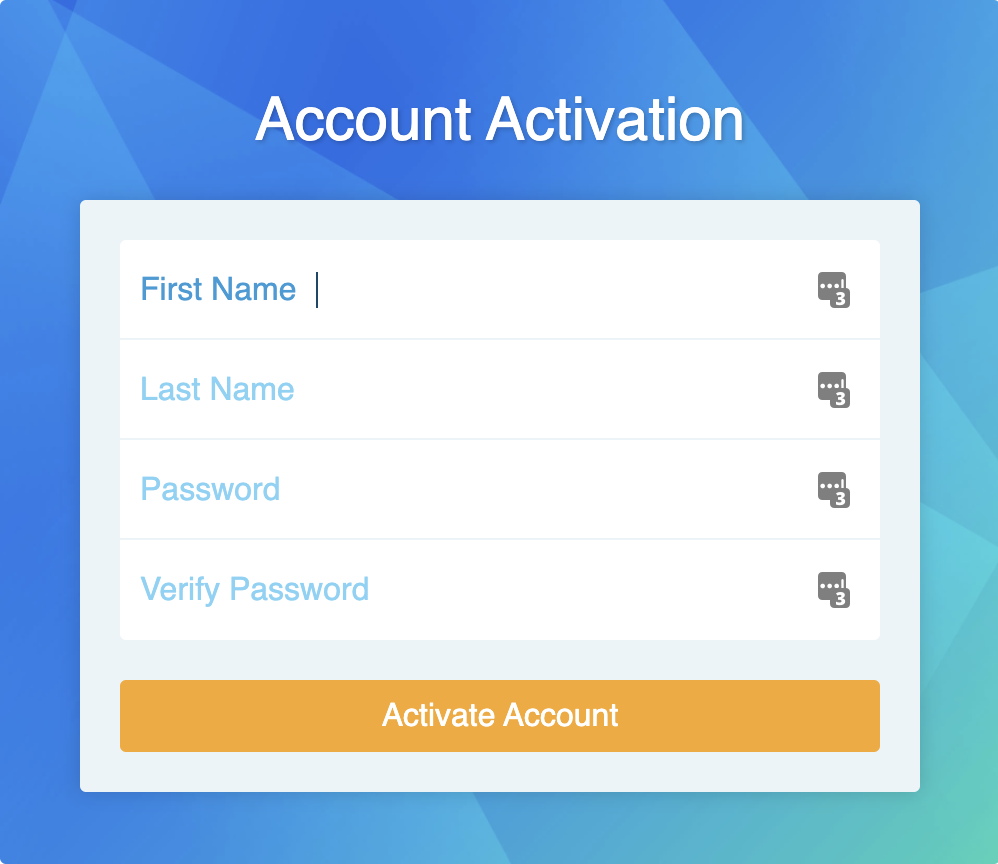
From there, the employee will need to check their email and follow the link to activate the Employee account.
In the activation process, they will set up their password, name, etc. Once this information has been entered, they'll need to click Activate Account.
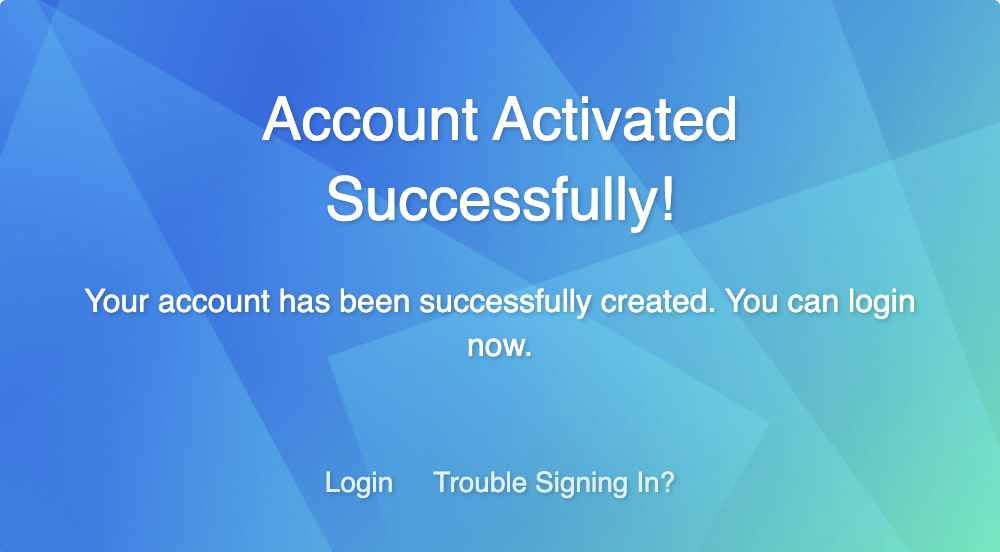
Once these steps have been completed, the employee will immediately have access and will be able to log into the account.
You can also edit/delete the Employee account should you need to do so.
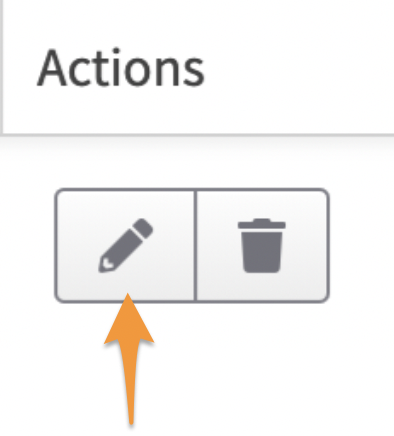
Editing or Deleting an Employee Account
To edit an Employee account, click the pencil icon under Actions.
You can then edit the employee's first and last name, email address, and change which menus you want them to have access to.
Once you've made your changes, click Submit to proceed or click Cancel to go back.
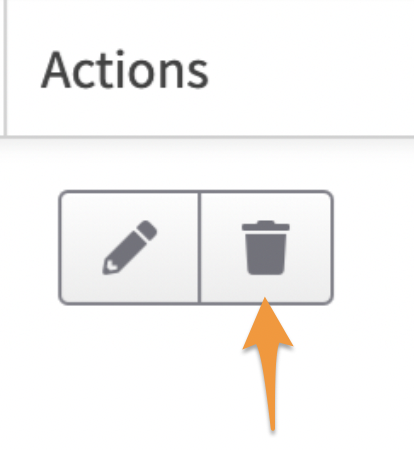
To delete a Employee account, click the trash can icon under Actions.
When asked if you are sure, click YES to proceed with deleting the Employee account or click NO to go back.
