Creating categories for your income entries helps keep similar entries organized on your Accounting>Other Income page. You can add, edit or delete your categories which will allow you to categorize all of your income entries any way you choose.
Editing or Deleting Income Categories
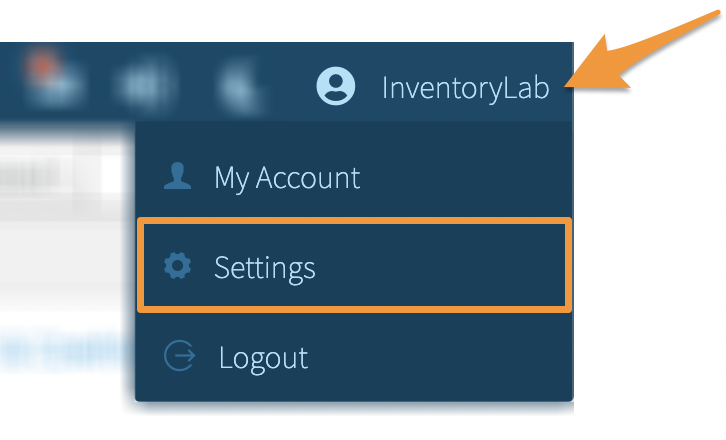
To manage these settings, click your Account Name and select Settings from the dropdown menu.
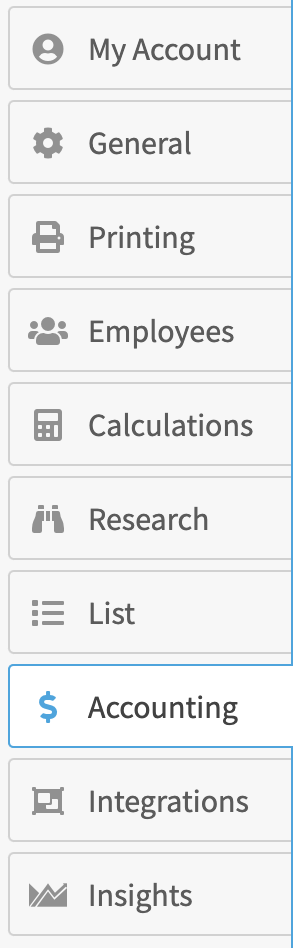
Click Accounting.
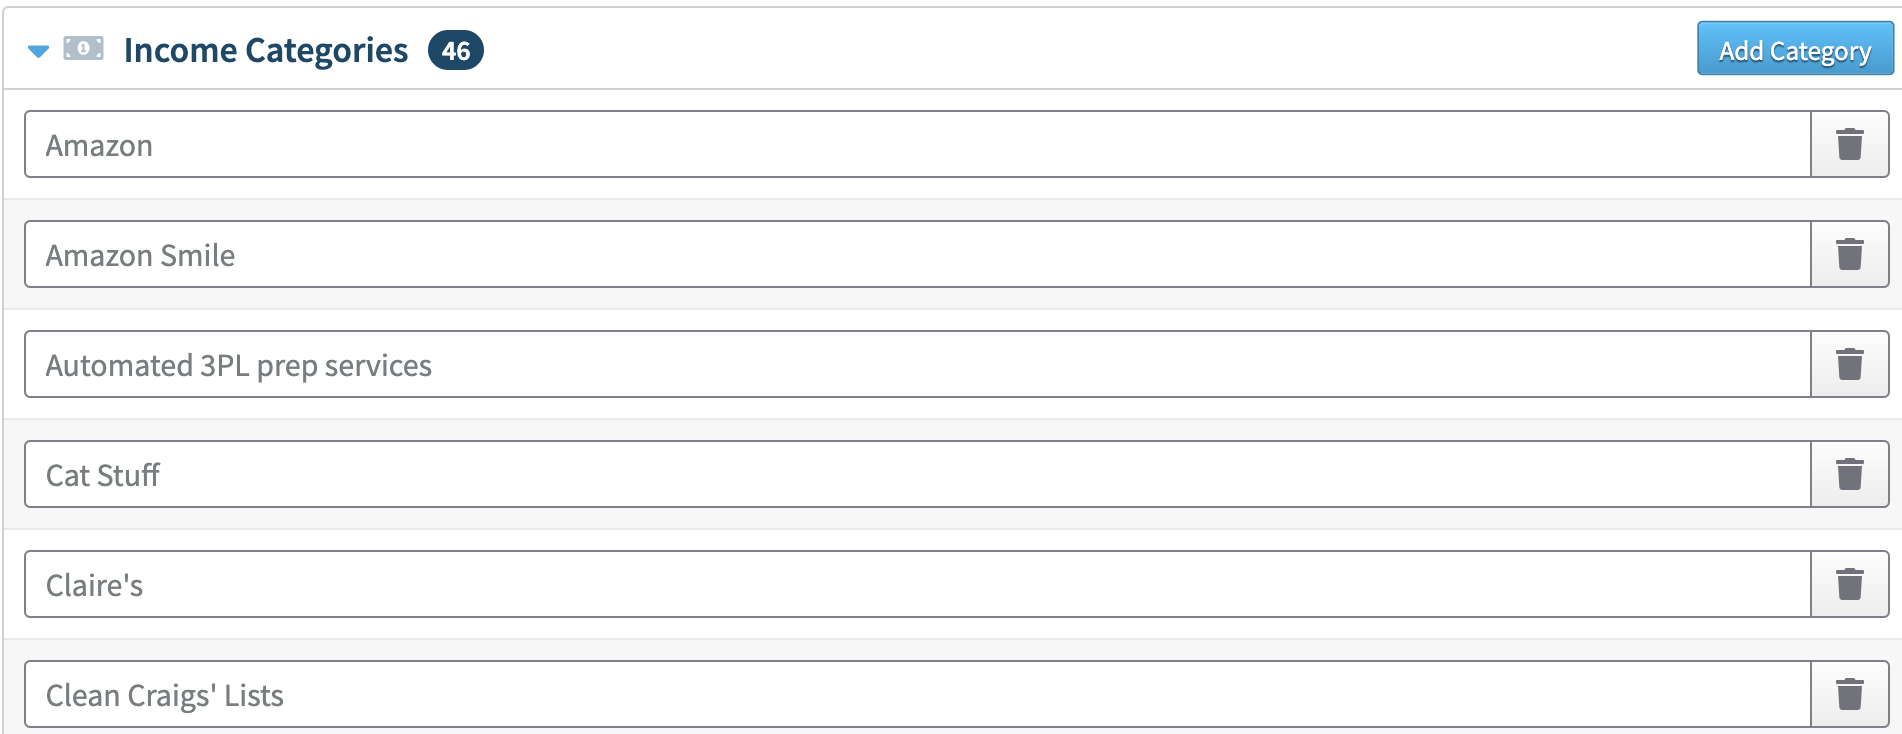
This section is collapsable. To expand or collapse it, click the blue arrow in front of Income Categories.

When expanded, the categories will be displayed in alphabetical order.
Adding Income Categories
To add a new category, click Add Category in the upper right corner of the Income Categories section.

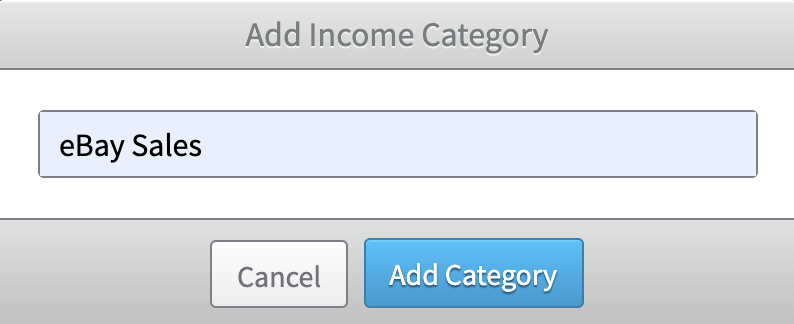
Enter the name of the category and click Add Category to save it or Cancel to go back.
Editing or Deleting Income Categories
If you need to delete a category, click the trash can icon next to it.
![]()
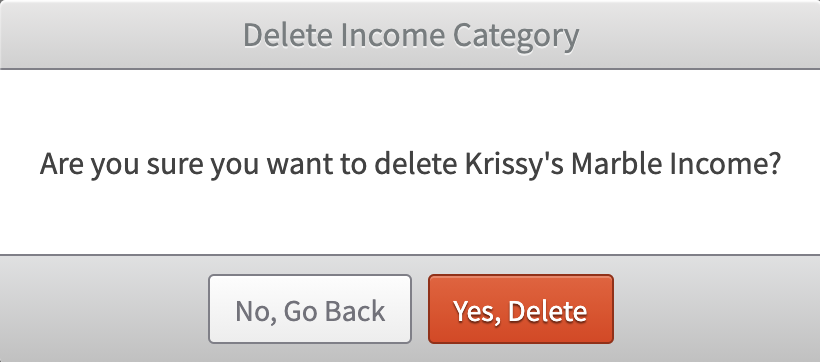
You will be asked to confirm this change. To proceed, click Yes, Delete. To cancel, click No, Go Back.
You can also edit a category name by typing directly in the field.