If you have expenses you want to track that are not automatically imported from Amazon, you can add them under Accounting>Other Expenses.
Editing and Deleting Other Expense Entries
The expenses that automatically sync to this page include the following:
- Removal/Disposal Fees - These are the fees only and do not include buy costs. The buy costs are accounted for on the Disposition Management page on the removal or disposal is complete.
- 30-Day Storage Fees
- Long Term Storage Fees
- Amazon Pro Subscription Fees
- Inventory Prep Fees
- Inventory Placement Fees
- Inbound Shipping Fees if paid using your Amazon disbursement - Shipping purchased outside of Amazon will need to be entered manually either on the Inbound Shipping page or the Other Expenses page.
- Ad Campaign Fees if paid using your Amazon disbursement - Fees paid using a credit/debit card will need to be accounted for manually on this page.
These fees are synced to Stratify once the payment disbursement period containing them occurs (when you get paid for the time period covering the expense).
The Other Expenses page will display the following sortable columns:
- Category
- Amount
- Date
- Description

The default view of this page shows all expense entries. The Advanced Search can be utilized to view the entries within a specific timeframe or a custom date range.

You can Export any view you select.
The Total Expenses amount for the timeframe being viewed is displayed at the bottom of the page.
Hovering over the bar graph displays the individual category totals that make up the Total Expenses amount.

Adding Other Expense Entries
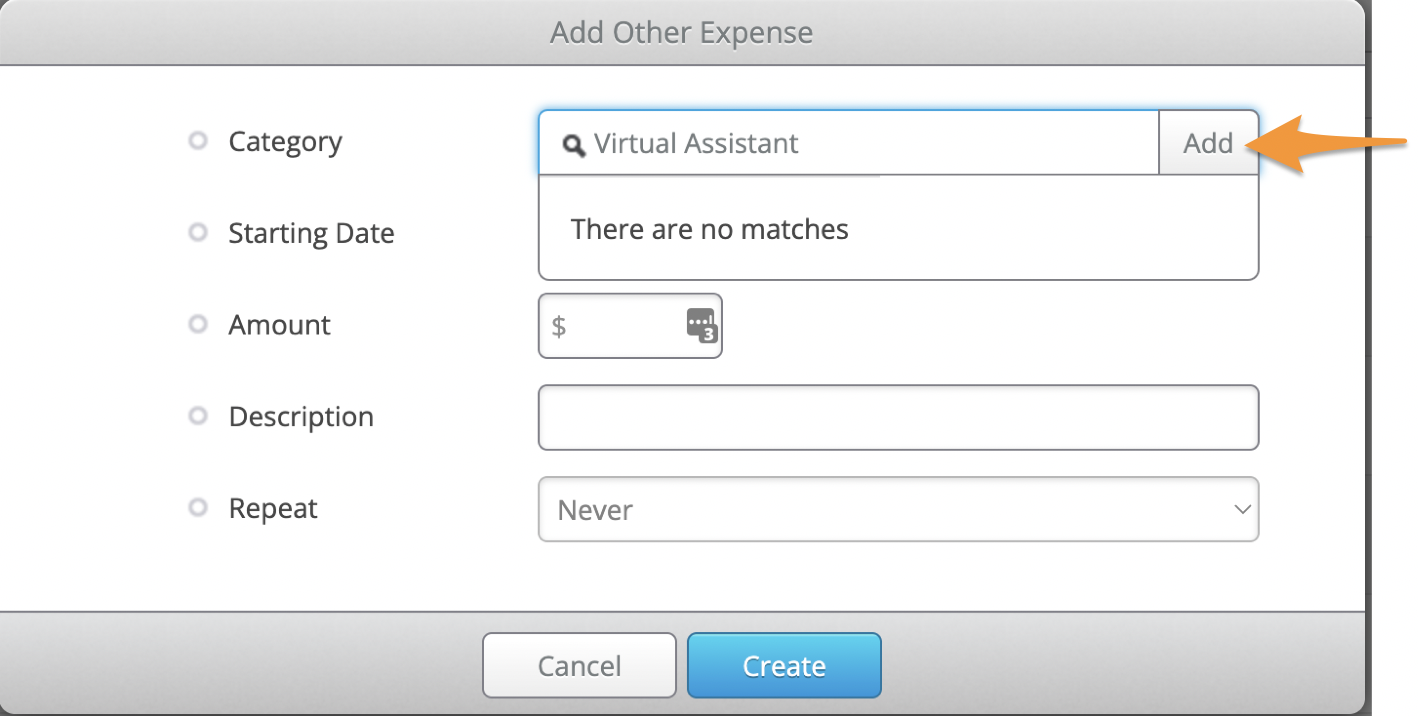
Clicking + Add brings up a window below where you can enter the category, date, name, amount, a description for the entry, and set a repeat schedule if needed.


Note: The Category field has a 50-character limit.
For more information on setting up expenses to repeat, please see- Recurring Expenses
Once you fill out the information, click the Create button.
The entry will be displayed as a stand-alone transaction on the Accounting>Other Expenses page and will show up on your Profit & Loss report with the category name.
If you have several entries to add, you can follow these steps to import them in bulk- Bulk Import Accounting Details into Other Expenses via .CSV
Categories
Stratify begins with categories in place for expenses, however, you can add additional categories in your Settings. You can also add to the categories as you create Other Expense entries by entering a new one in the Category field.
Common categories that customers have added include:
- Multi-channel Fulfillment fees
- Remote Fulfillment fees
- Fees to Service Providers (i.e. IL, TaxJar, Informed.co)
If you enter a category for an entry that doesn't already exist, an Add button will appear to the right of the category. Click Add to add it to your category list.
You can also click the Edit button next to existing categories to edit or delete them.

Editing and Deleting Other Expense Entries
To edit an existing entry, click the checkbox next to it. You can also click the checkboxes next to multiple entries to edit them in bulk, or click the top checkbox to edit all the entries at once.
Once selected, click the Action on selected button towards the top of the page, and click Edit from the menu.

A window will open on the right side of the screen where you can make changes to the category, amount, date, and description for the entries selected. Once done, click Save.

To delete an entry, click the checkbox next to it. You can also click the checkboxes next to multiple entries to delete them in bulk, or click the top checkbox to select all the entries if needed.
Once selected, click the Action on selected button towards the top of the page, and click Delete from the menu.

You will be asked to confirm if you'd like to delete the selected entries. Click Yes to proceed.