You can add items you have sourced or want to reference later to a Google Sheets spreadsheet without ever needing to leave ScoutX.
Creating and Managing Spreadsheets
Settings
To start using ScoutX with Google Sheets, the feature must be turned on in Settings and your Google account must be connected.
Turning Google Sheets On
To manage your Google Sheets settings, click the gear icon in the ScoutX display.
Note: This icon is available when viewing a product's detail page on Amazon.com
Under Alerts & Integrations, click the Good Sheets toggle to change it to On.
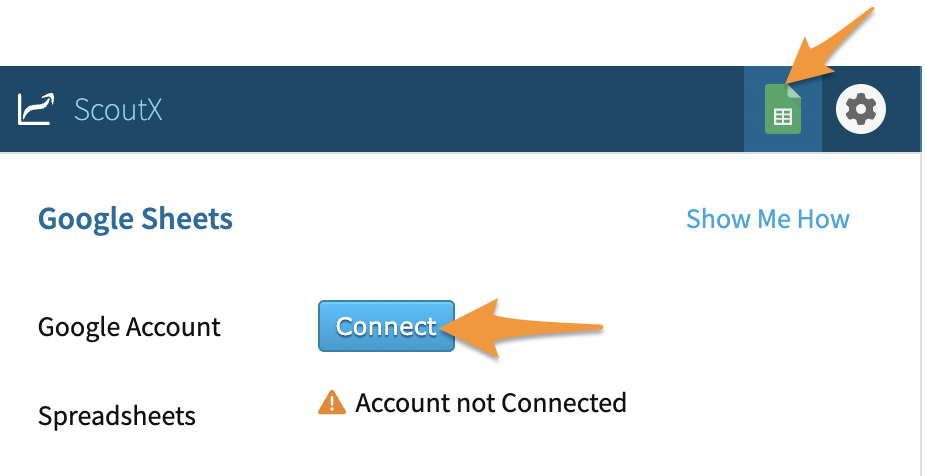
With the feature turned On, you will see a Google Sheets icon in the ScoutX display.
Connecting Your Google Account
To connect your Google Account to ScoutX, click the Google Sheets icon and click Connect.
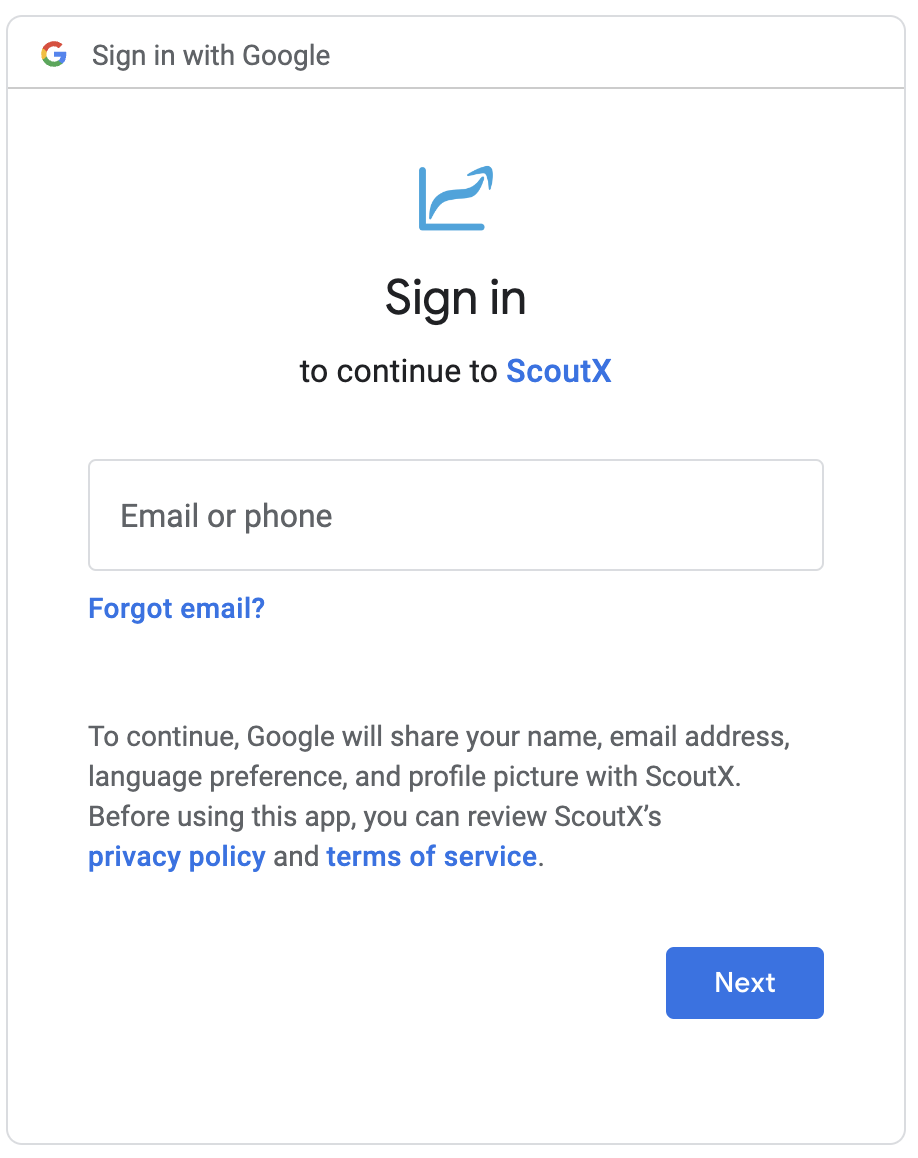
A new window will open where you can enter the credentials for your Google Account.
Enter the email address (or phone number) for your account and click Next, then enter the password and click Next to proceed.
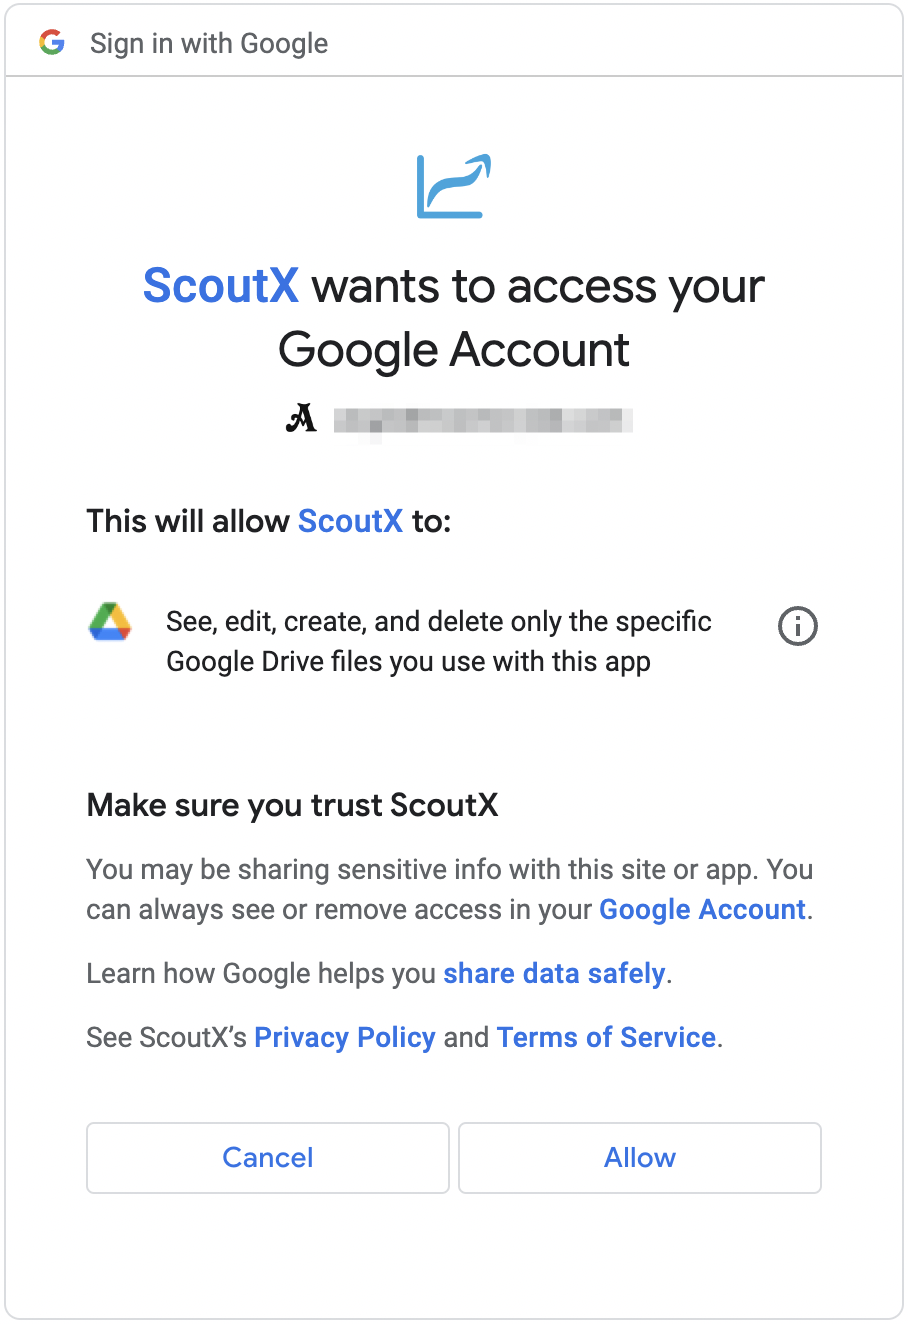
You will then see a message saying ScoutX wants to access your Google account in order to create and update spreadsheets in Google Sheets. Click Allow to proceed.
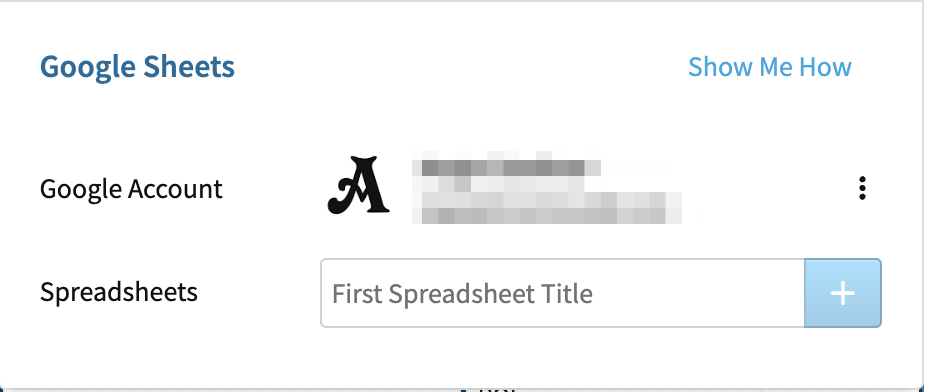
The window will close, and you'll see that ScoutX has updated to show that your Google account is connected.
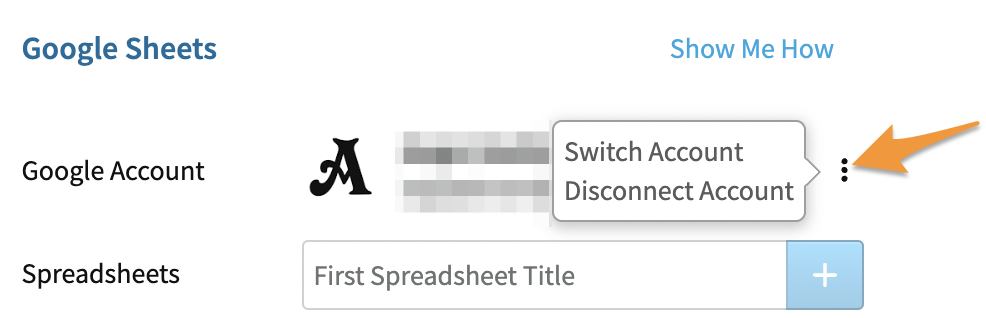
You can switch Google accounts or disconnect them from ScoutX anytime by clicking the three vertical dots next to the Google account name.
For information on connecting and managing third-party apps with your Google account, please see- Manage your account permissions
Creating and Managing Spreadsheets
To create a new spreadsheet, click the Google Sheets icon and locate the text box under Spreadsheets.

In the text box next to Spreadsheets, enter the name of your new spreadsheet and click the + (plus) icon.

Note: If your spreadsheet doesn't load, please see- Google Spreadsheet Created From ScoutX Won't Load
A new window will open where you can customize your new spreadsheet.
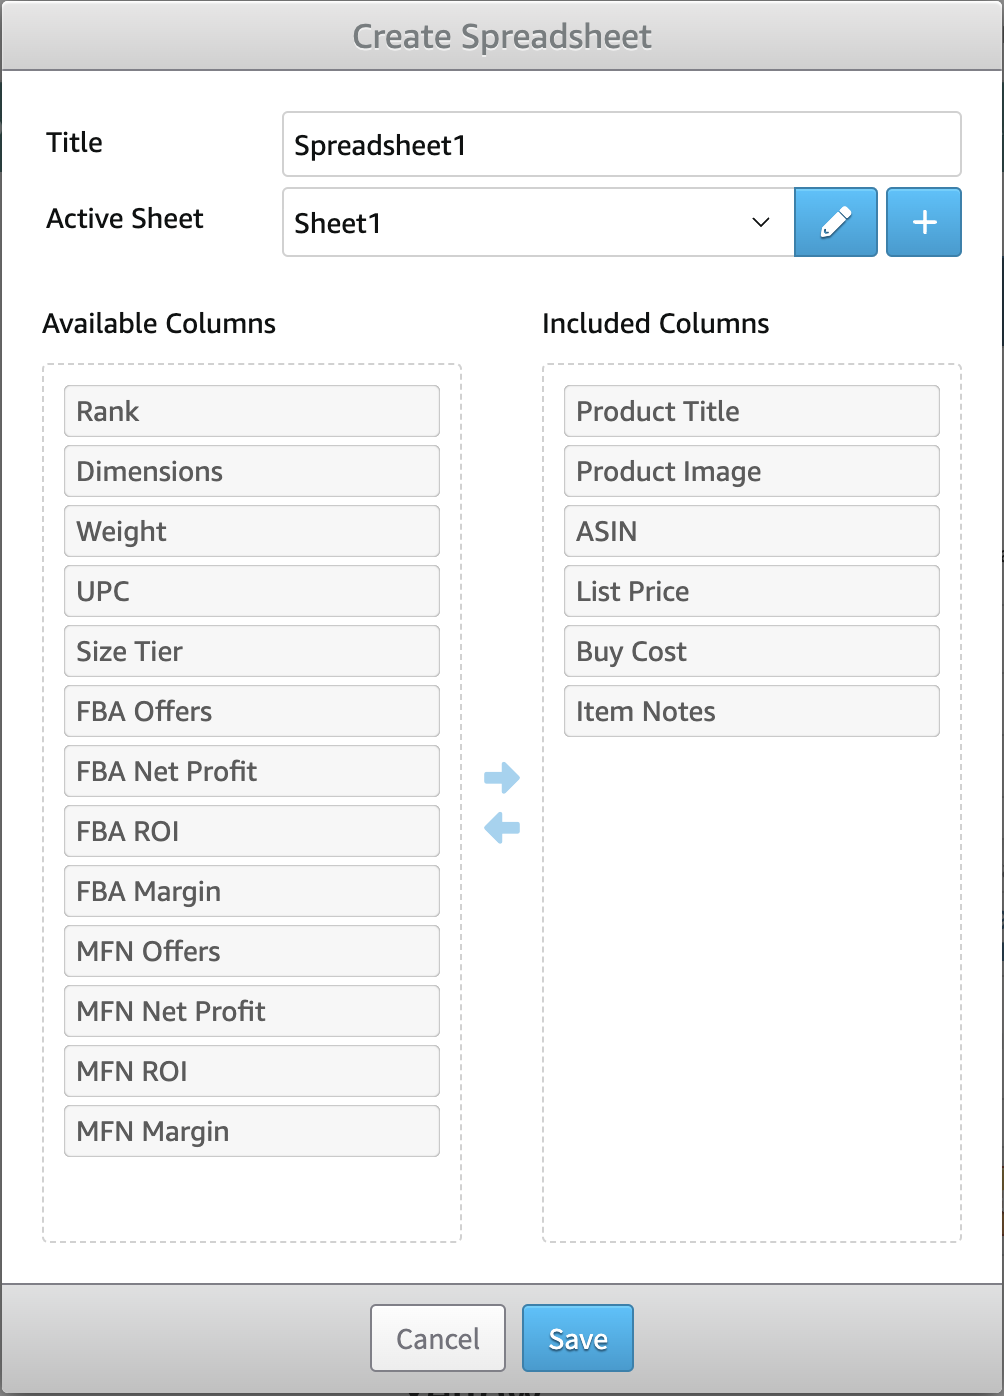
Title - The name of the spreadsheet. It can be edited within this field as needed.
Active Sheet - The specific sheet within the spreadsheet that items will be added to.
Sheets
When creating a new spreadsheet, Sheet1 is created and is the Active Sheet by default.
You can edit the name of this sheet by clicking the pencil icon

Then, click the checkmark icon after making changes.

You can add additional sheets by clicking the + (plus) icon.

Enter a name for the new sheet, then click the checkmark icon to save it.
Once the spreadsheet has been created, you will see the sheets separated as tabs when viewing it in Google Sheets.

If you have added more than one sheet to a spreadsheet, you can click the dropdown arrow to select the Active Sheet in ScoutX.
Note: If you manually add a new sheet to a spreadsheet in Google Sheets, it will be available to select as an Active sheet in ScoutX as well.
Columns
You can choose to include the following columns in your spreadsheets:
- Product Title
- Product Image
- ASIN
- List Price
- Buy Cost
- Item Notes
- Rank
- Dimensions
- Weight
- UPC
- Size Tier
- FBA Offers
- FBA Net Profit
- FBA ROI
- FBA Margin
- MFN Offers
- MFN Net Profit
- MFN ROI
- MFN Margin
When creating a new spreadsheet, the following columns are included by default:
- Product Title
- Product Image
- ASIN
- List Price
- Buy Cost
- Item Notes
You can drag and drop options under Available Columns into the Included Columns area to add them to your sheet.
Similarly, you can drag and drop options under Included Columns to the Available Columns area to exclude them from the sheet.
To change the order of the columns on the sheet, drag and drop the options under Included Columns into the desired order.
To include all available columns, click the right-facing arrow.
To remove all included columns, click the left-facing arrow.
Note: At least one included column is required.

Once you've made your selections, click Save.

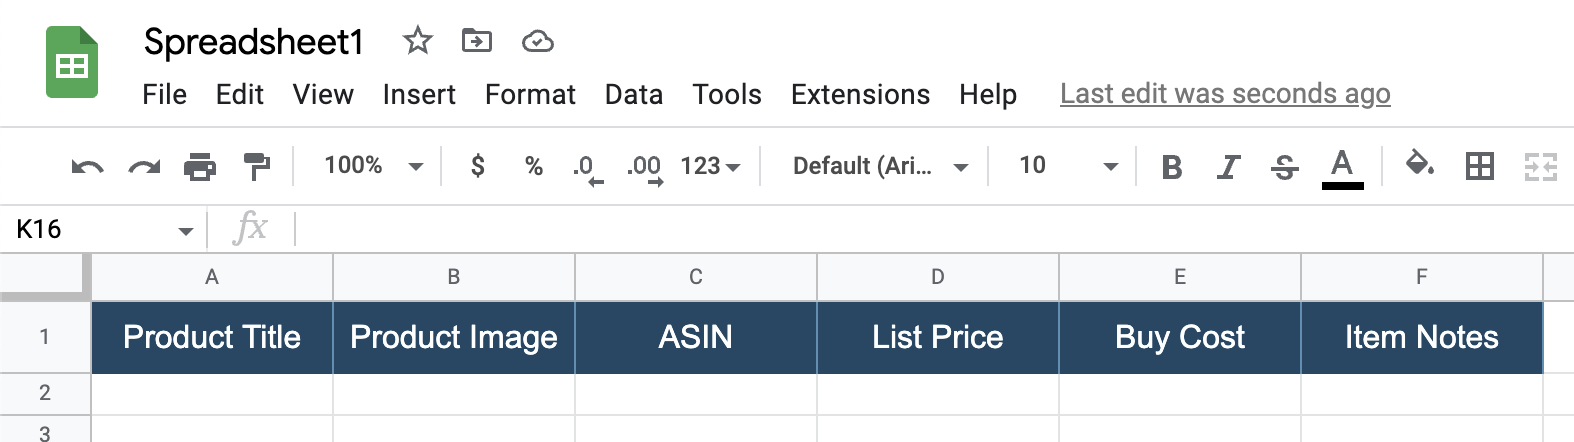
You will see your new spreadsheet listed within ScoutX, and in Google Sheets.
When viewing the spreadsheet in Google Sheets, the column order will match the order of the options in the Included Columns area.
Managing Spreadsheets
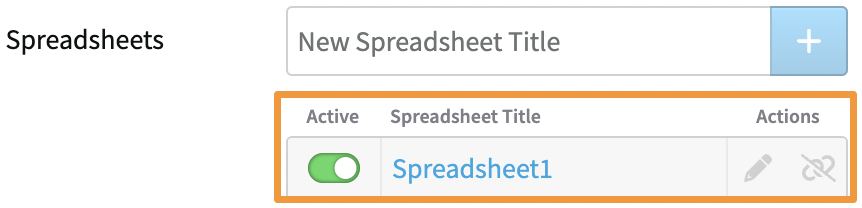
Once you have created spreadsheets using ScoutX, you will see them listed with the following information and options.

Active - Active spreadsheets will be available to add items to in ScoutX. A green toggle means it is Active, but you can click it to turn grey if you do not want to add items to it at the moment.
Note: Spreadsheets created outside of ScoutX will not be available to select as Active.
Spreadsheet Title - Clicking the titles of the spreadsheets will open them in Google Sheets.
Actions - Click the pencil icon to edit the spreadsheet or the unlink icon to unlink it to ScoutX.
Clicking the pencil icon will open a window similar to where you made selections when creating the spreadsheet. From there, you can edit the title, add and edit sheets, and change which columns are included.
Once done, click Save to proceed with the changes.
Some things to note when editing spreadsheets:
- If you edit the columns for an existing sheet, the updated column headers will populate after the existing information in the sheet.
- If columns are added, there is no way to automatically populate the data for the new columns for items that were previously added. To do this, you can manually delete the items from the sheet in Google Sheets and add them again.
- If you attempt to edit a spreadsheet in ScoutX that you have removed from Google Sheets, you will see the option to Take it out of the Trash. (Currently, Google sheets will permanently delete spreadsheets in the trash after 30 days.)

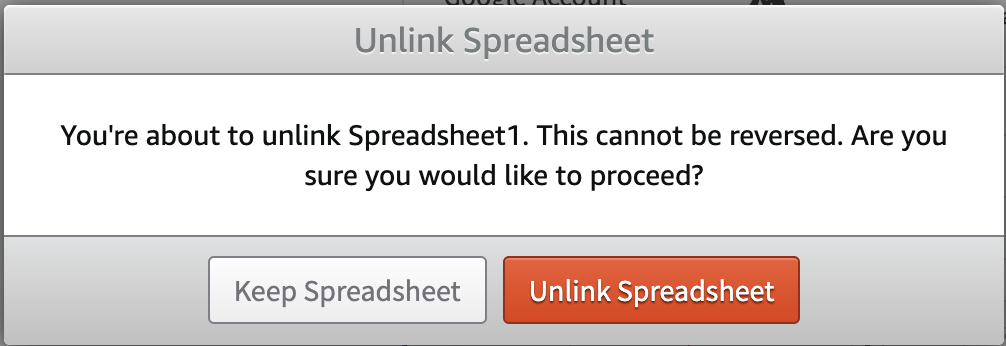
Clicking the unlink icon will permanently delete it from ScoutX. This means that while the spreadsheet will still be available in Google Sheets, it will no longer be accessible by ScoutX.
You will be asked if you are sure you want to unlink the spreadsheet permanently. Click Unlink Spreadsheet to proceed.
Adding Items to a Spreadsheet
Before adding an item to a spreadsheet, make sure you have created a spreadsheet and have it set to Active in ScoutX.
Note: If the Active spreadsheet has more than one sheet, make sure the sheet you are wanting to add items to is selected as the Active Sheet.
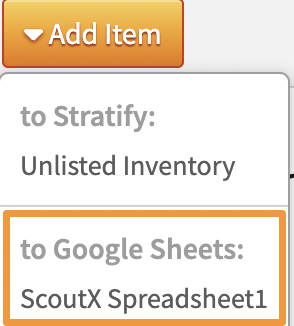
Once you find an item you want to add, click Add Item and select the spreadsheet under the Add to Google Sheets section.
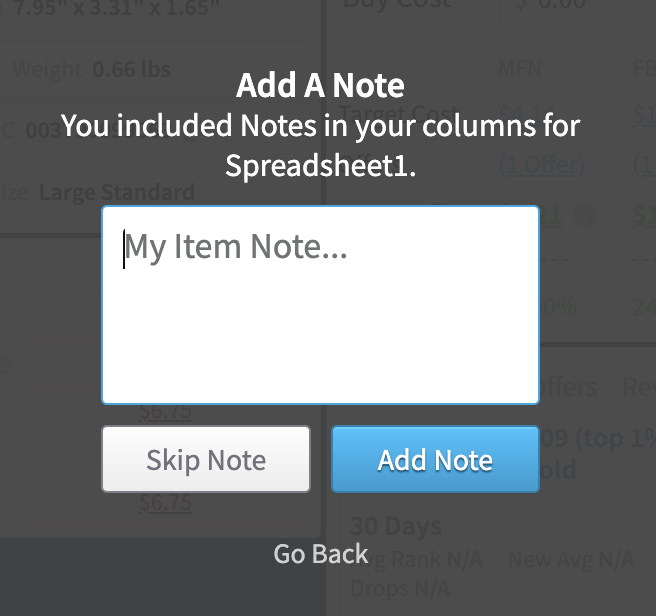
If the Item Notes column is included in the sheet, you will be asked if you want to add a note for the item.
Enter the note and click Add Note to save it, or click Skip Note to bypass adding one.
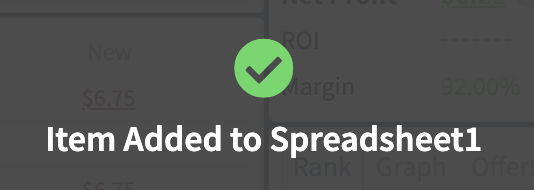
The item will then be added to the sheet.
If the Item Notes column is not included in the sheet, you will not be asked to add a note, and the item will be added to the sheet right away.
In Google Sheets, the item will be added to the Active Sheet of the spreadsheet chosen.

If an item/row needs to be edited or removed from a sheet, this can be done manually in Google Sheets.
For information on editing spreadsheets directly in Google Sheets, please refer to their documentation- Google Docs Editors Help - Google Sheets