This article details how to assign items in a Private batch to boxes by using a barcode scanner.
Transmit Box Content or Print 2D Barcodes
Sound Toggle
By default, sounds for scanning will be turned On. To turn it Off or back On, click the sound button at the top of the screen near your name.

Beep = Successful scan
Bonk = Unsuccessful scan. Try again or add manually
Bling = All quantities have been successfully been assigned
Scanning
To allow you to be more efficient when sorting your items into boxes and providing box-level content to Amazon, we also include the option to scan the FNSKU on each item or the manufacture barcode to assign it to a box.
You can also have your FNSKU labels automatically print as you scan by having the option to print "During Scan to Pack" enabled within your Print Settings.
To begin, click on the shipment you would like to pack on the Box Content page. You will see the items that need to be assigned for that shipment appear on the left.
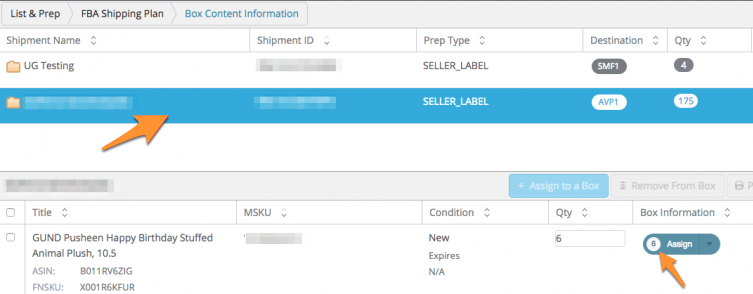
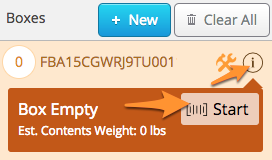
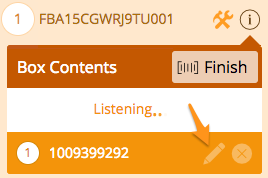
Locate the box you're ready to pack (or create a new one by clicking + New) and click the i next to the box name. Then click the Barcode Start button.
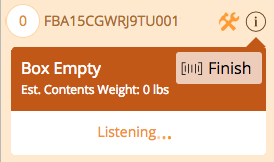
You will notice that the system is now Listening and waiting for you to begin scanning.
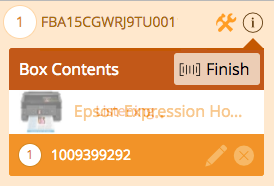
Once you scan your item, you will see that a quantity of 1 has been added to your box. As you scan more of the same item, the quantity will increase.
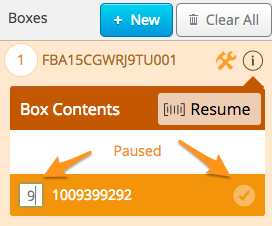
Alternately, you can manually increase the amount by clicking the pencil icon next to the item in the box.
The number field will become editable. Change the quantity and click the check box.
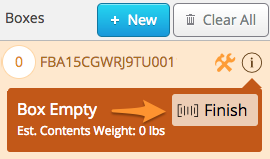
Once you are finished scanning, simply click the Finish button.
If you need a new box, click the + New Box button and repeat the previous steps until all the items have been assigned to boxes.
Estimated Box Weight
If you need to make sure you don’t overfill your boxes and want to monitor the weight of the box as you add items, you have that option!
Click the small i to the right of the box name in the Box Contents Information to expand it, providing your box content information for that particular box.
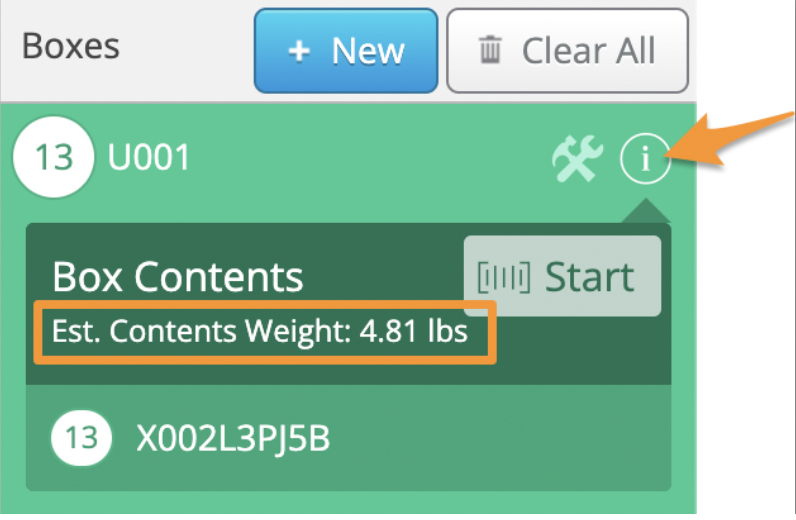
Once expanded, you can see the items and quantity of units for each assigned to the box (either by MSKU or FNSKU) and the estimated total weight as you add to the box.
The weight is based on the item package weight of the items in the box, estimated to the nearest hundredth of a pound.
Dollar Value
Having the Display Dollar Value for Box Contents enabled in your settings makes it so the cost/unit and list price values of the items assigned to your boxes are visible on the Box Content page and packing lists.
To see the Dollar Values, click the small i to the right of the box name in the Box Contents Information window.

This setting can be managed anytime under Settings>List>Box Content Settings.
Action Items
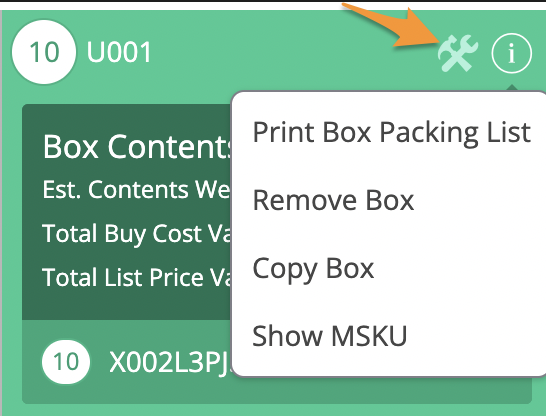
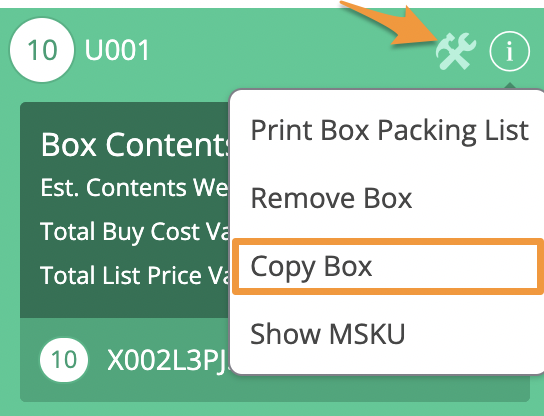
When you click the action button next to a box, a dropdown menu will appear with the following options:
• Print Box Packing List – this action allows to print a packing list for your box
• Remove Box- this action will remove the box
• Copy Box – this action allows you to copy an already assigned box
• Show FNSKU/Show MSKU – this action toggles the view for all items in boxes to either show as FNSKUs or MSKUs
Print Box Packing List
If you need to print a packing list for a specific box, click the Action icon next to the box name and select Print Box Packing List.

Select if you would like the list to include images of the items in the box or not, then a new tab will open and your browser’s printing functions will take over.
For more information on packing lists, please see- Box Content - Print a Packing List
Removing a Box
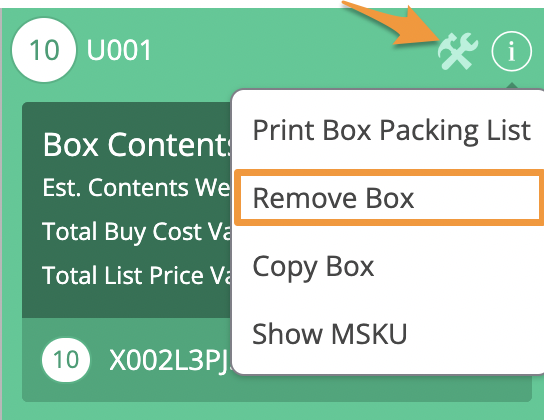
If you need to remove a box, click the Action icon next to the box name and select Remove Box.
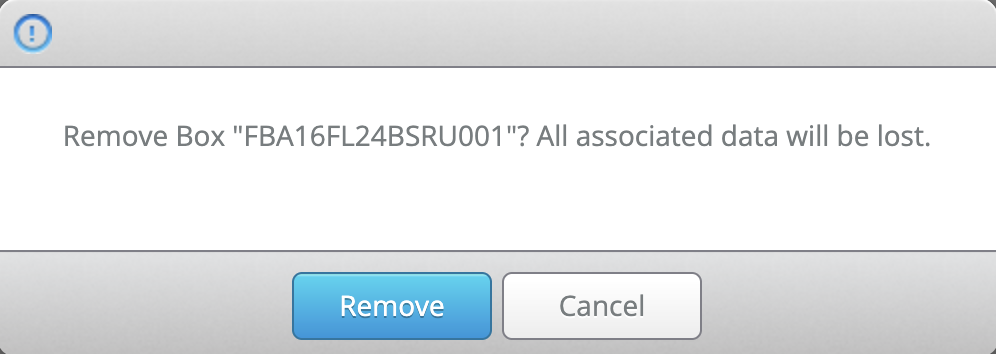
A pop-up will appear to make sure the box should be removed. To proceed with deleting the box, click Remove.
If the box contained any items, those items will need to be reassigned to a new box.
Note: Deleting boxes may cause the box numbers in Seller Central not to match up with the box numbers in Stratify for the shipment. For more information, please see Your Shipping Labels With Box Content
Create or Copy Boxes in Bulk
If you tend to have a large number of boxes per shipment, you can create them in bulk in a couple of different ways.
Bulk Creating New Boxes
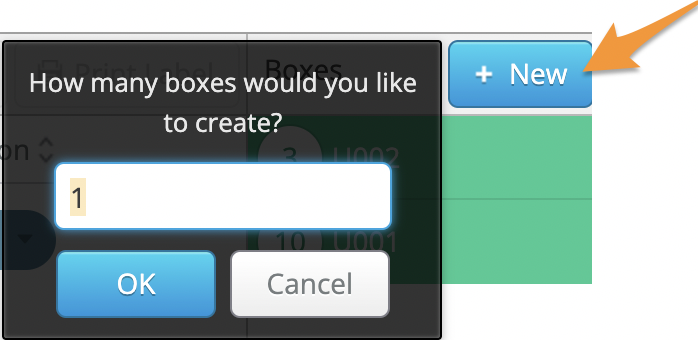
You can bulk create new boxes by clicking on the blue + New button. A prompt will appear where you can enter the number of boxes you need and click OK.
Copying Existing Boxes
If you need to create multiple boxes with the same items, copying boxes may save you some time!
To copy a box, click the Action icon next to the box name and select Copy Box.
You will be asked how many copies of this box would you like to make.
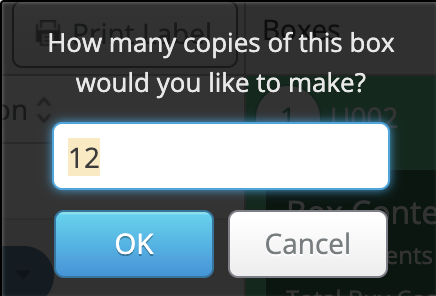
Note: The default value will be the maximum number of exact boxes that can be copied, but you can change the value manually if needed. The value must be greater than 0. If you attempt to change the value to something higher than the maximum number of exact boxes that can be copied, you will see a warning message.
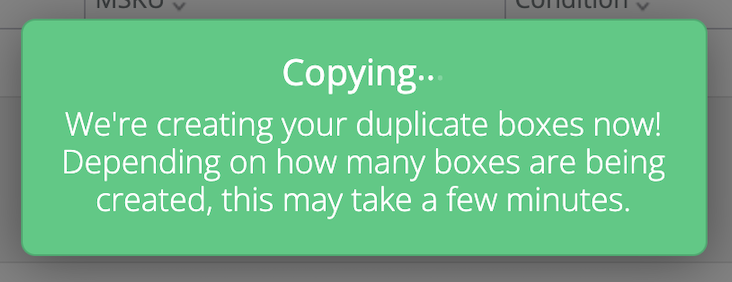
After clicking OK, you’ll see a message letting you know the boxes are being copied.
Toggling FNSKU/MSKU View
Generally, sellers have a preference on if they want to see MSKU or FNSKU when packing boxes.
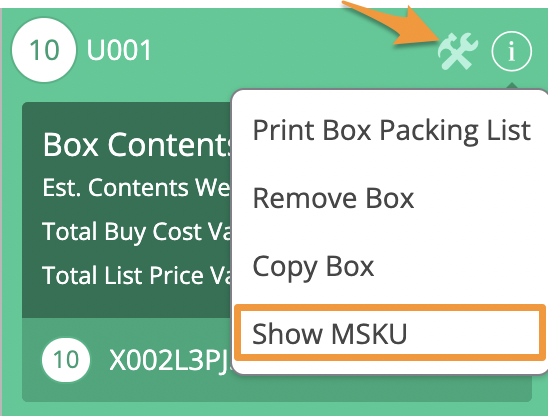
To change this view, click the Action icon next to the box name and select Show FNSKU (or MSKU).
Note: If the current selection is Show FNSKU, you will see Show MSKU as the option to change the view. Alternatively, if the current selection is Show MSKU, you will see Show FNSKU as the option.
This action will toggle the view for ALL items in all boxes and the view will be remembered for future shipments.
Click the small i to the right of the box name to see the items assigned to the box listed by either FNSKU or MSKU depending on your selection.
Transmit Box Content or Print 2D Barcodes
Once you've finished assigning all the items in a shipment to boxes, the next steps will vary depending on which Box Content Setting was chosen for the batch - Using Feeds or Using 2D Barcodes.
Using Feeds
It's time to Transmit the information to Seller Central!
For detailed steps on this portion of the workflow, please see- Transmitting Box Content Information
Using 2D Barcodes
You're all set to print 2D Barcodes Labels for the boxes in the shipment.
For detailed steps on this portion of the workflow, please see- Printing 2D Barcodes Labels