Uploading your box content information from Stratify to Send to Amazon can come in handy if you are running into issues when transmitting it for a shipment, or if you need to make box content changes.
Generating and Uploading the Excel Template
Editing Box Content Information with the Excel Template
Generating and Uploading the Excel Template
After entering and transmitting your box content information to Seller Central, locate the shipment under Working Shipments in Stratify.
Click the 3 horizontal lines next to the shipment and select Export Box Content.
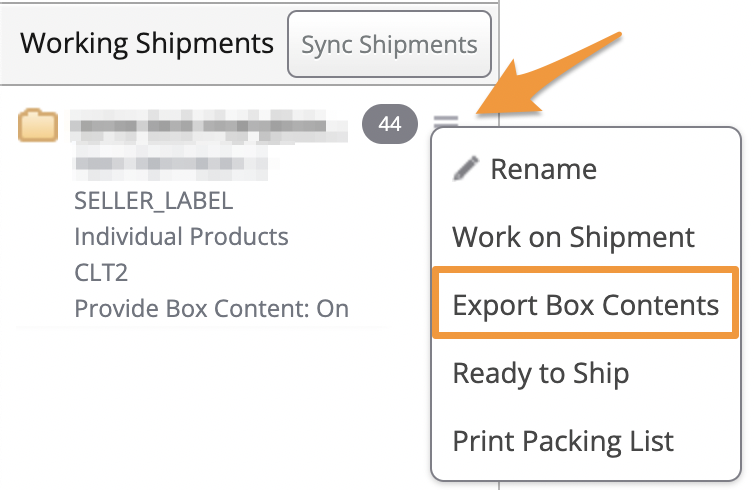
This will open a window with instructions on how to generate the file from Send to Amazon.
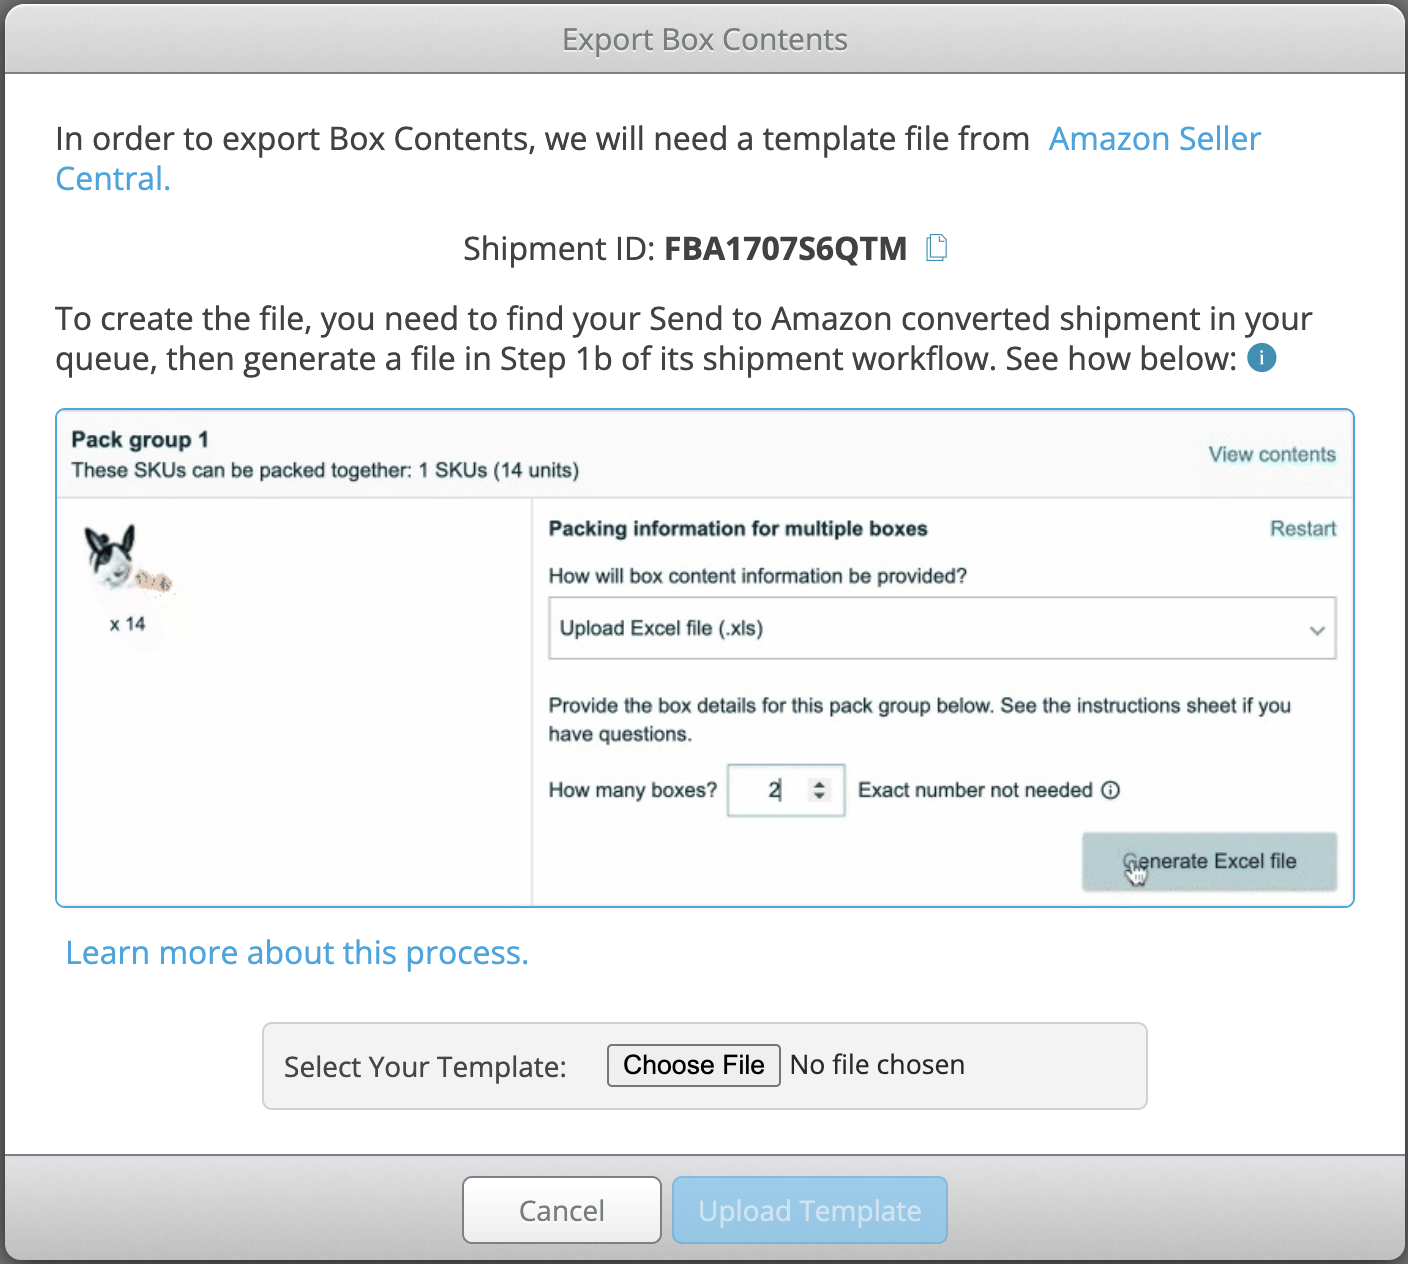
Click the Amazon Seller Central link to open a new browser tab with your Seller Central shipping queue. Locate the shipment and click Work on shipment.

Note: You can also click the copy icon next to the Shipment ID in the Export Box Content window or the Working Shipments window in Stratify to paste it into the search bar on the Seller Central Shipping Queue page.
After clicking the Send to Amazon selection (if it was not already selected) Step 1 will show information for the MSKUs in the shipment along with their quantities and expiration dates (if entered while listing in Stratify).
Add any needed information and confirm that everything looks correct, then click the Pack units button to proceed.

Step 1-b is where we will generate the file needed to upload the box content information.
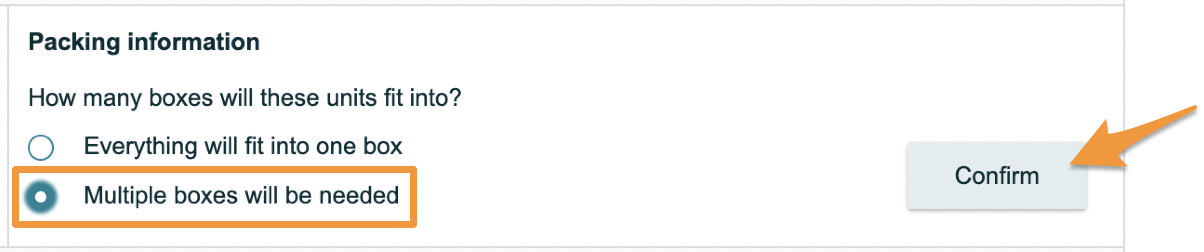
Under Packing information, click Multiple boxes will be needed, then click Confirm.
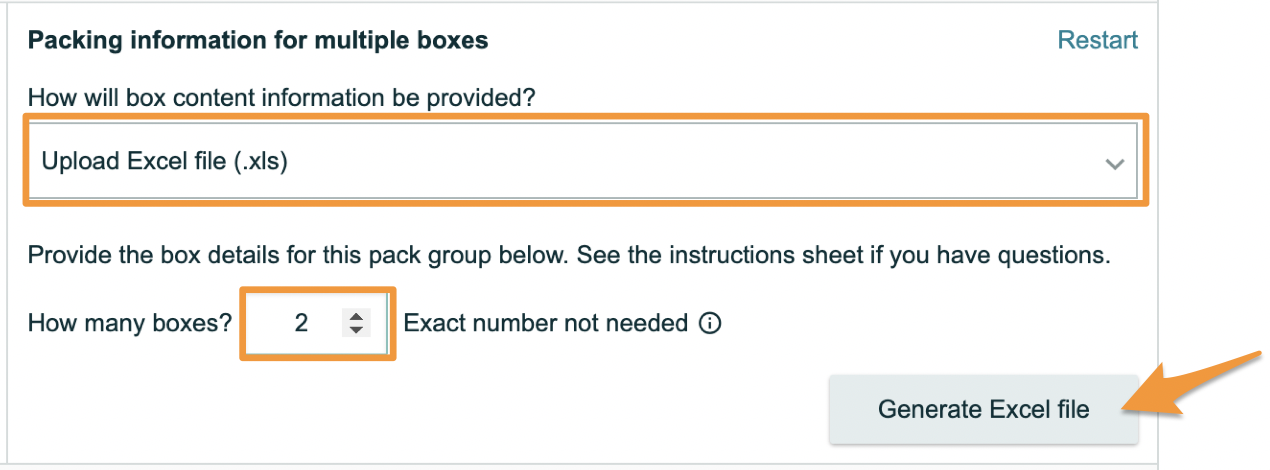
Under Packing Information for multiple boxes, select the Upload Excel file option from the dropdown menu.
Enter the number of boxes in the shipment, then click Generate Excel file.
Click on the generated file to download it to your computer.

Next, move back to Stratify and click the Choose File button in the Export Box Content window.
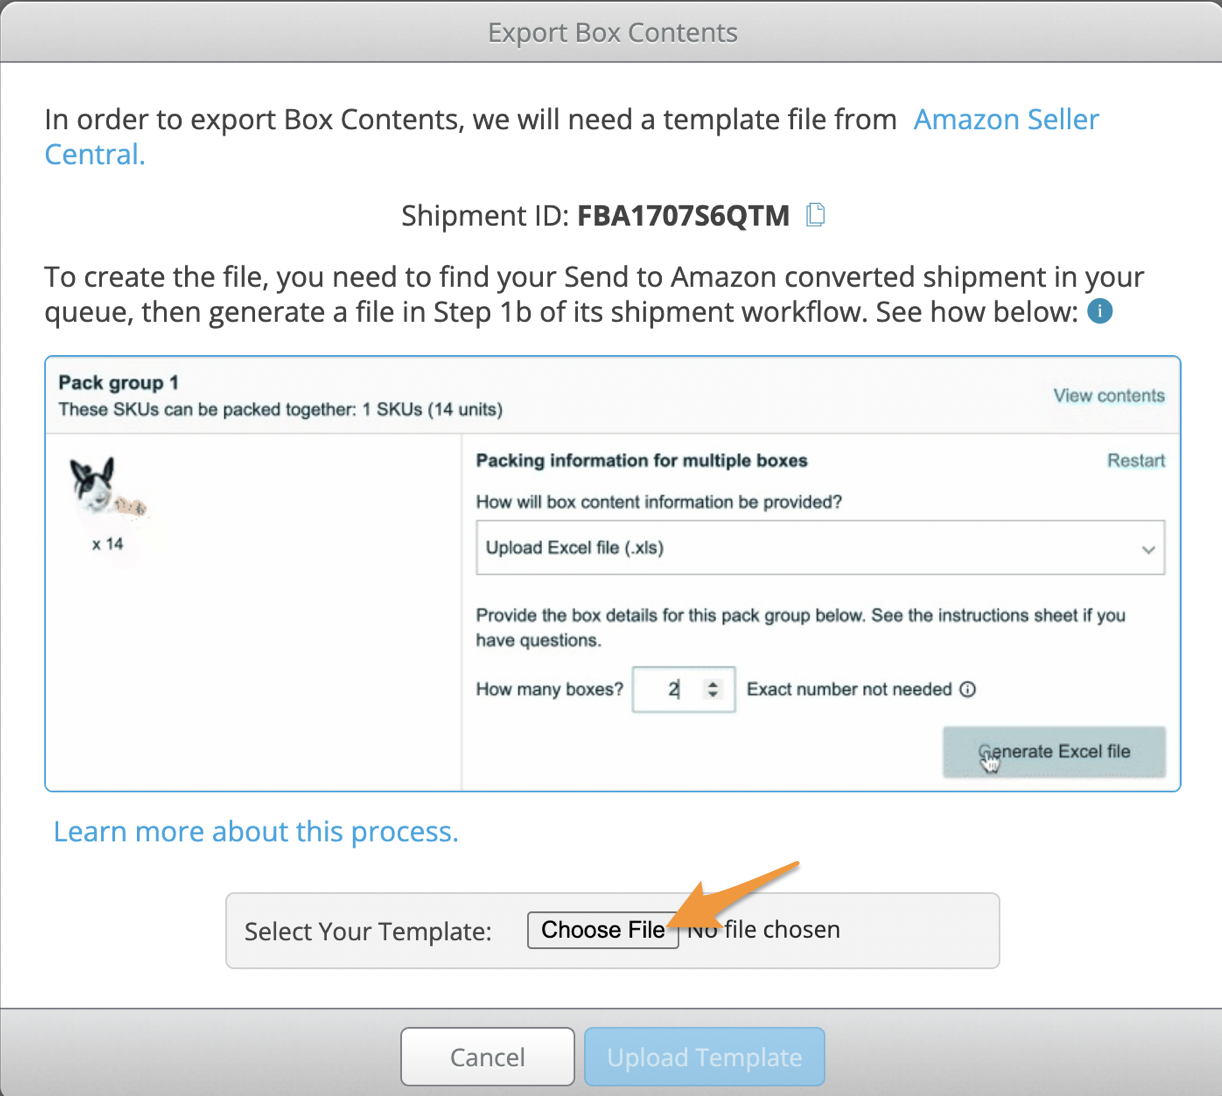
Locate the file from Send to Amazon on your computer and select it, then click Upload Template.

If you did not enter the weight and dimensions for your boxes initially when transmitting your box content information, you will be asked to update the box content information with these details. Amazon will not accept the Excel file without the weight and dimensions entered for the boxes.
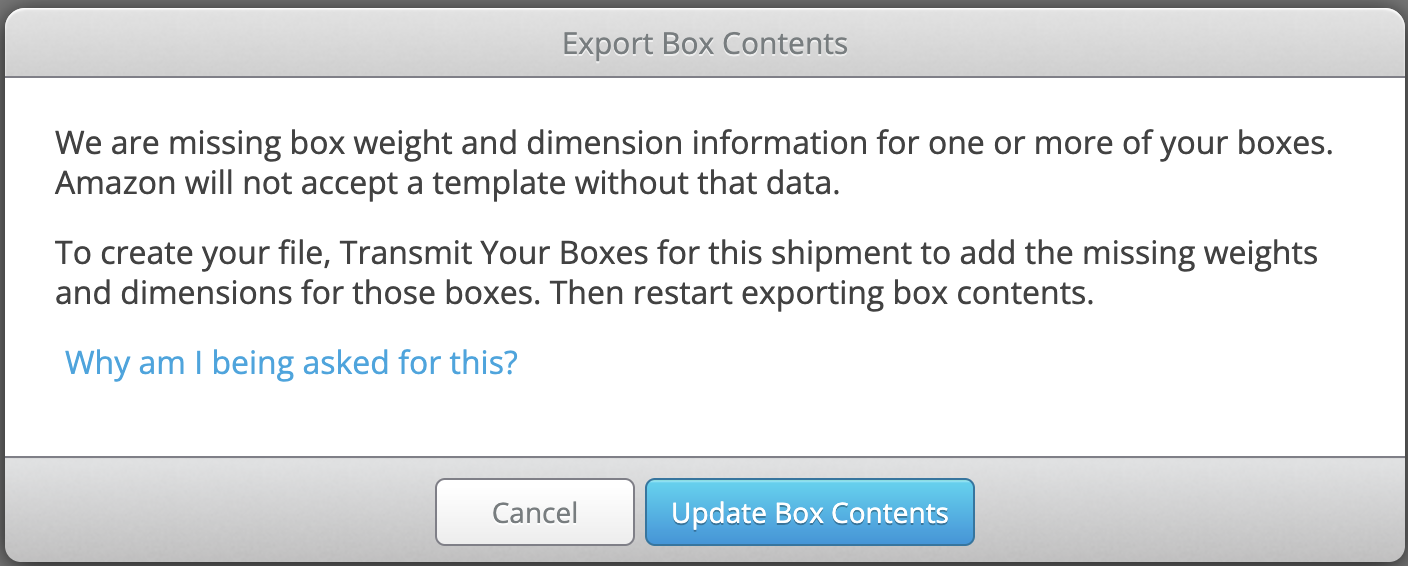
In this case, click the Update Box Contents button to be taken back to the Box Content page for the shipment.
Then, click Transmit Updated Boxes.
A window will appear where you can enter the weight and dimensions for each box on the shipment.

Click Submit All.

Note: Amazon may return error FBA INBOUND CARTON 058 stating that the box content information cannot be edited at this point since the shipment was converted to Send to Amazon. This is okay to ignore since you will be manually uploading the file with the changes to Send to Amazon.
Once done, click the 3 horizontal lines next to the shipment and select Export Box Content.
You will then see a message saying that the file is ready.
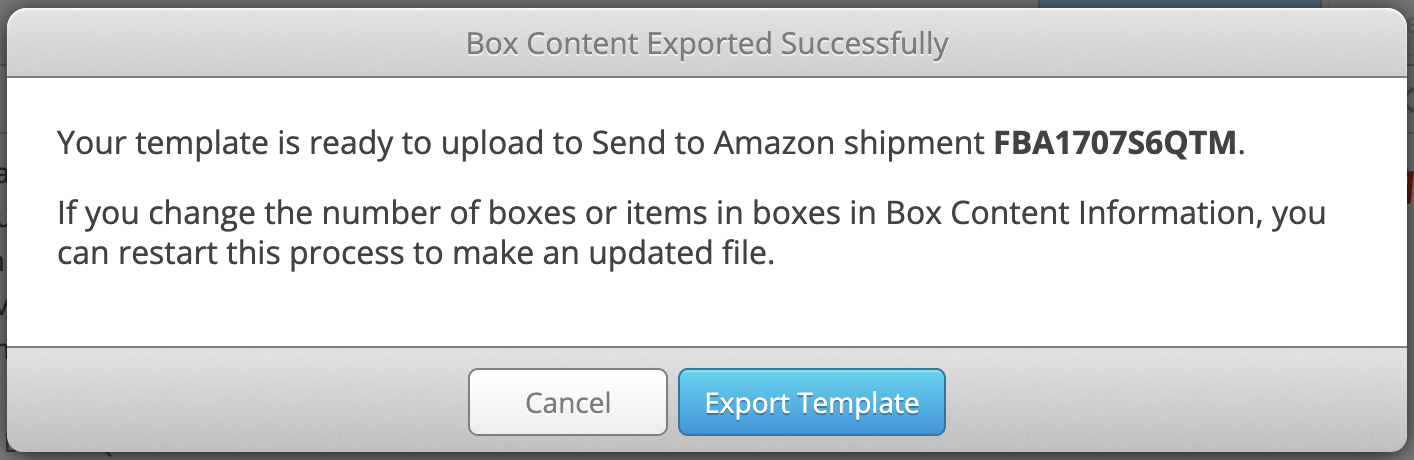
Click Export Template to proceed.

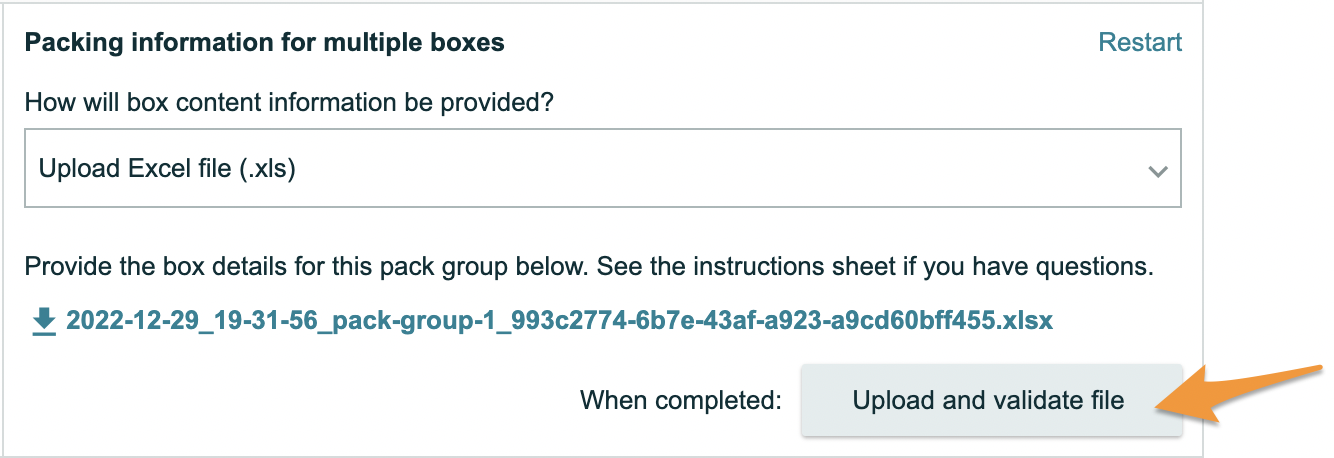
Next, move back over to the shipment in Seller Central and click Upload and validate file.
Locate the file from Stratify on your computer and select it. It will begin to upload automatically.
Once Amazon finishes validating the file, you will see a success message similar to the one below:
When you're ready, click Confirm and continue to proceed to Step 2 in the Send to Amazon workflow.

Editing Box Content Information with the Excel Template
If you have already taken the above steps to generate and upload the Excel file to Send to Amazon for your box content information but find that you need to change up your box assignments, you can do this through Stratify and quickly generate a new file.
First, you'll need to make the needed changes to the Box Content page for the shipment in Stratify. For steps to add/remove boxes and change the box assignments for the units in the shipment, please see- Editing Box Level Content Information
Once you are happy with your box assignments, click Transmit Updated Boxes.
A window will appear where you can edit the weight and dimensions for each box in the shipment if needed.
Click Submit All.
Note: Amazon may return error FBA INBOUND CARTON 058 stating that the box content information cannot be edited at this point since the shipment was converted to Send to Amazon. This is okay to ignore since you will be manually uploading the file with the changes to Send to Amazon.
Once done, click the 3 horizontal lines next to the shipment and select Export Box Content.
You will then see a message saying that the file is ready.
Click Export Template to proceed.
Next, move back to the shipment in Seller Central.
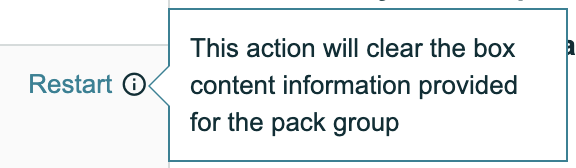
If you've already uploaded a template, click Restart to clear out the previous box content information.
Under Packing information, click Multiple boxes will be needed, then click Confirm.
Under Packing Information for multiple boxes, select the Upload Excel file option from the dropdown menu.
Enter the number of boxes in the shipment, then click Generate Excel file.
Click on the generated file to download it to your computer.
Since you already have the updated file from Stratify, proceed by clicking Upload and validate file.
Locate the file from Stratify on your computer and select it. It will begin to upload automatically.
Once Amazon finishes validating the file, you will see a success message similar to the one below:
When you're ready, click Confirm and continue to proceed to Step 2 in the Send to Amazon workflow.
Note: These steps only work to add/remove boxes and change the box assignments for the units in the shipment and not changes to qty of units.
The only time you can change the quantity of units in a shipment using Send to Amazon is during Step 3, which takes place after completing the box content information and confirming shipping charges.
If you make any changes to the number of units in the shipment during Step 3 of the Send to Amazon workflow, you will also need to adjust your replenishment rows in Stratify for the items accordingly to avoid inventory alerts. For details, please see- Adjusting Your Replenishment Rows to Resolve an Inventory Alert