Sometimes, you will need to edit your Box Level Content information. Maybe you found an extra unit of an item or played Tetris a little and were able to adjust your boxes a bit, the sky is the limit!
The great part is, you are completely free to do this with any Working shipment (including those marked as "Ready to Ship" in Stratify) and resend your Box Content information to Amazon when you have finished the changes.
Note: With the Send to Amazon workflow, you can only follow the steps below before navigating to the shipment's page in Seller Central. Once you are on the shipment page with Send to Amazon, changes can no longer be made through Stratify.
Accessing Box Content Information
Accessing Box Content Information
Note: If you have already purchased shipping labels for the shipment, you will need to void the charges before making changes to the box content. For steps to void shipping labels purchased in Stratify, please see- How to Void Shipping Label Charges in Stratify
If you voided shipping labels for a shipment using 2D barcodes, but need to change the number of boxes in the shipment, the updated shipping labels will need to be purchased in Seller Central.
In this instance, you will need to convert the shipment to Send to Amazon. After confirming the items in the shipment in Step 1, continue the workflow and choose "Upload Excel file" for Step 1b, then follow these steps to upload the box content information from Stratify to Send to Amazon- Exporting and Uploading Box Content Information from Stratify to Send to Amazon
If your batch has closed, you can access the box content information for "Working" shipments from the List>List & Prep page in Stratify.
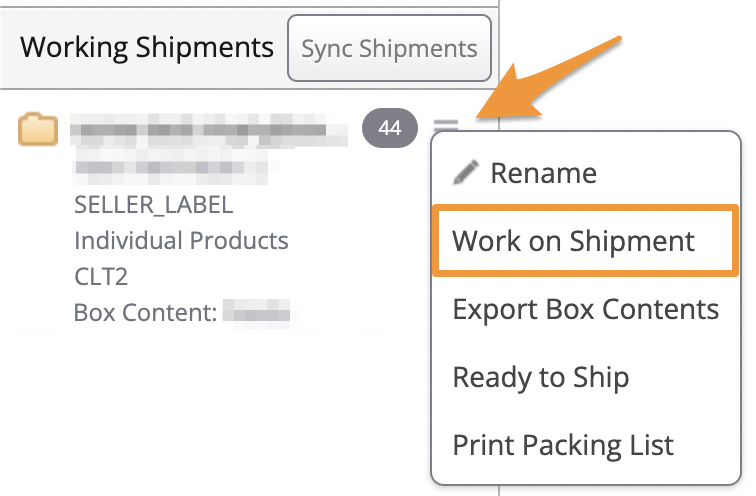
Under Working Shipments, click the 3 horizontal lines to the right of the shipment you need to edit and select Work on Shipment.
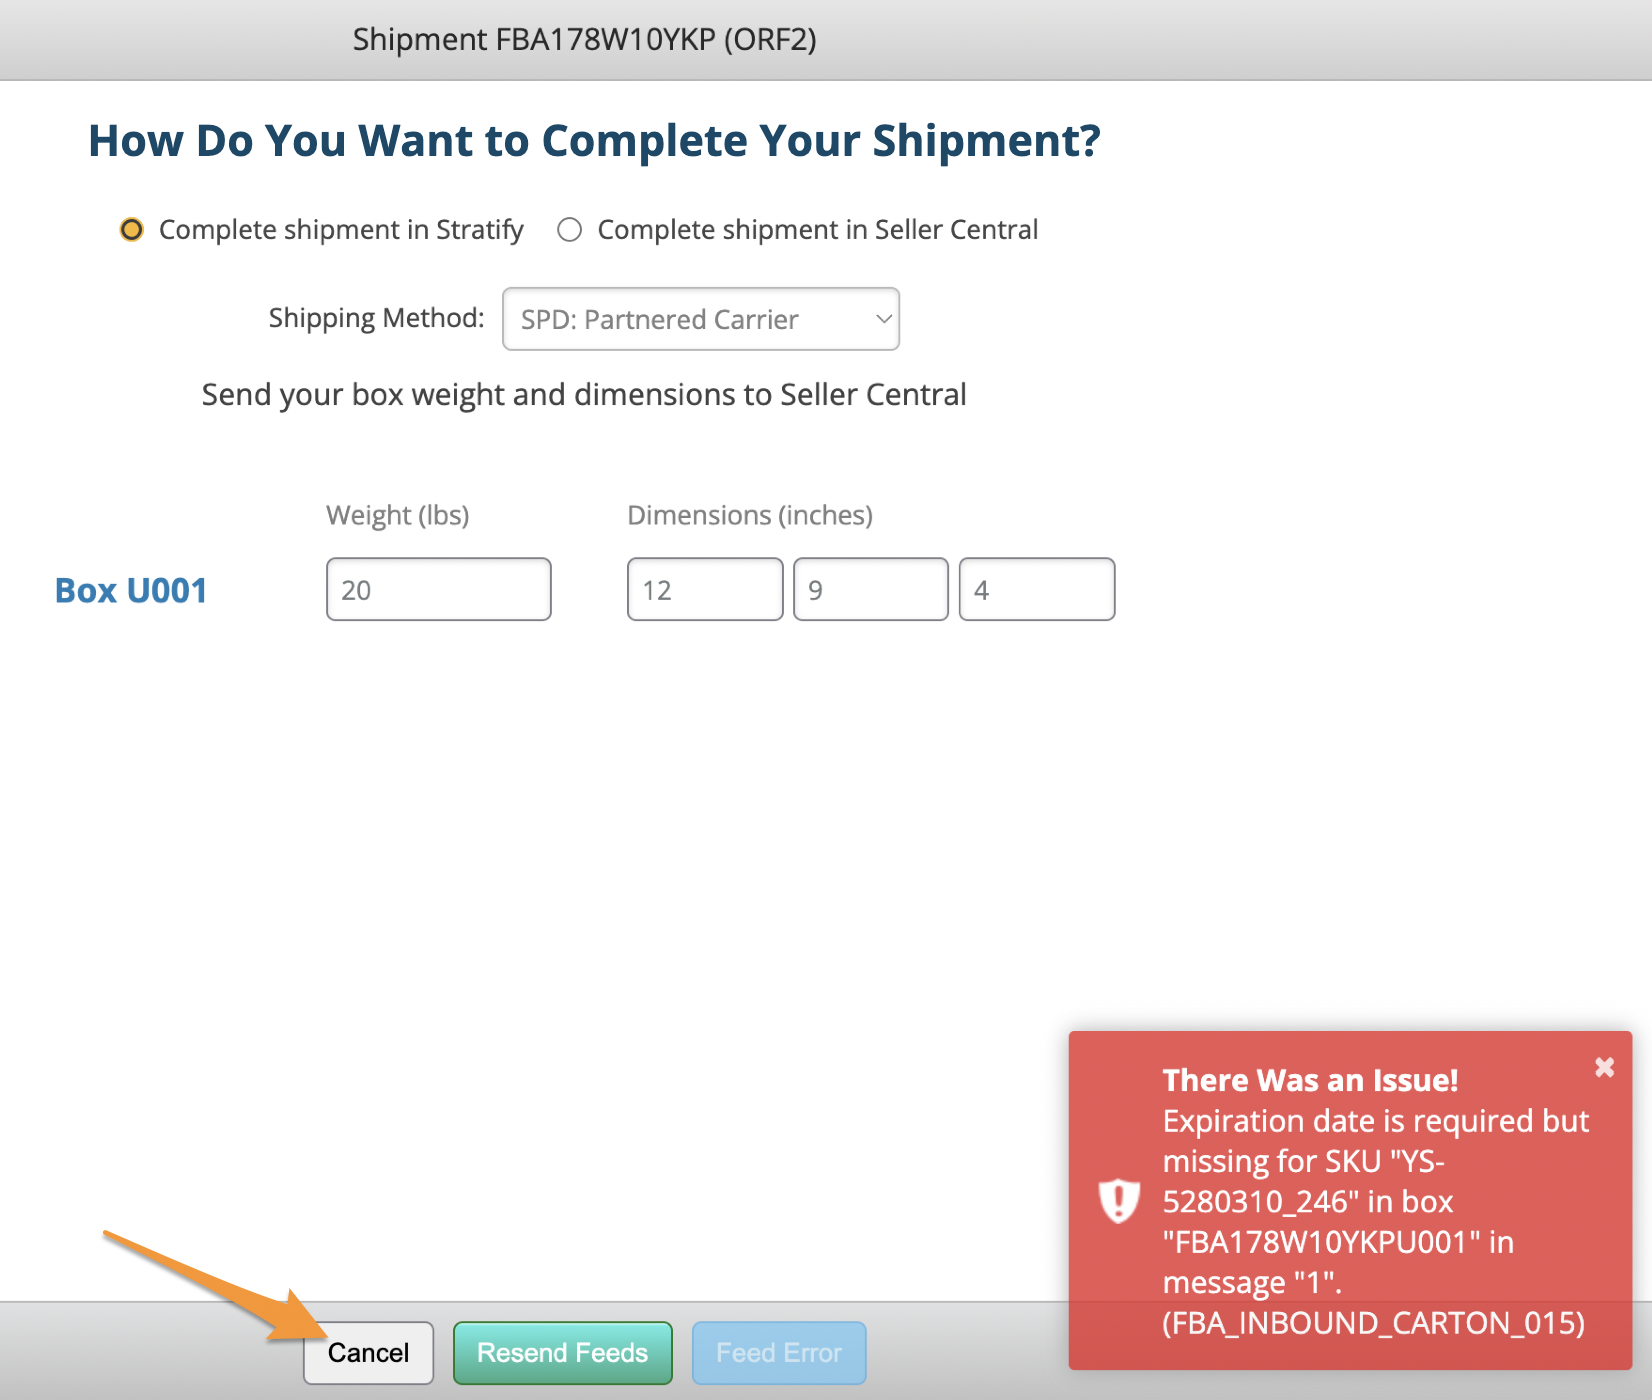
Or, if you are receiving errors when transmitting box content information using feeds and need to correct them to estimate shipping charges, click Cancel to get back to the box content screen.
Both methods will bring you back to the Box Content page you were on when you initially completed the box assignments for the shipment.
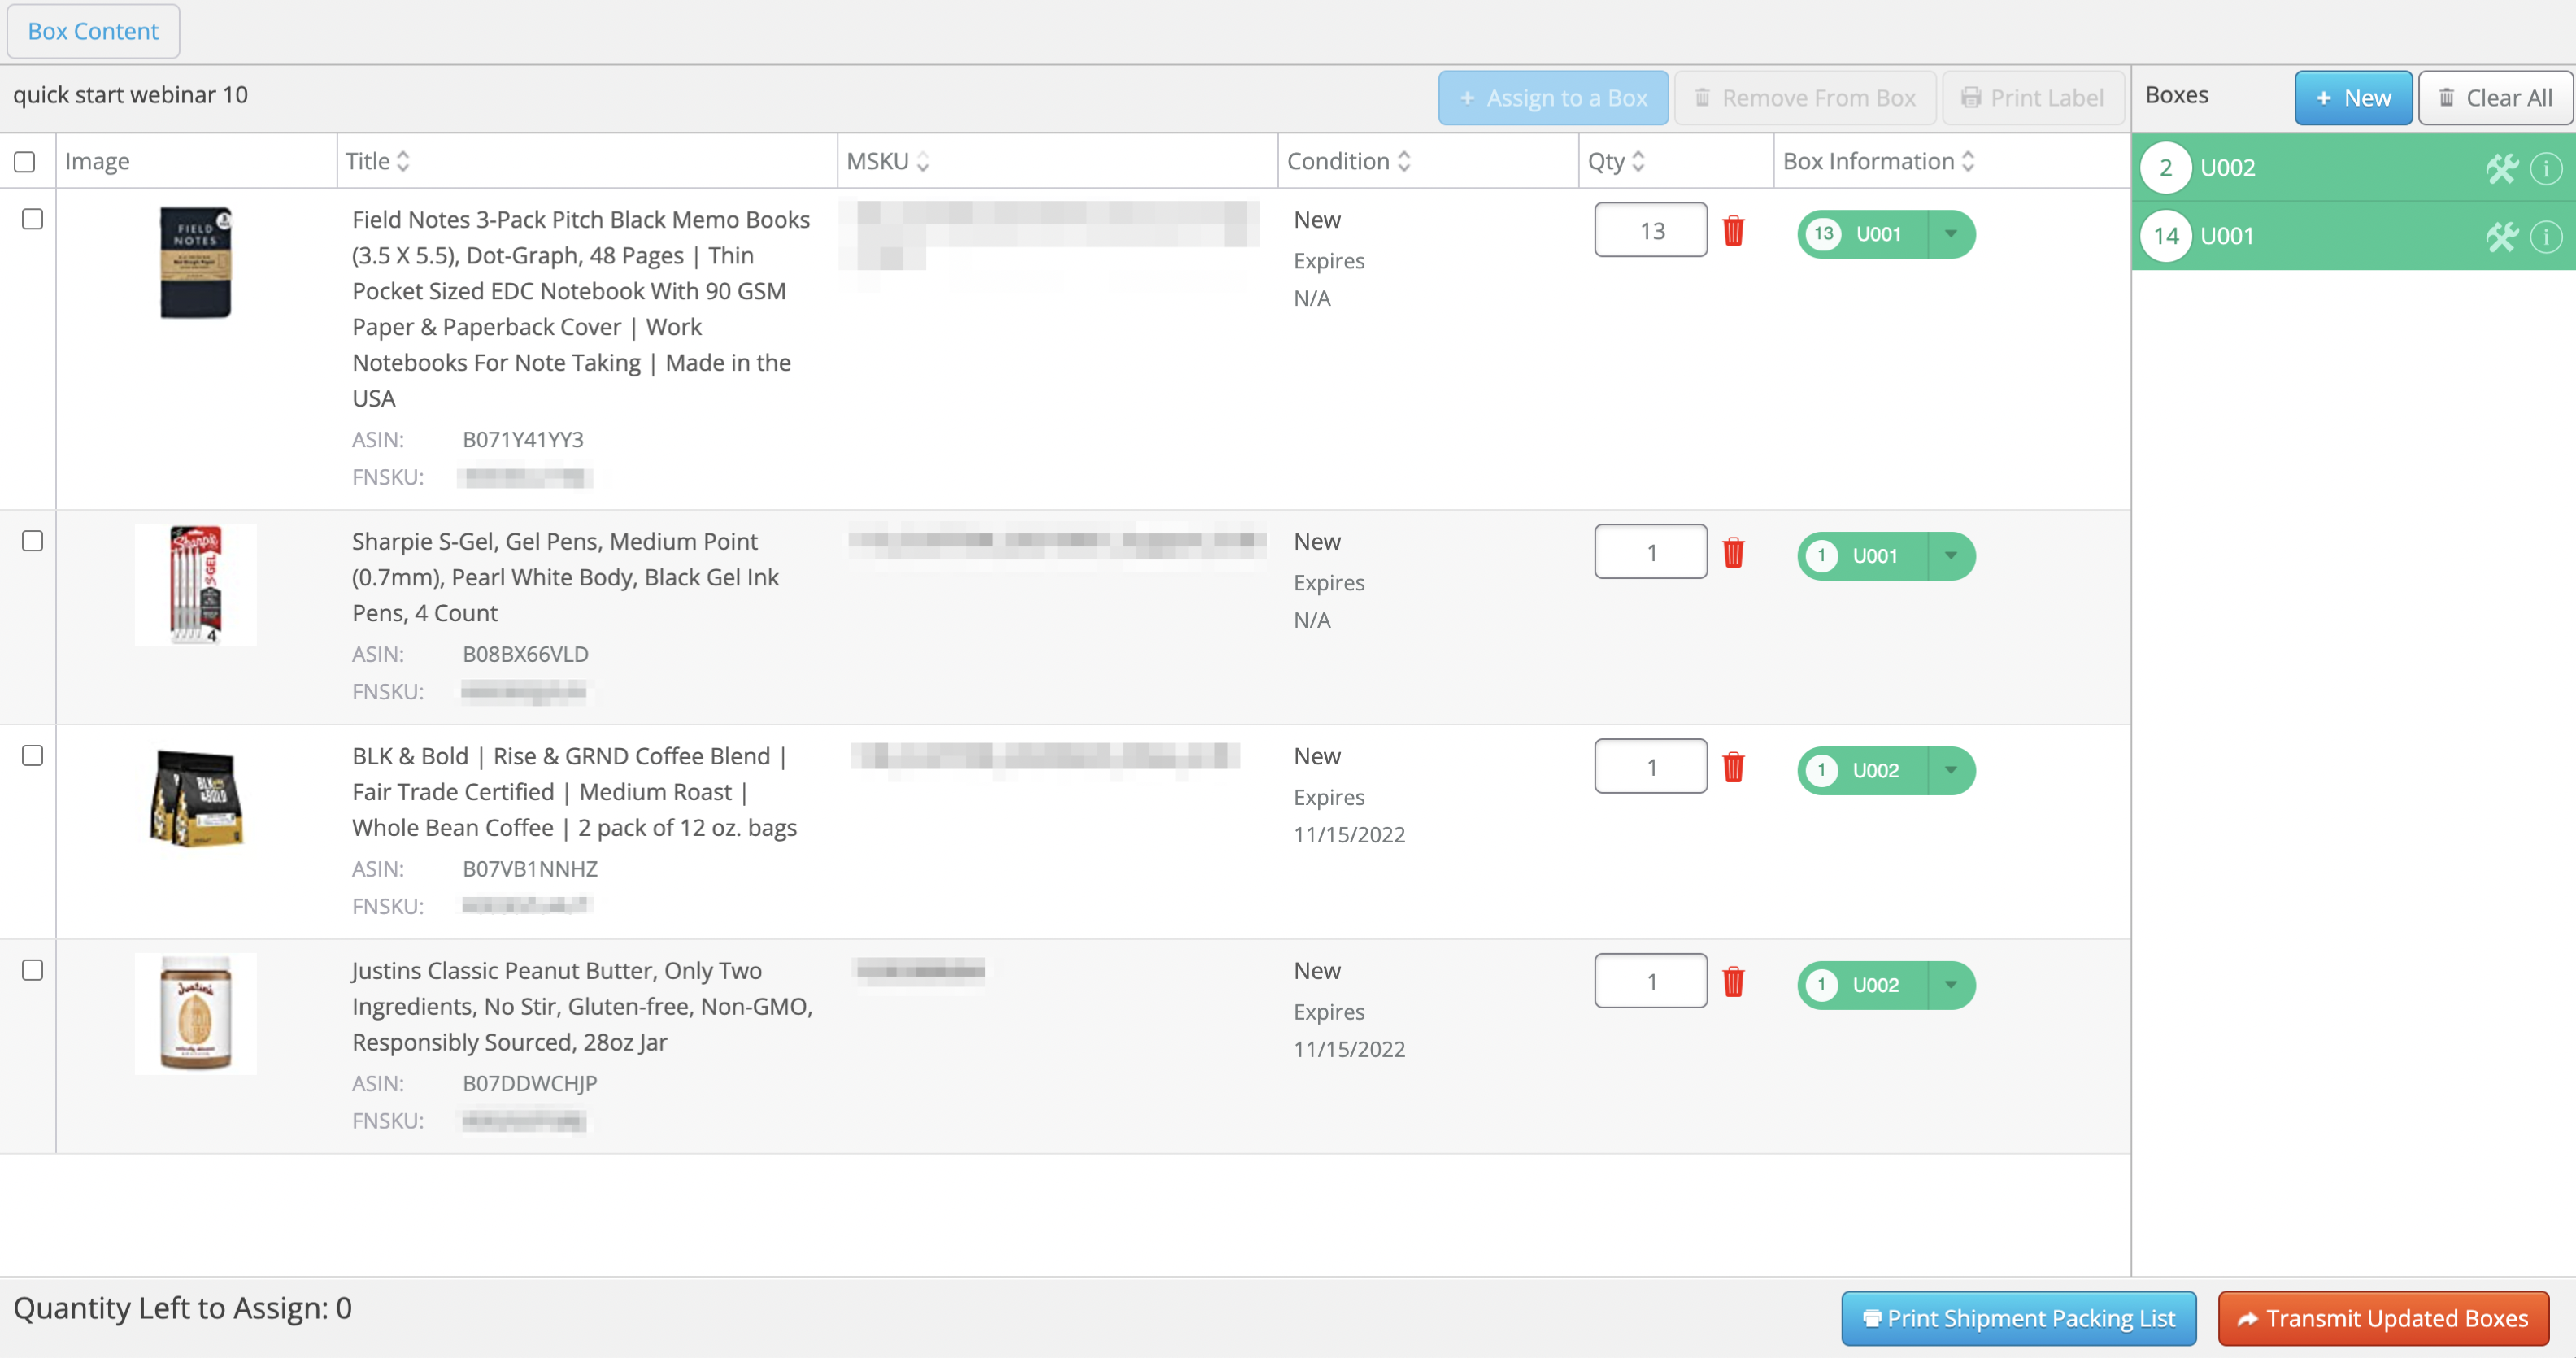
To view the contents of a box, click the i next to the box name under Boxes.

Editing Quantity of Items
To edit the quantity of an item, click in the Qty field next to it to enter the number, then either tap the Tab or Enter/Return key on your keyboard or click outside of the field to apply the change.

Note: You must also still abide by the 5% or 6 unit rule from Amazon that limits how much you can change quantity. (You will see a pop-up warning you of this if you attempt to make changes outside of these limits.)
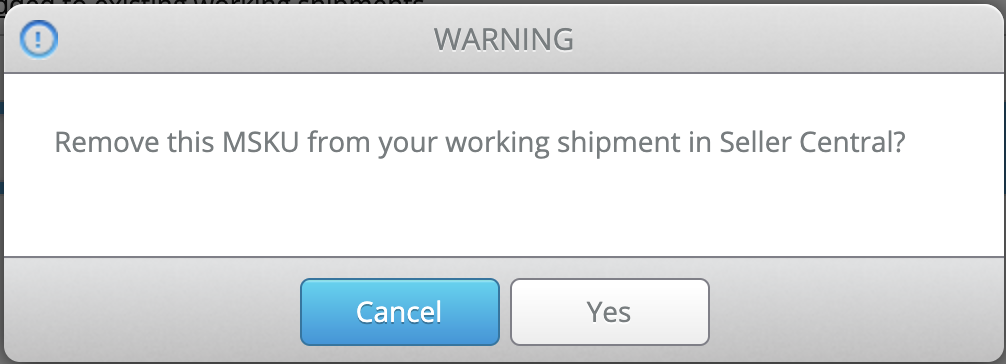
To delete an item from the shipment completely, click the trashcan icon next to it, or change the number in the Qty field to zero.

You will be asked to confirm this change. To proceed, click Yes and the item will be removed in Stratify as well as Seller Central for the shipment.
For more information on editing the quantity of items in a shipment, please see Editing Quantity of an Item in a Working Shipment
Creating New Boxes
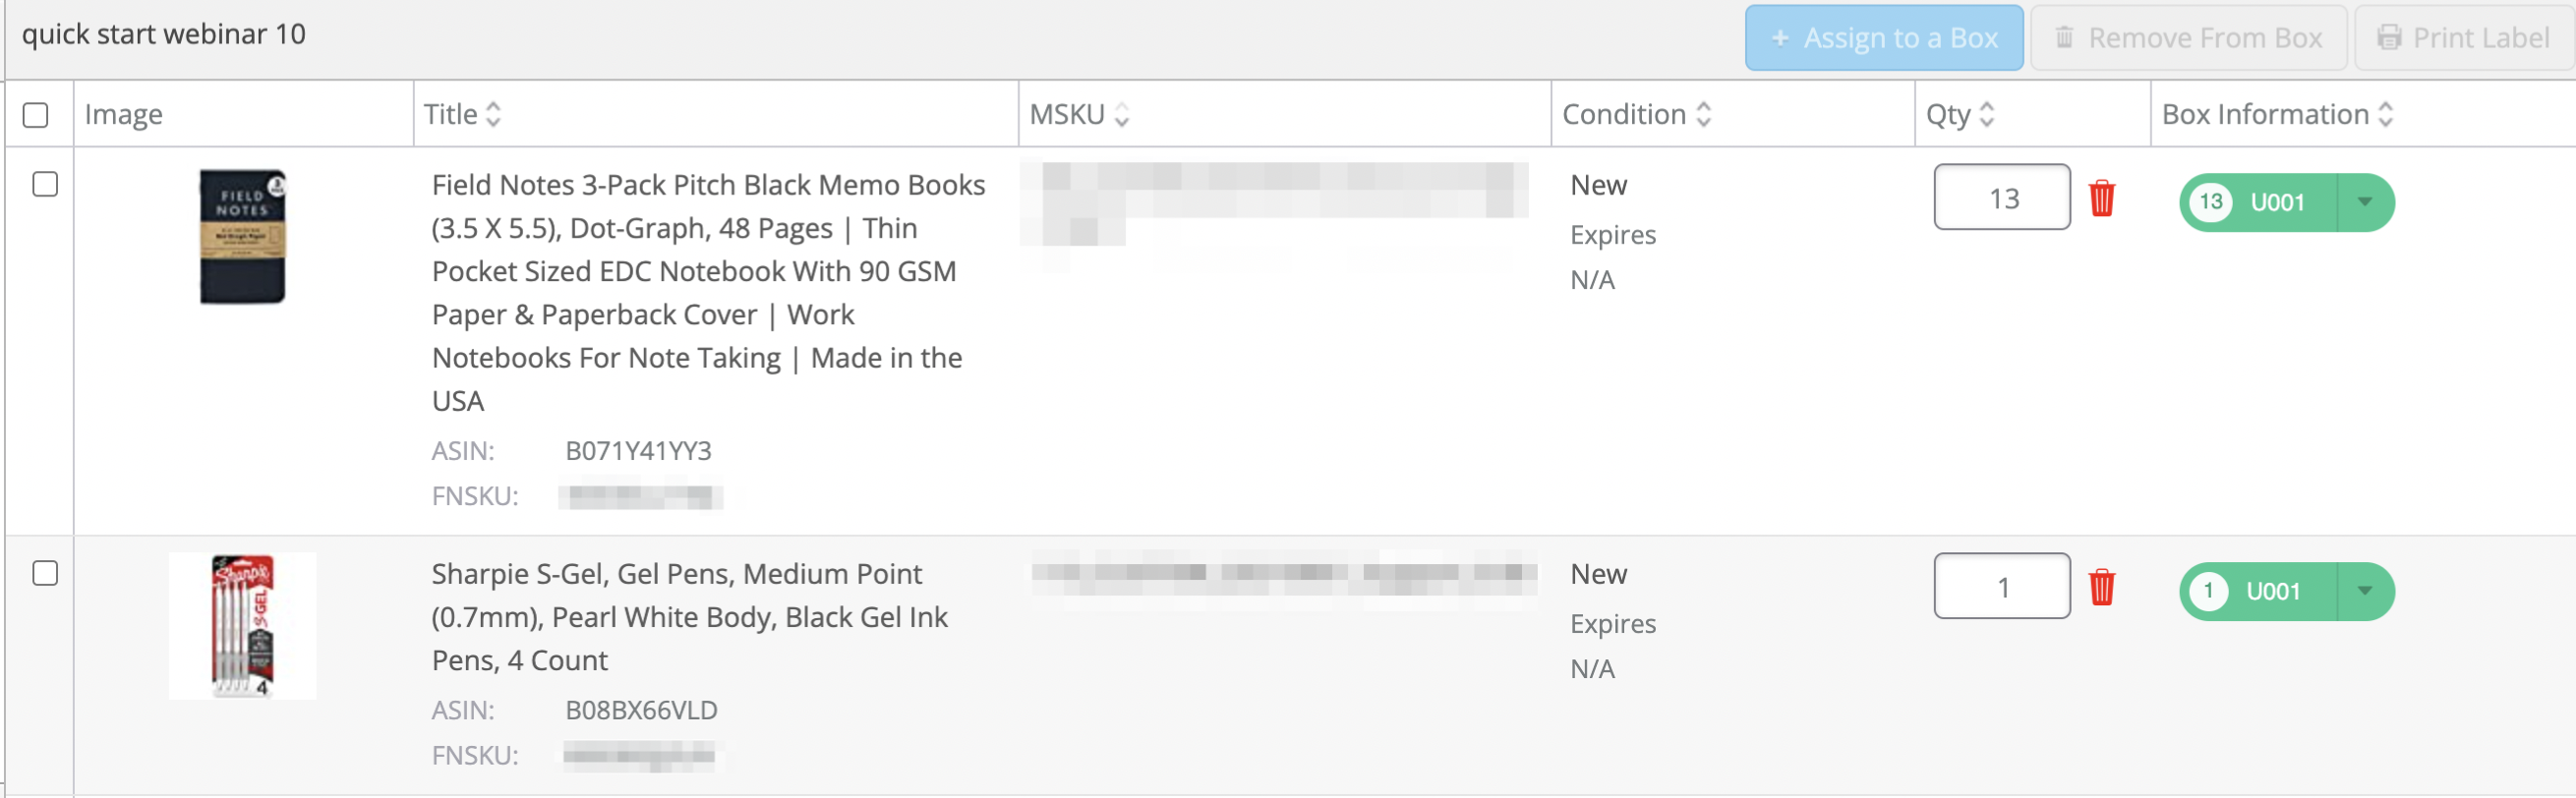
In the image above, both items are assigned to box U001. However, if you wanted to assign one item to a new box instead, click the +New button to create a new box.
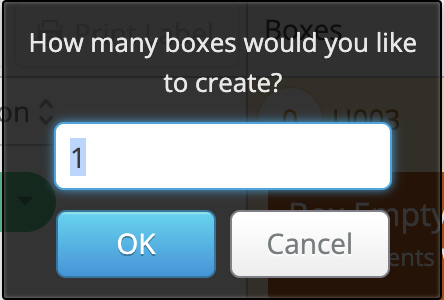
A prompt will appear allowing you to input the number of boxes you would like to create.
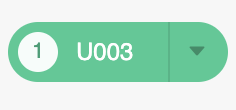
We created box U003 for this illustration.
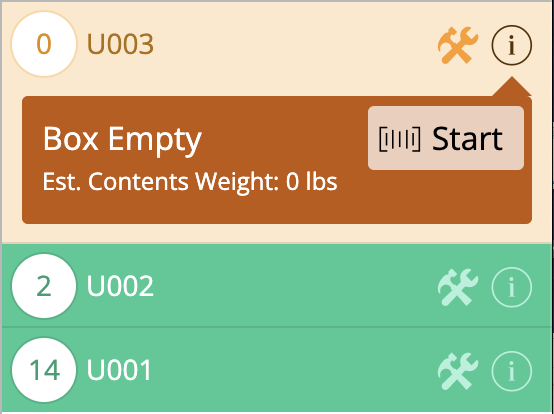
Next, click the arrow next to the box the item is currently assigned to open a dropdown menu, then click in the Box Name field. You will see the additional box is now available to select.
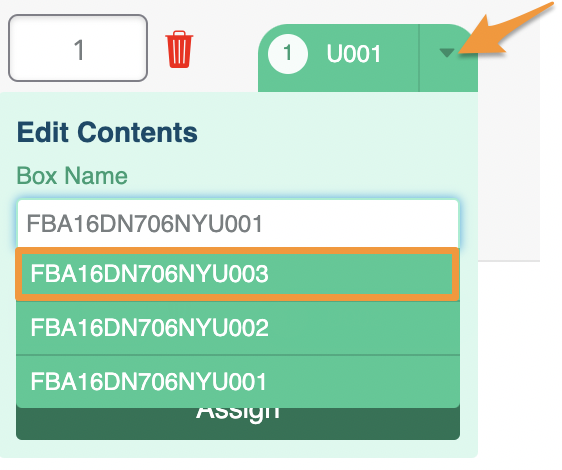
Click the new box name.
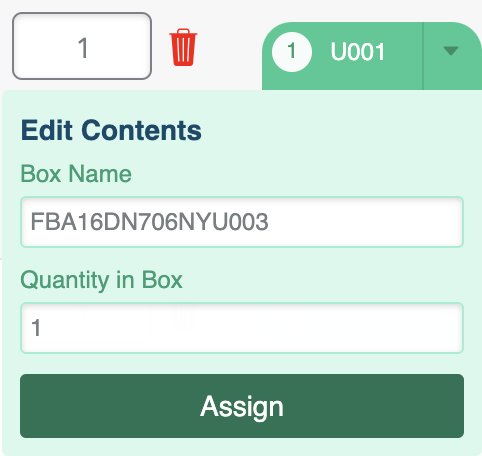
Then, click Assign. This will assign your items to the new box.
Additionally, you can assign different quantities to different boxes and do a complete shuffling of your items if needed using the same concept.
Removing a Box
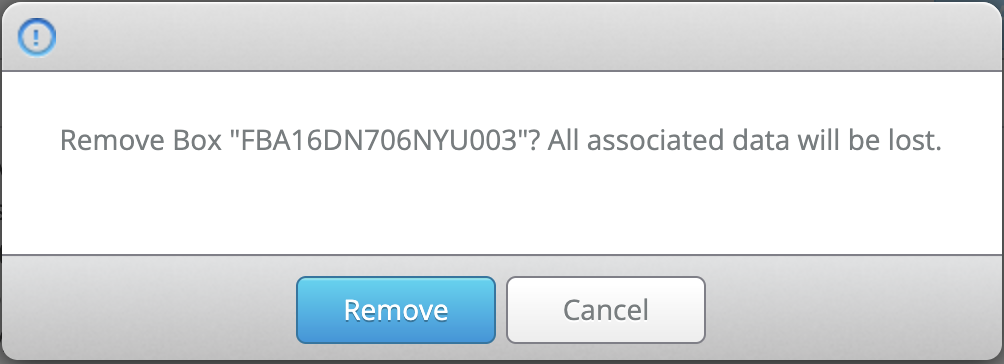
If you need to delete a box, you can click the Action button next to the box name and click Remove Box.
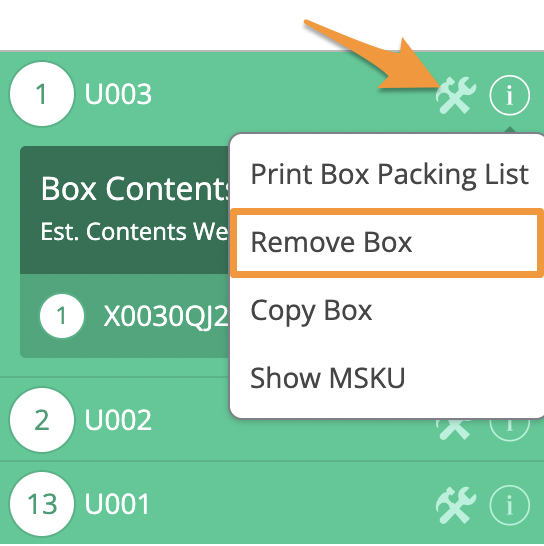
A pop-up will appear to make sure the box should be removed. Click Remove to proceed.
If the box contained any items, those items will need to be reassigned to a new box.
Deleting boxes may cause the box numbers in Seller Central not to match up with the box numbers in Stratify for the shipment. For more information, please see Your Shipping Labels With Box Content
Next Steps
Depending on the Box Content Setting for your batch, the next steps will vary.
Transmitting Updated Feeds
If the Box Content Setting for the batch is On- Using Feeds, you must transmit the updated information to Seller Central before moving there to finish up the shipment.

For full steps, please see- Box Content Using Feeds - How to Resend Your Box Content Information
Printing Updated 2D Barcodes
If the Box Content Setting for the batch is On- Using 2D Barcodes, you must print new barcode labels with the updated information.
For full steps, please see- Box Content Using 2D Barcodes - How to Print Updated 2D Barcode Labels
