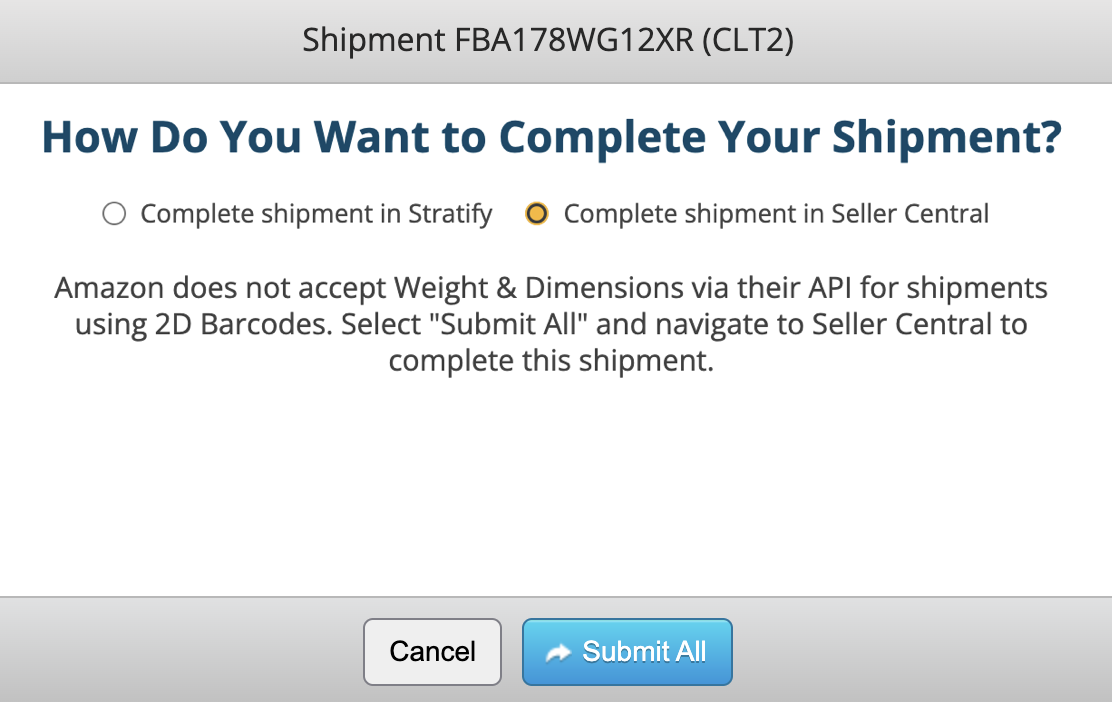
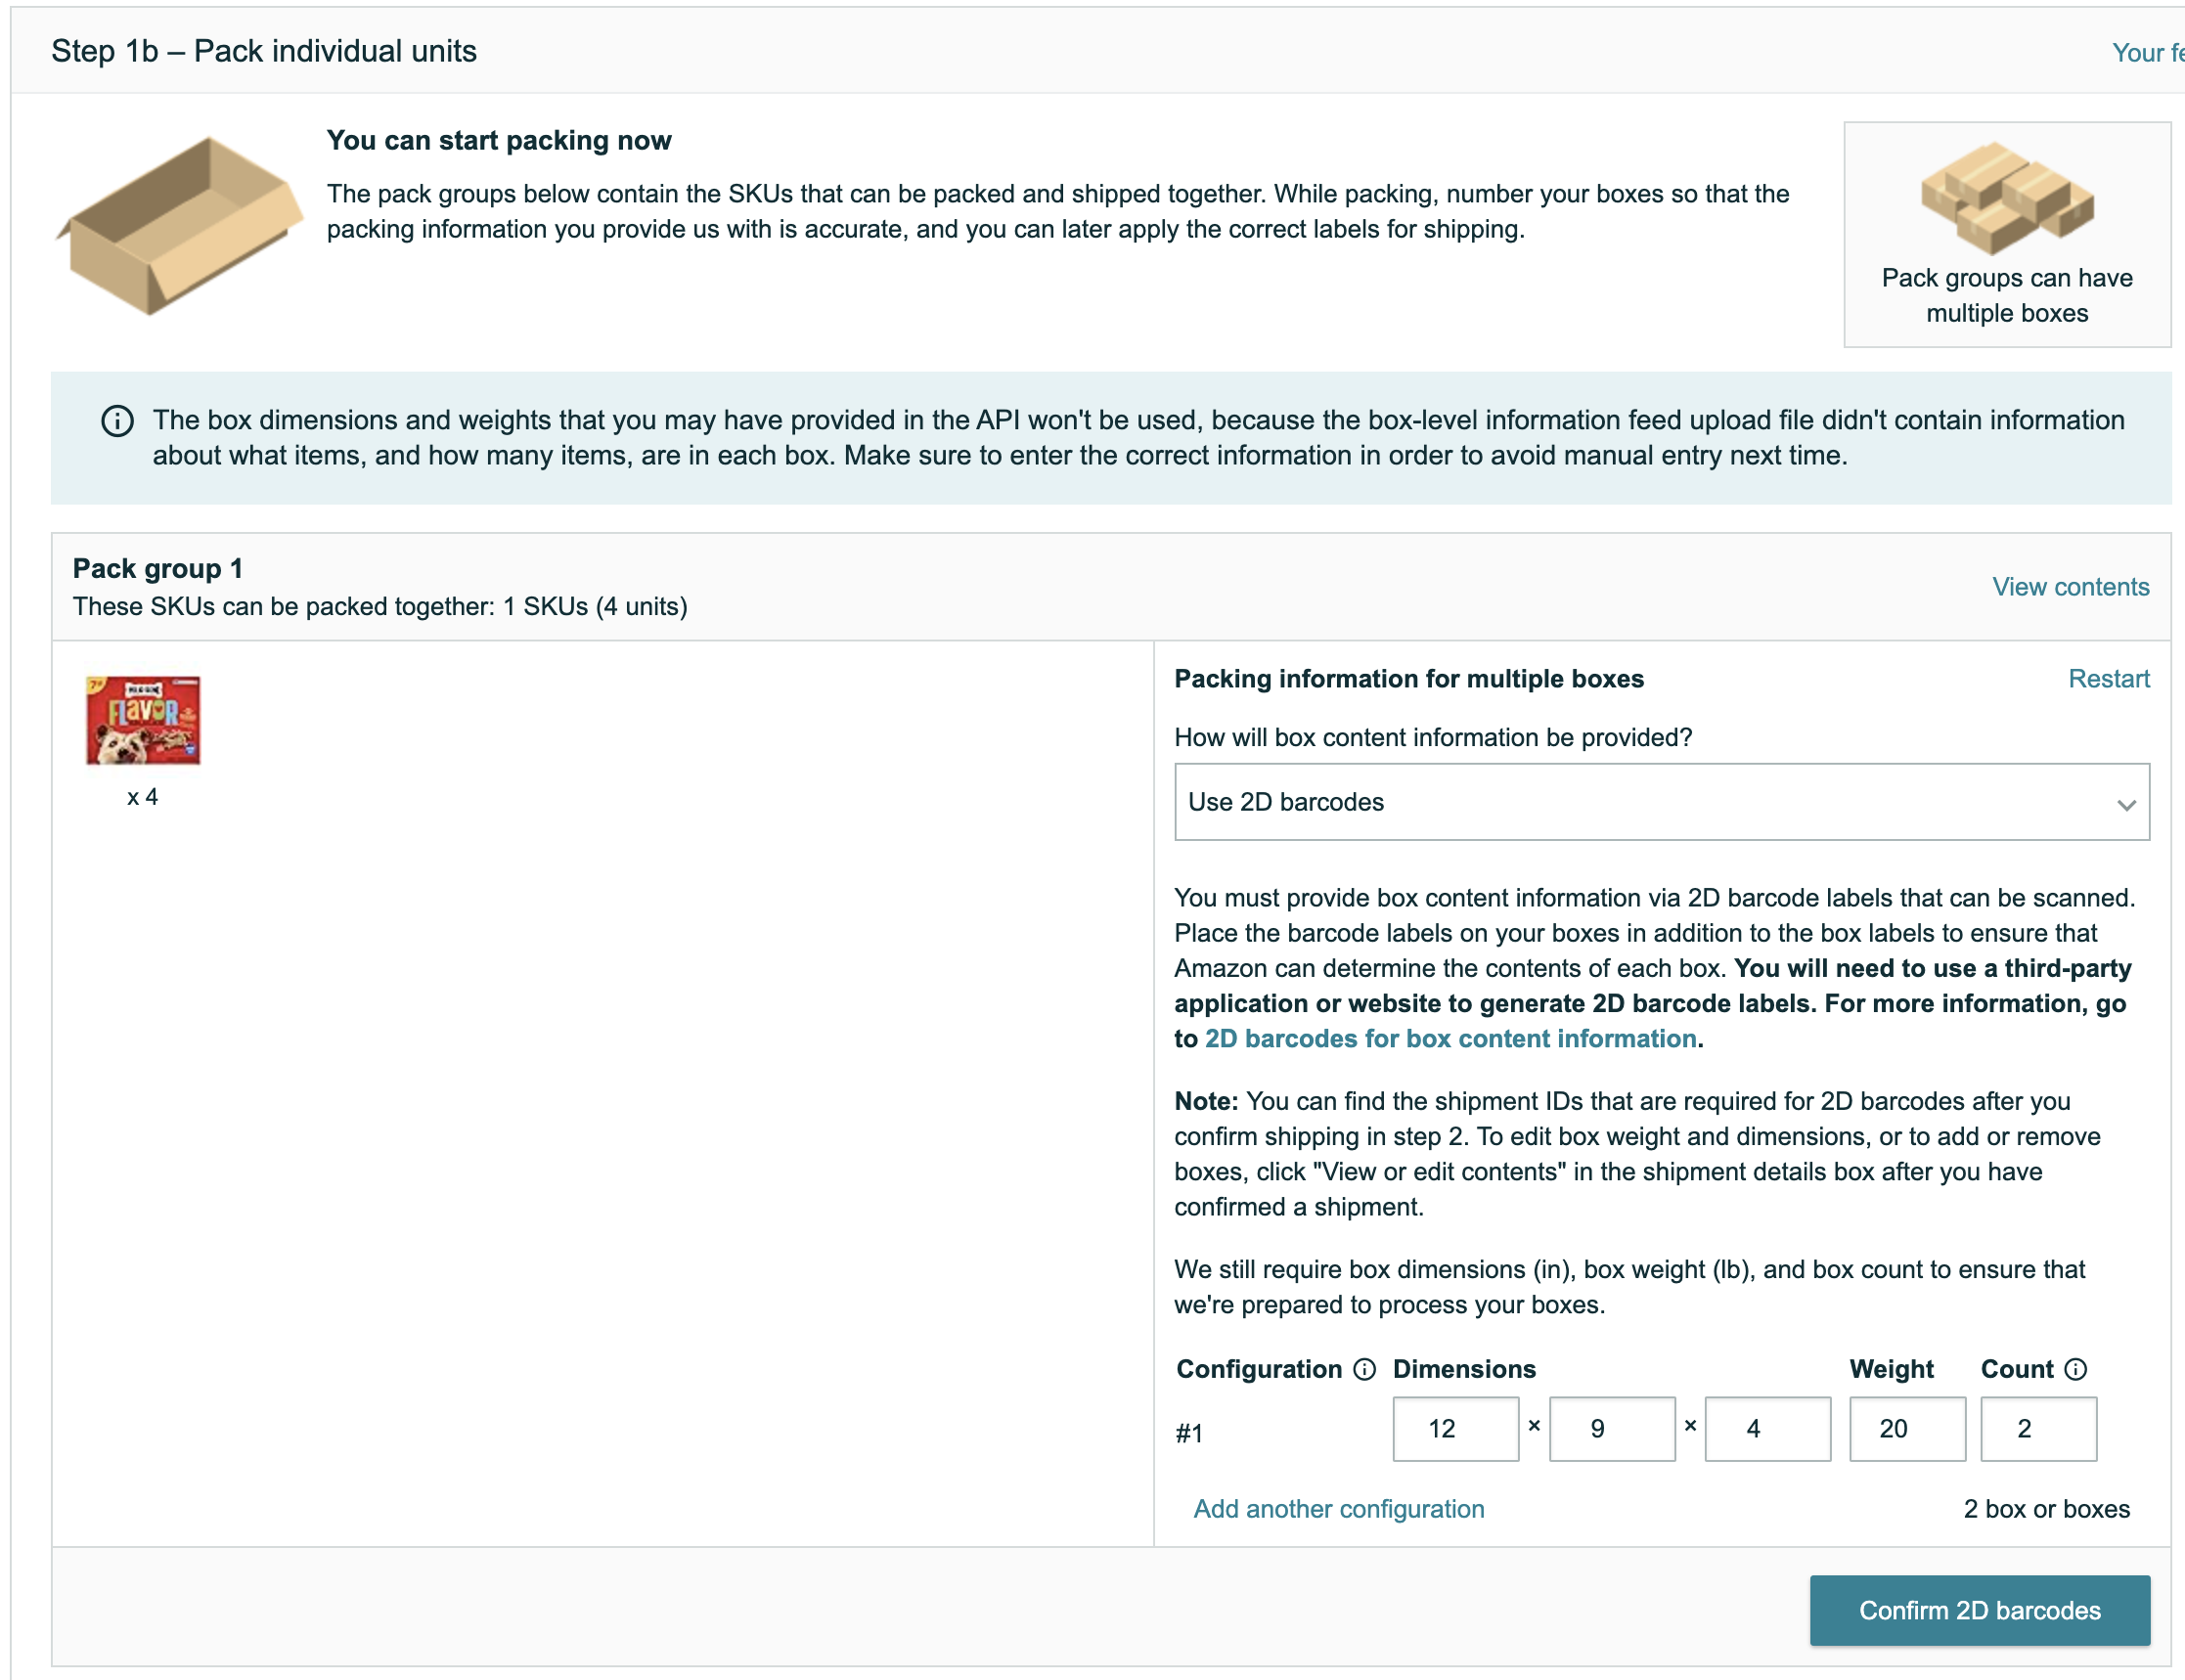
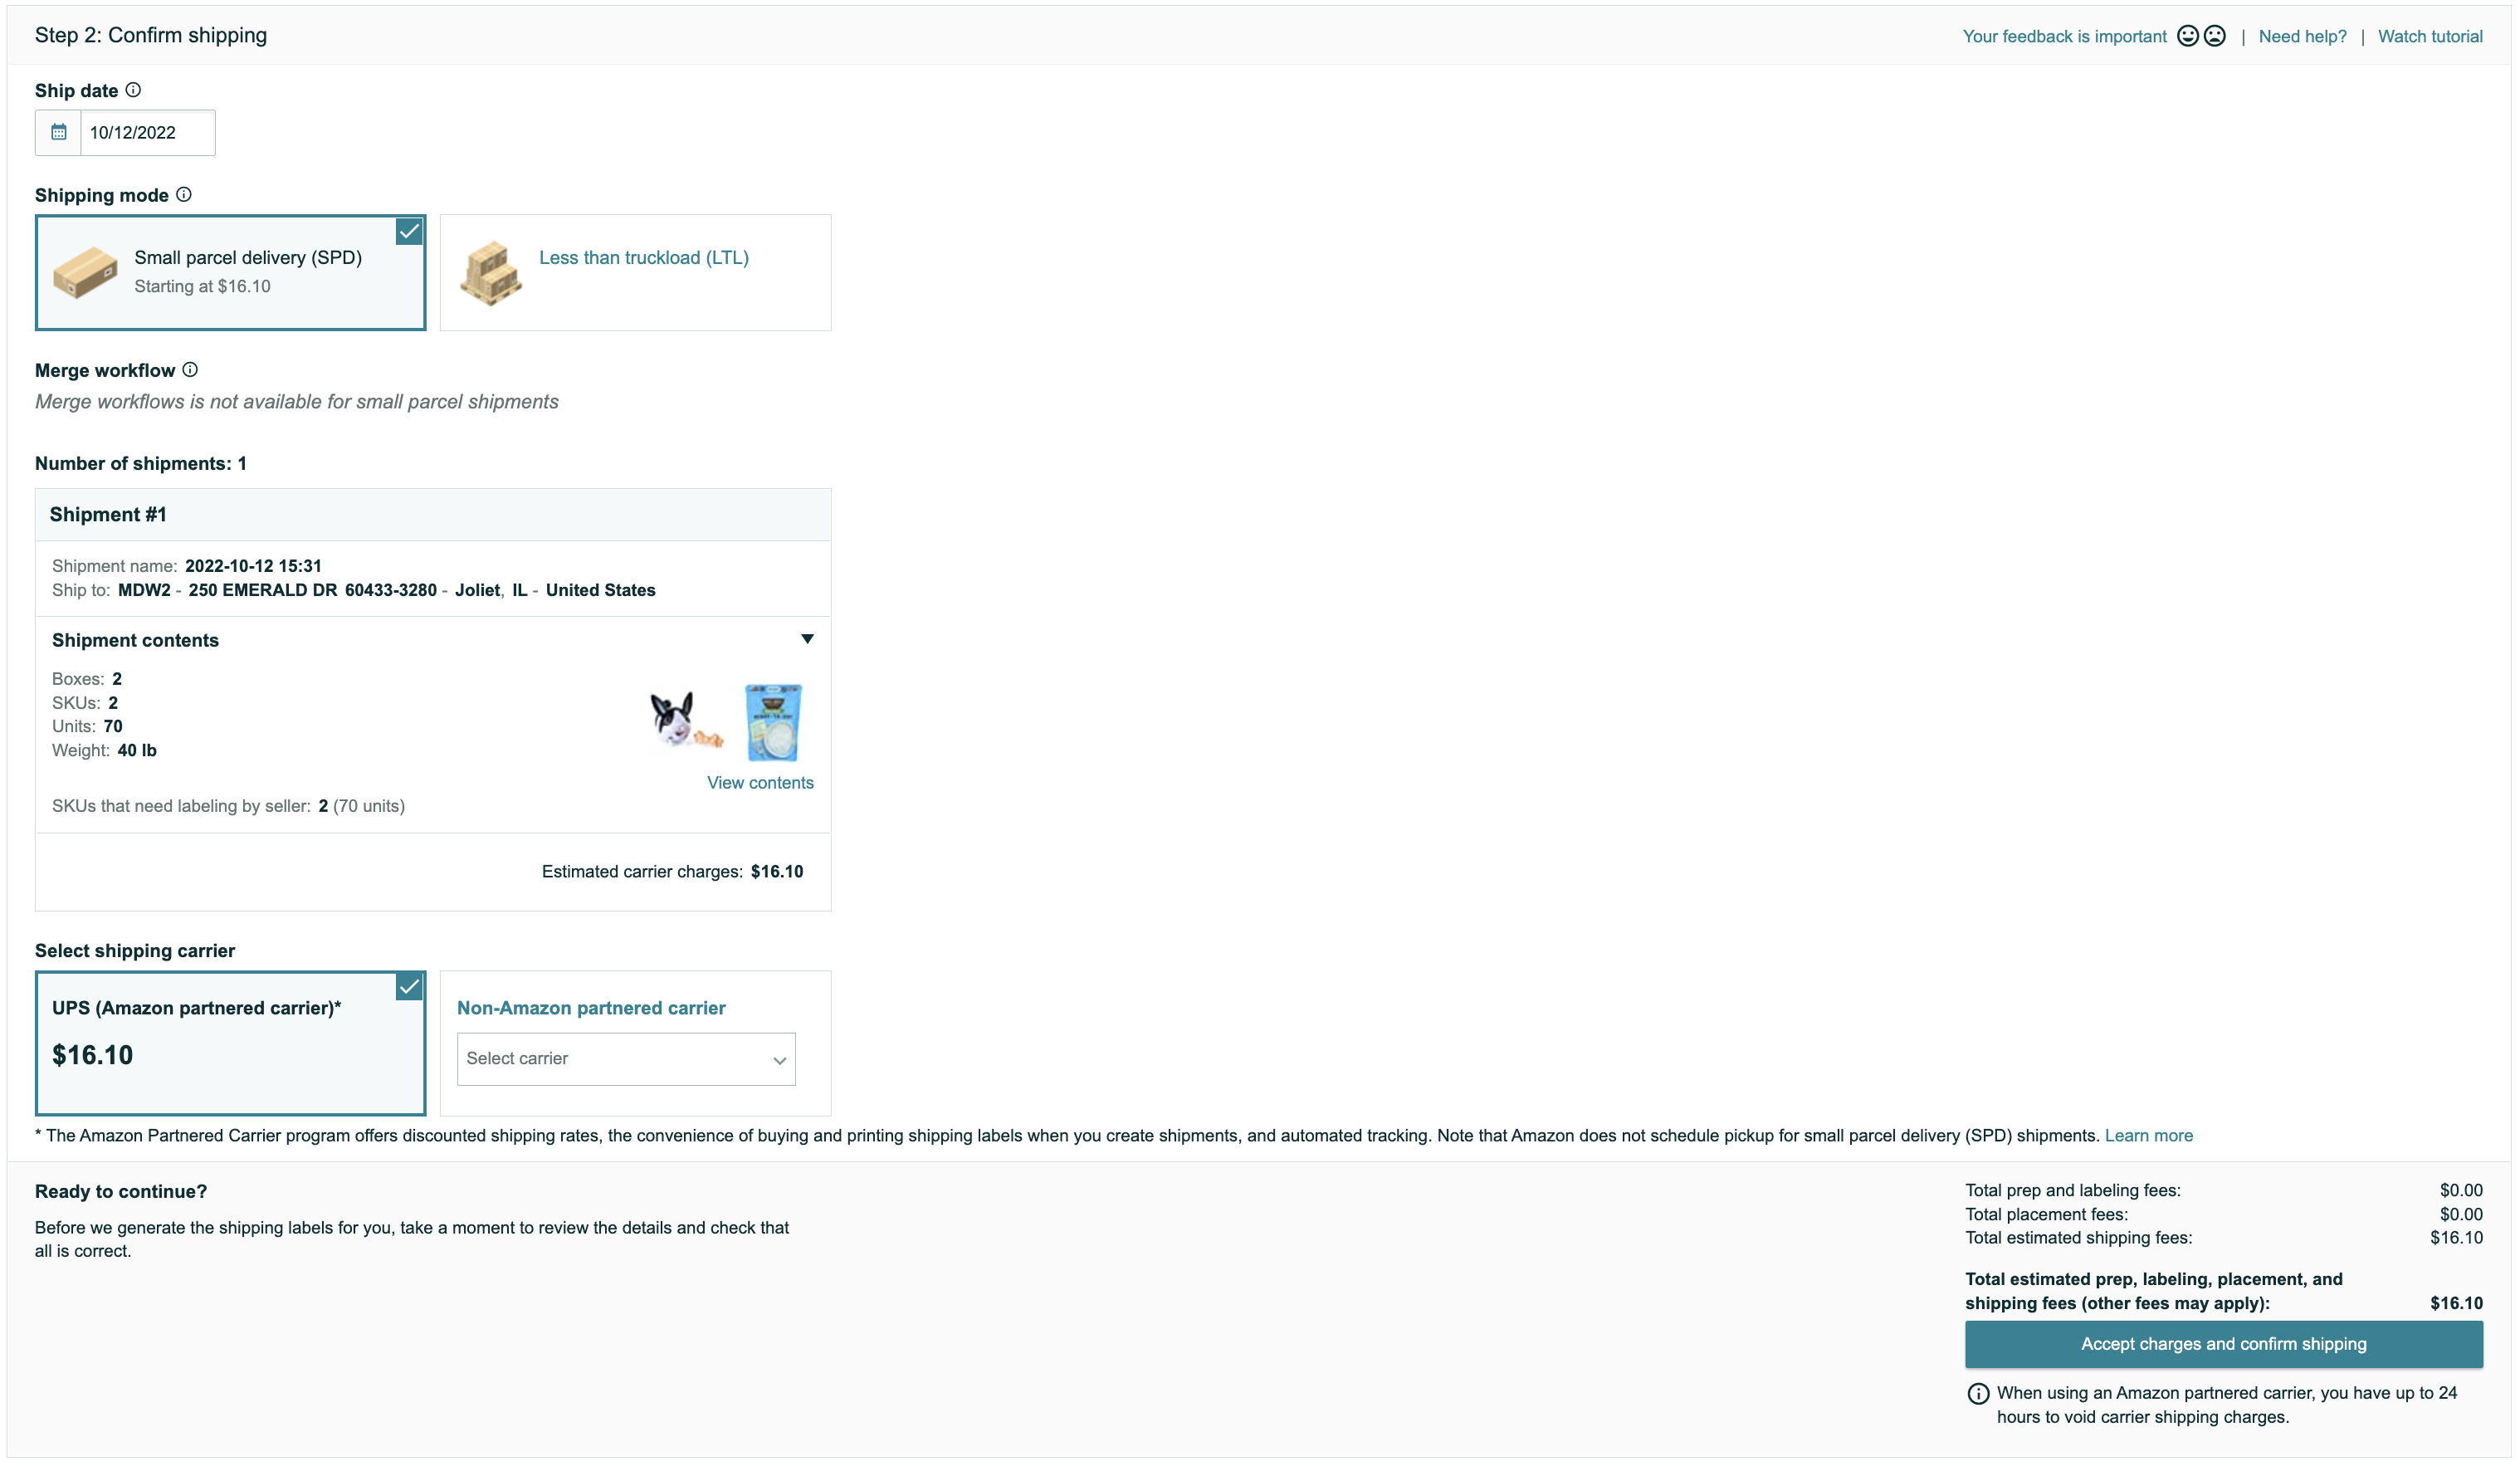
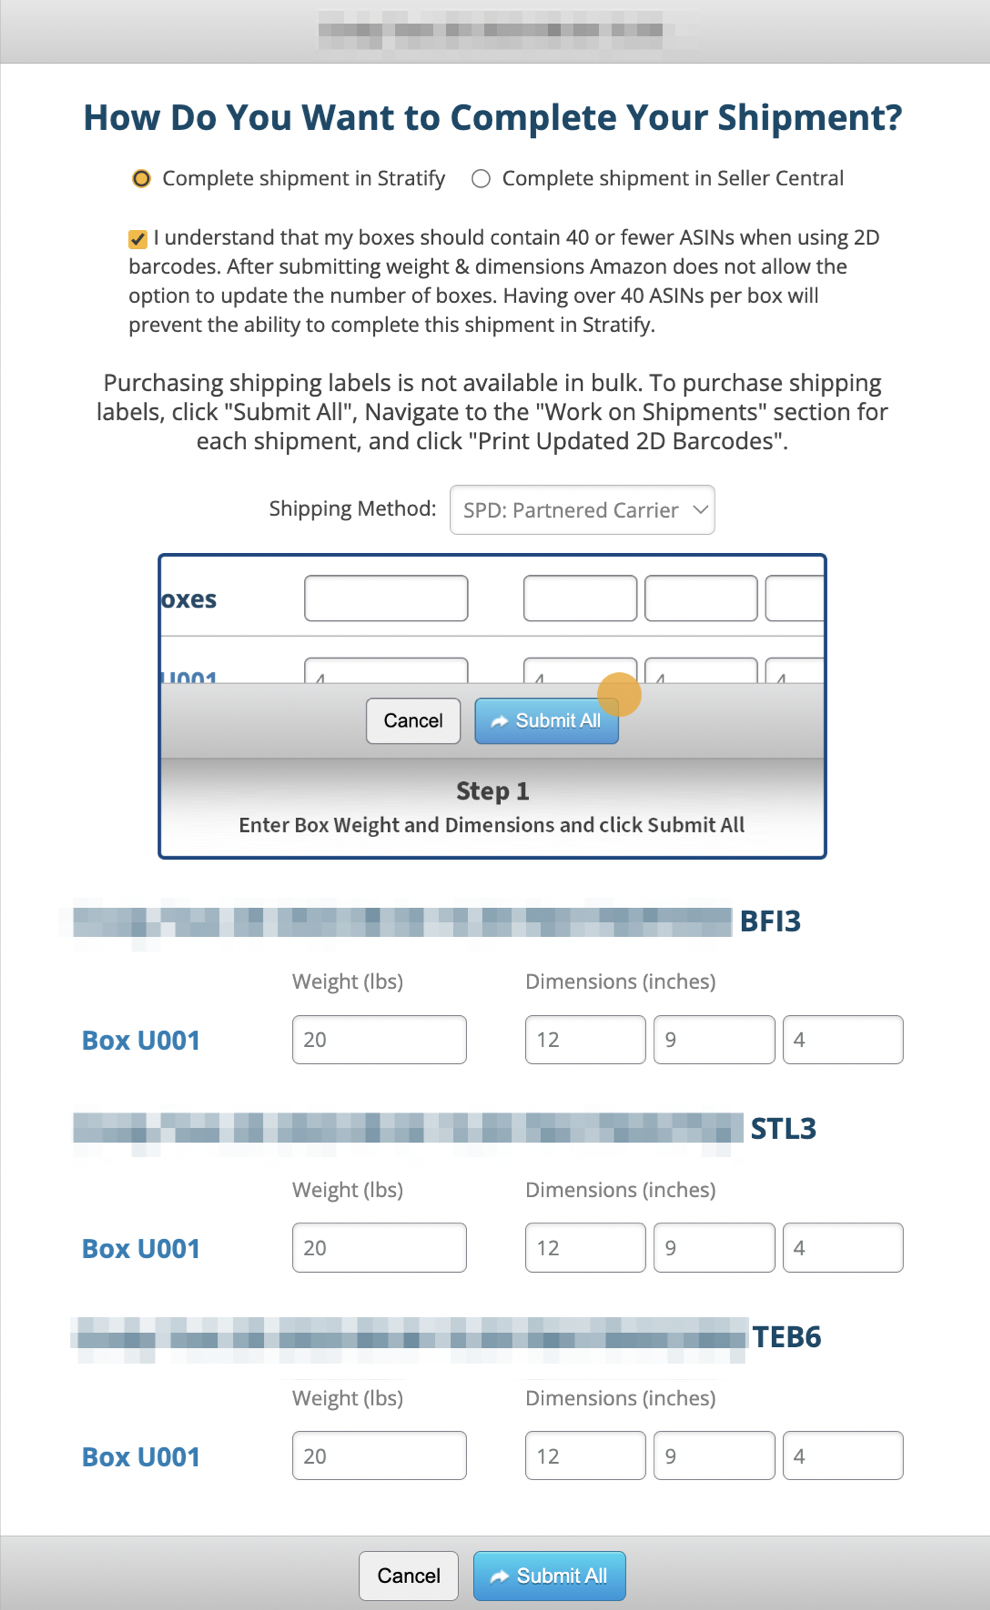
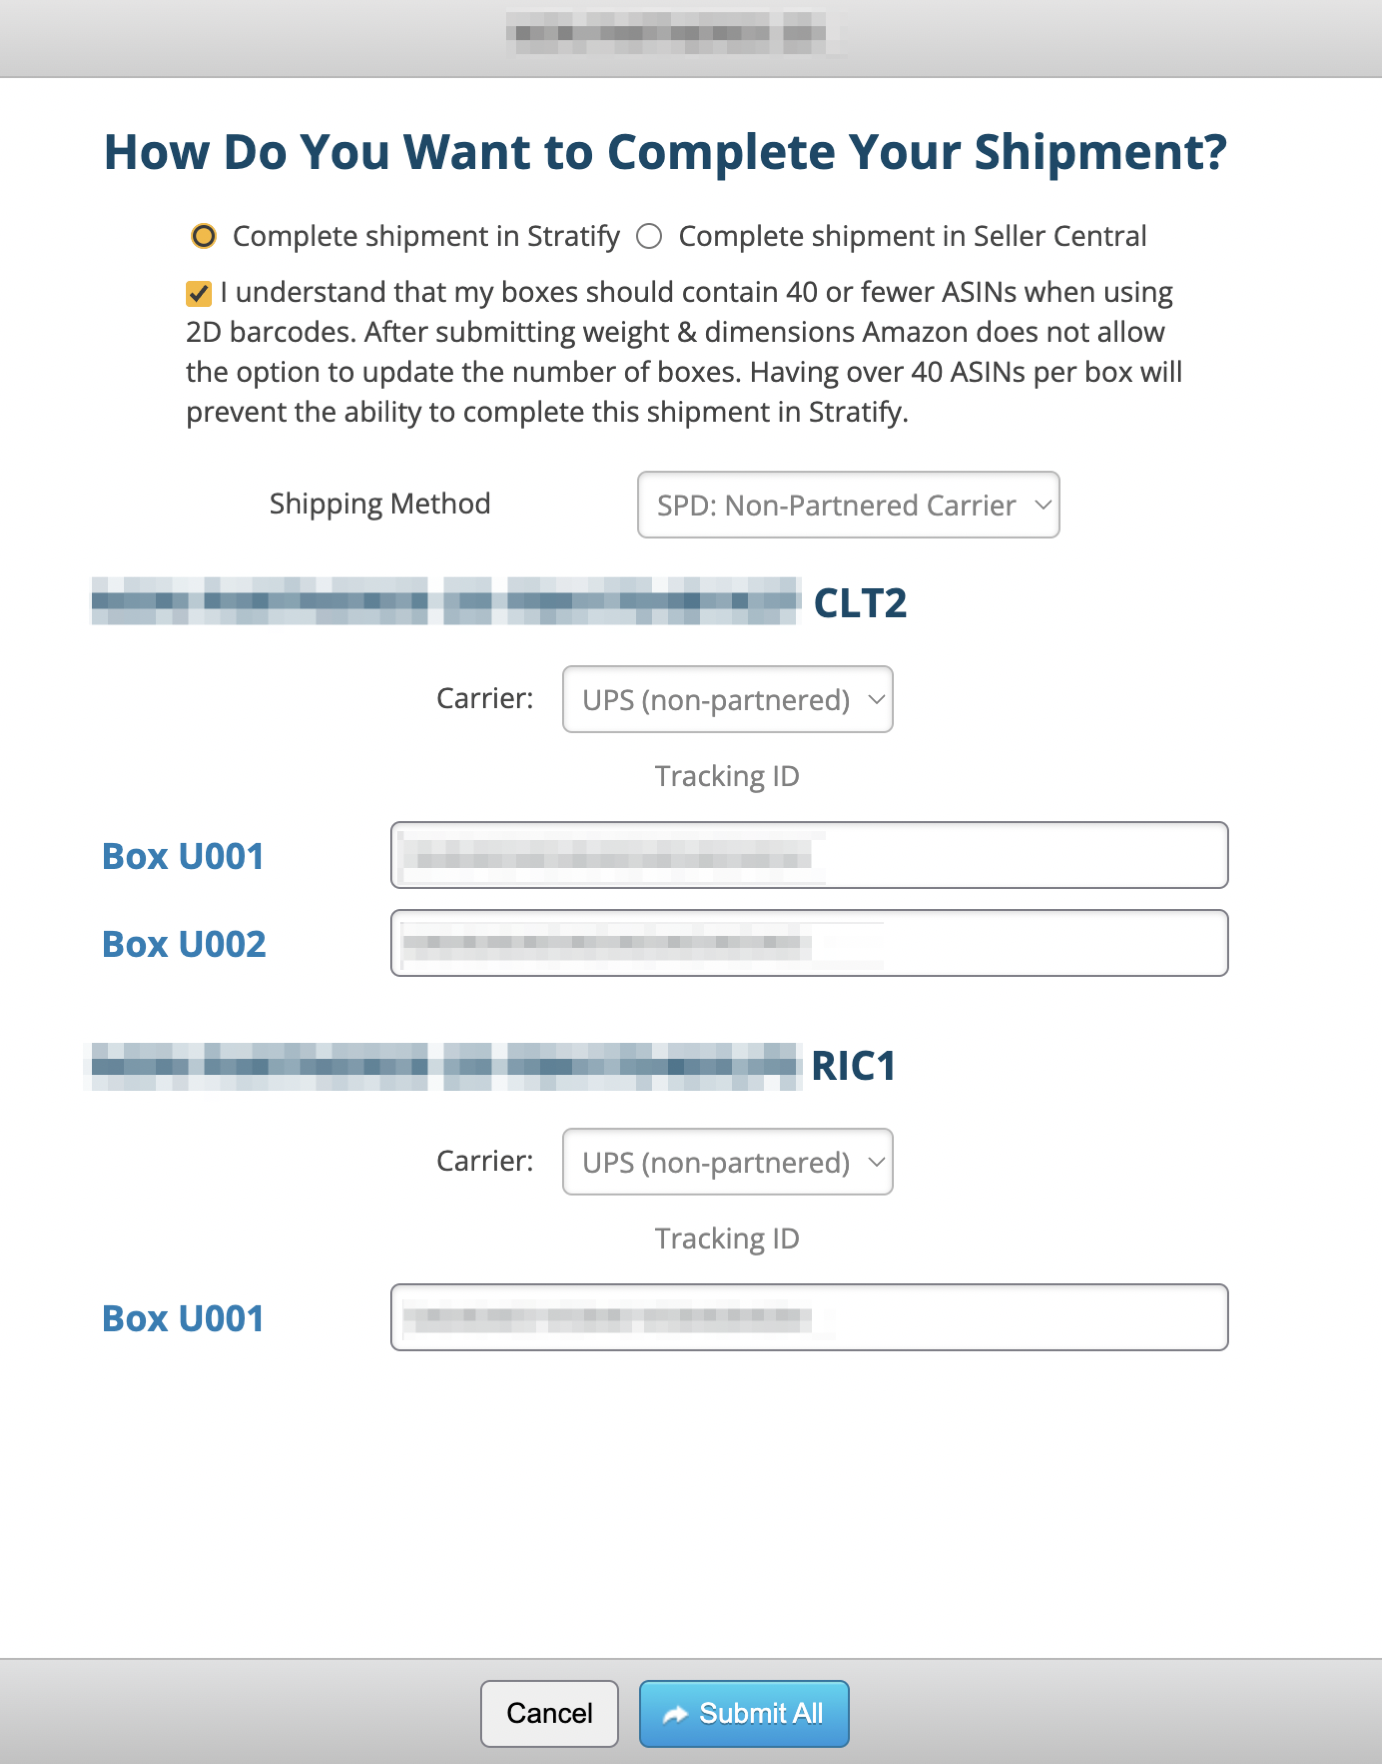
Any shipment received at an Amazon fulfillment center without box content information is subject to fees that Amazon assesses. InventoryLab has built options to provide this information into your workflow to make your life easier!
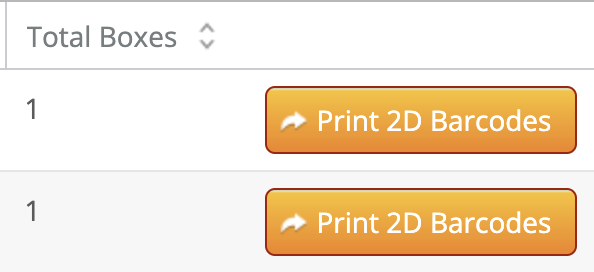
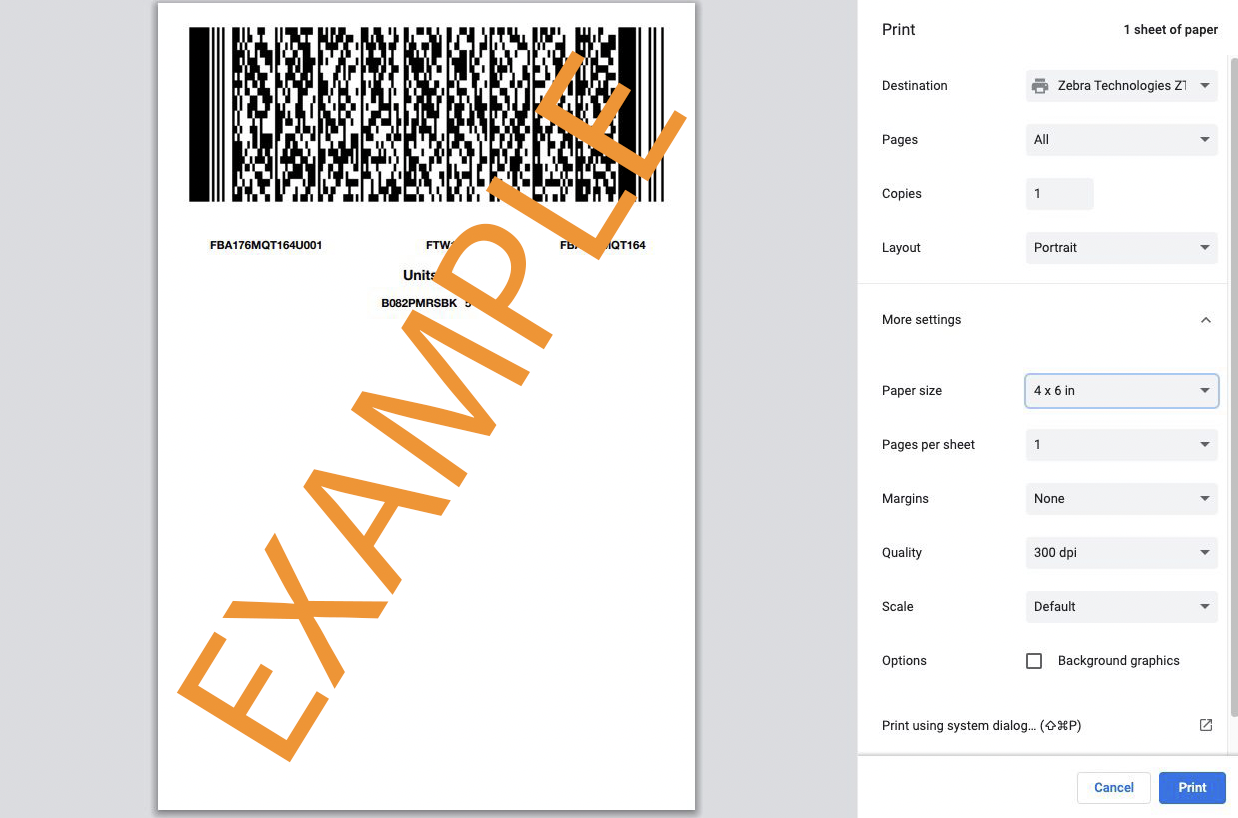
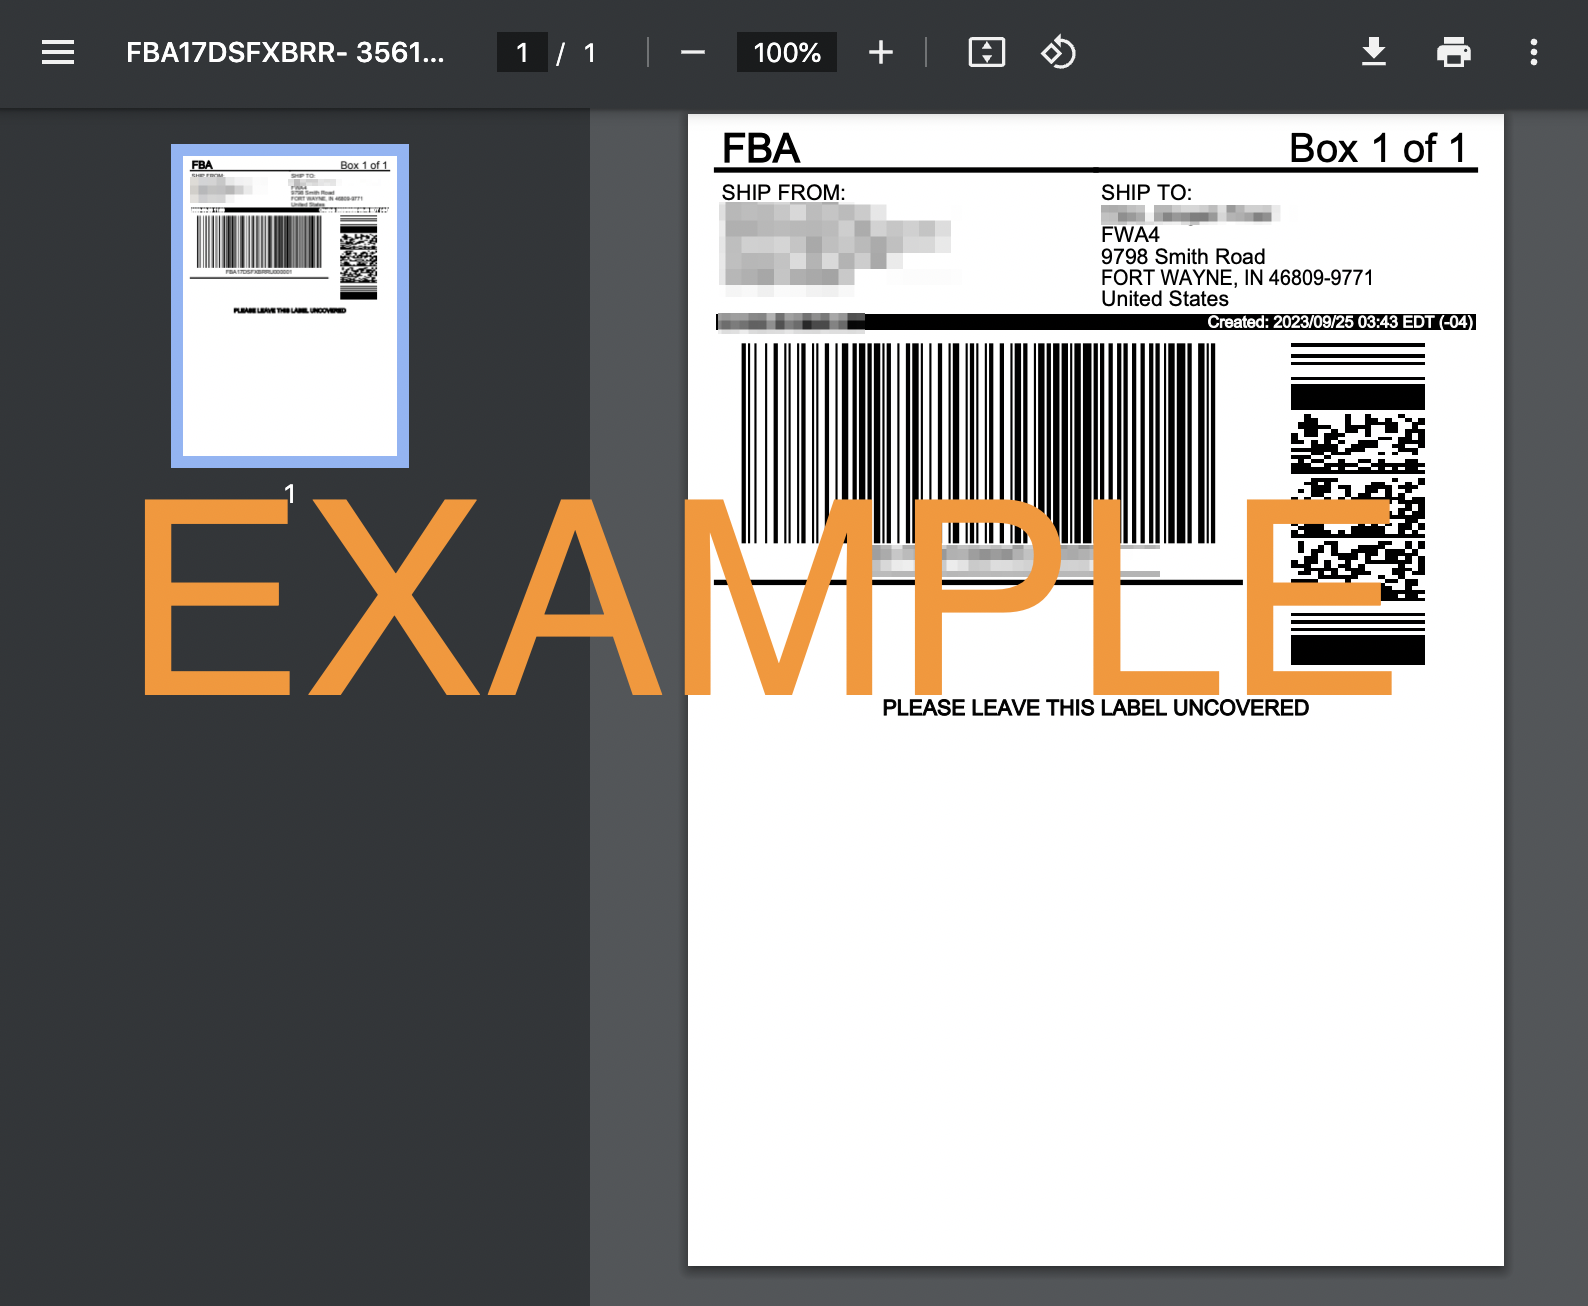
This article details entering box content and printing 2D Barcodes.
Have a barcode scanner? Check out this article for steps on scanning items to assign them to boxes- Box Content Scanning
2D Barcode Label Requirements
The 2D barcode labels generated by InventoryLab are PD417, the recommended type by Amazon.
Amazon also recommends printing these labels using either a thermal or laser printer. Their support article states:
We recommend thermal or laser printers for printing your 2D barcode labels. Do not use inkjet printers. To prevent the PDF print area from scaling, make sure the printer’s scaling settings are set to none or 100%. We also recommend that you periodically test your barcodes by scanning them.
For more information, please refer to their article- Provide 2D barcodes for box content information
Box Content Settings
To provide box content using 2D barcodes, you must have this option turned on both in Seller Central and in Stratify.
Turning on 2D Barcodes in Seller Central
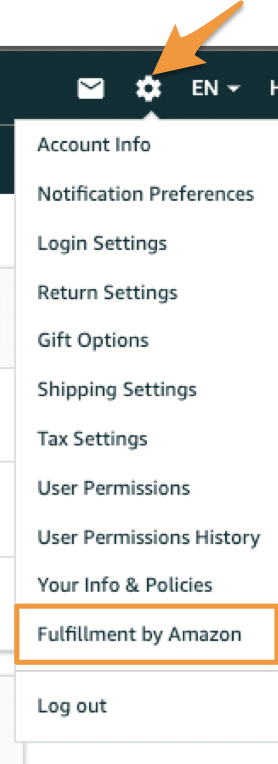
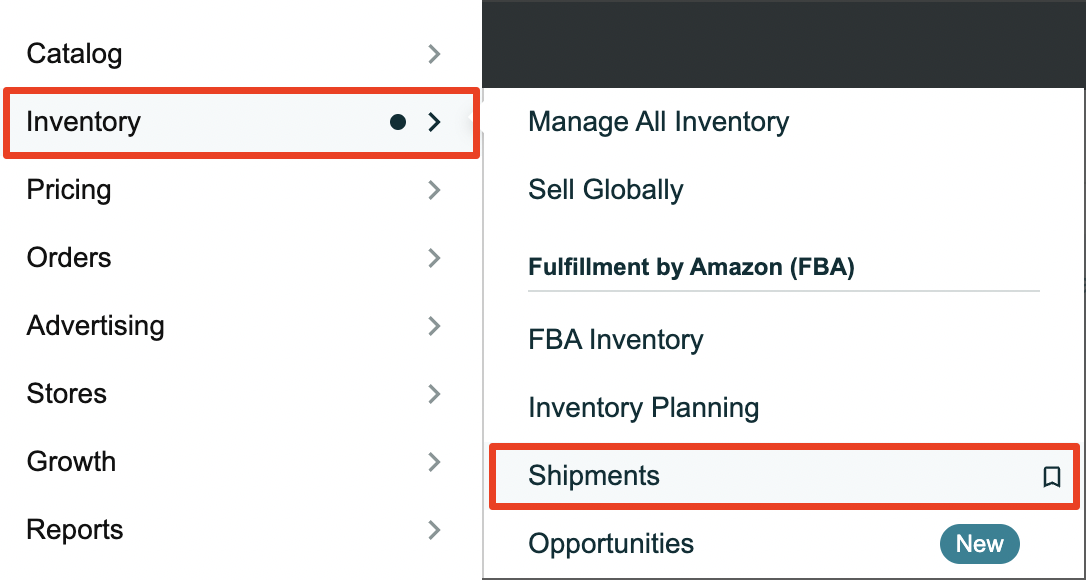
Log in to Seller Central and click the Settings gear in the upper right corner.
Hover over it and select Fulfillment by Amazon from the drop-down menu, as shown below:
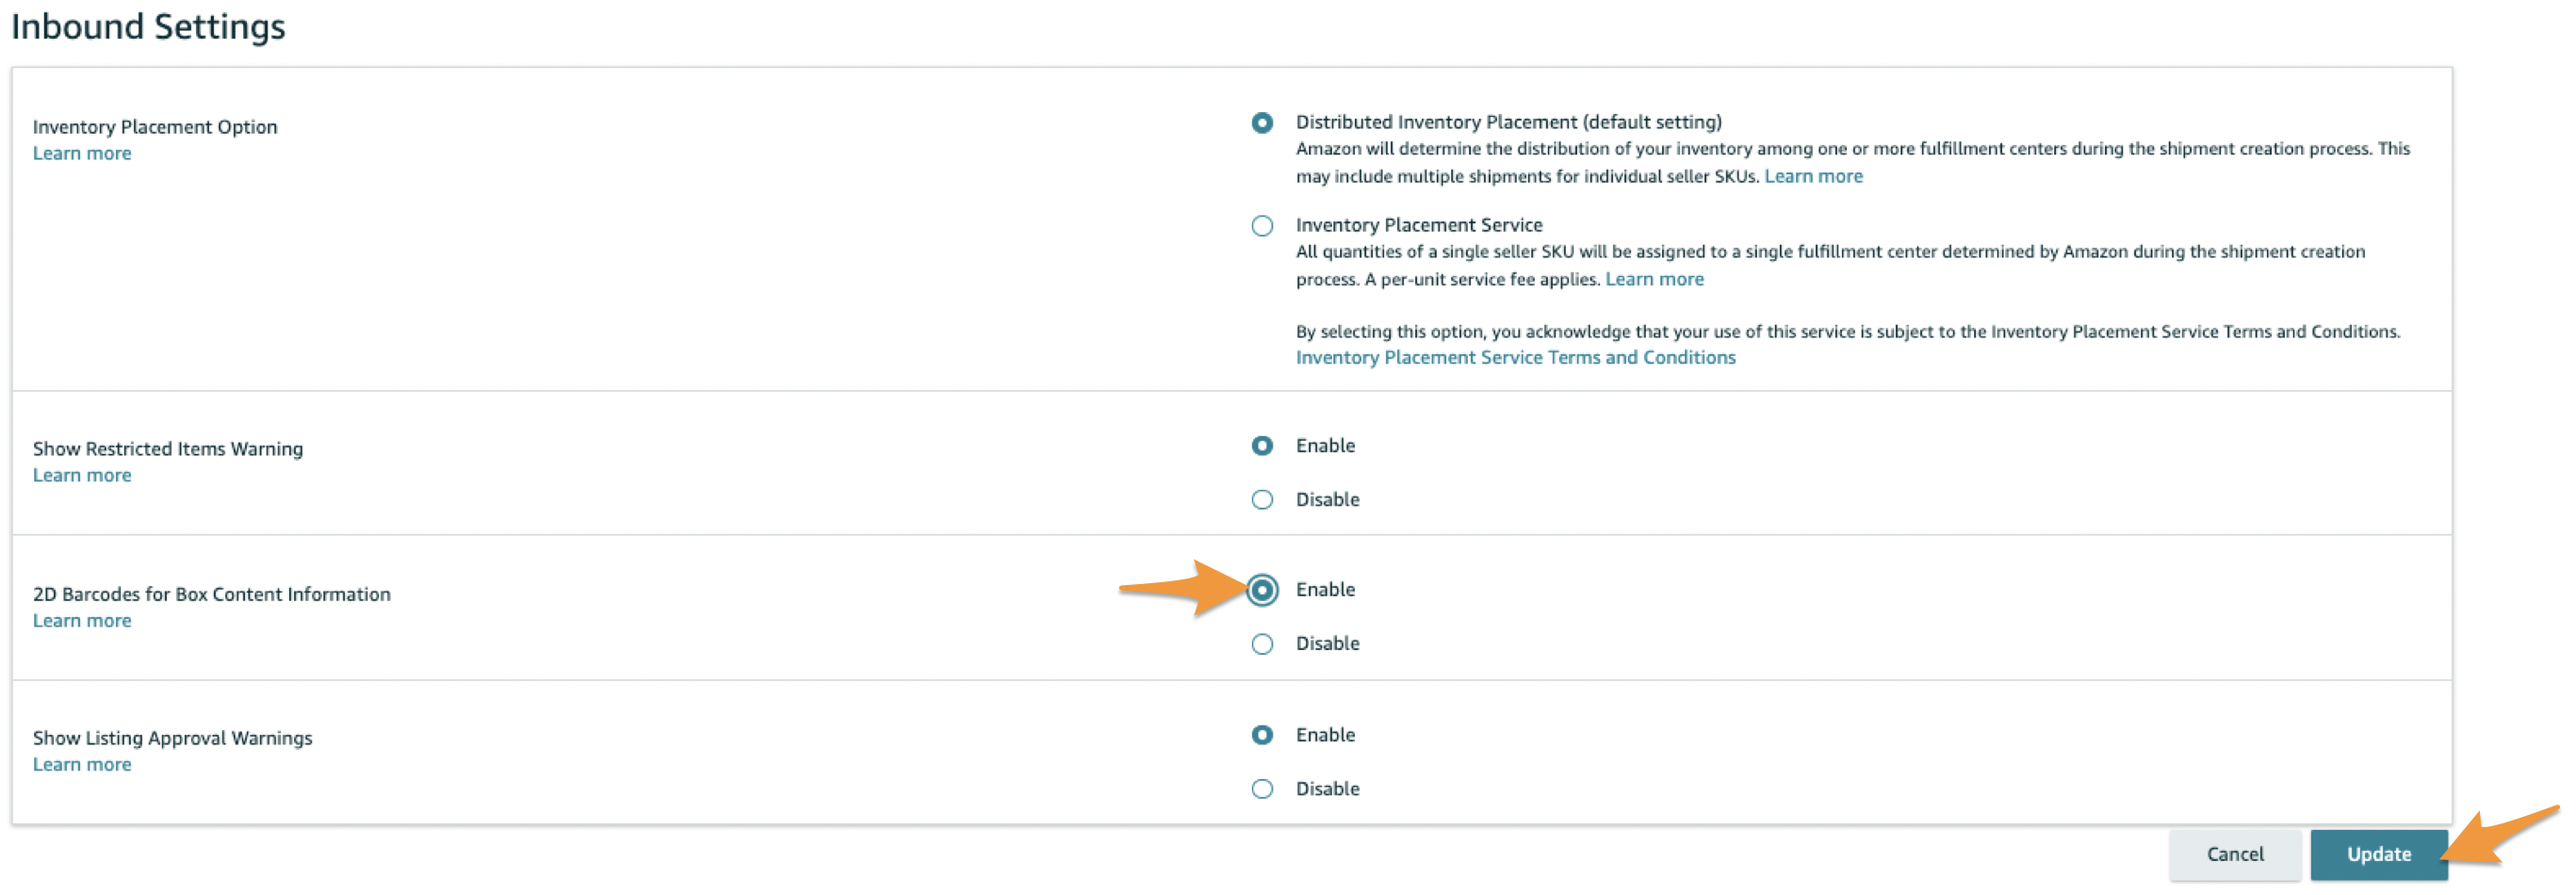
Locate the Inbound Shipping section and confirm that the option for 2D Barcodes for Box Content Information is Enabled.
If not, click the Edit button.
Select Enable in the 2D Barcodes for Box Content Information section, then click Update.
Turning on Box Content in Stratify
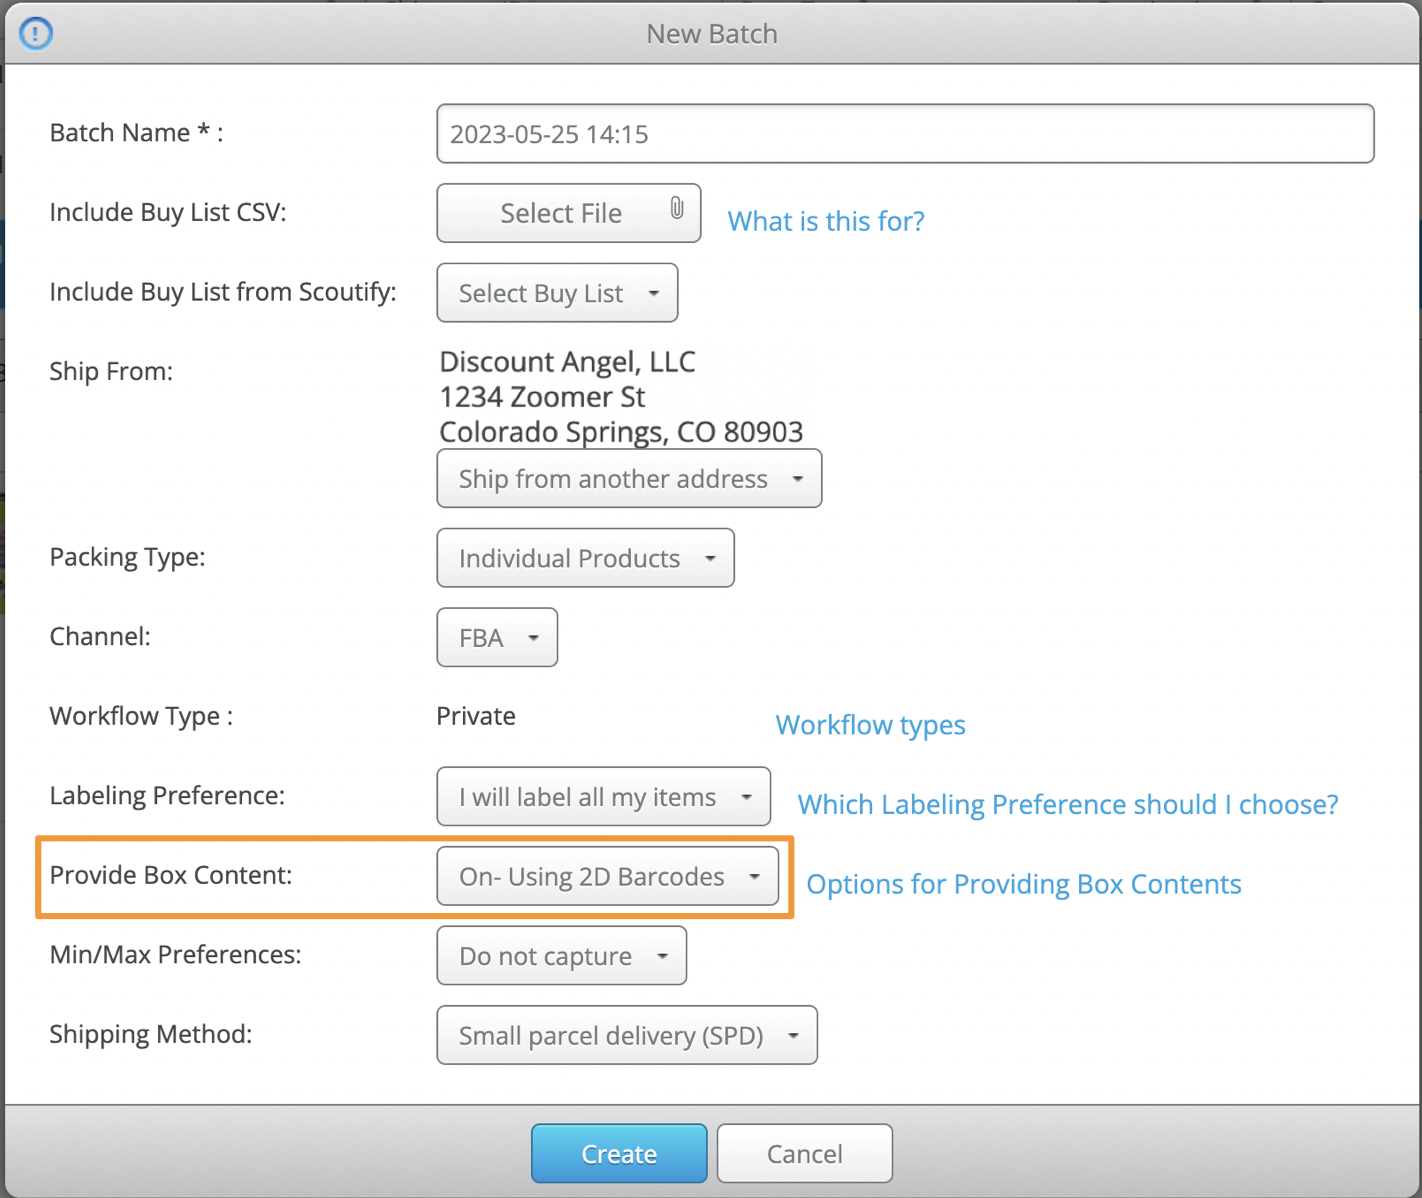
When creating a new batch on the List>List & Prep page, set the Provide Box Content option to On- Using 2D Barcodes.
With this selection, you're all set to generate 2D barcodes for your boxes during the Box Content portion of the batch workflow.
Assigning Items to Boxes
Note: Amazon allows up to 100 items per box but only 700 characters per 2D Barcode label. Due to variables that affect the number of characters needed per item, we have set the limit to a maximum of 40 ASINs per box to prevent issues.
After you have created all your shipments on the Proposed FBA Shipping page, you will be brought to the Box Content page.
To begin, click the shipment you want to begin working on towards the top of the page. If the batch had multiple shipments, they will be listed individually.
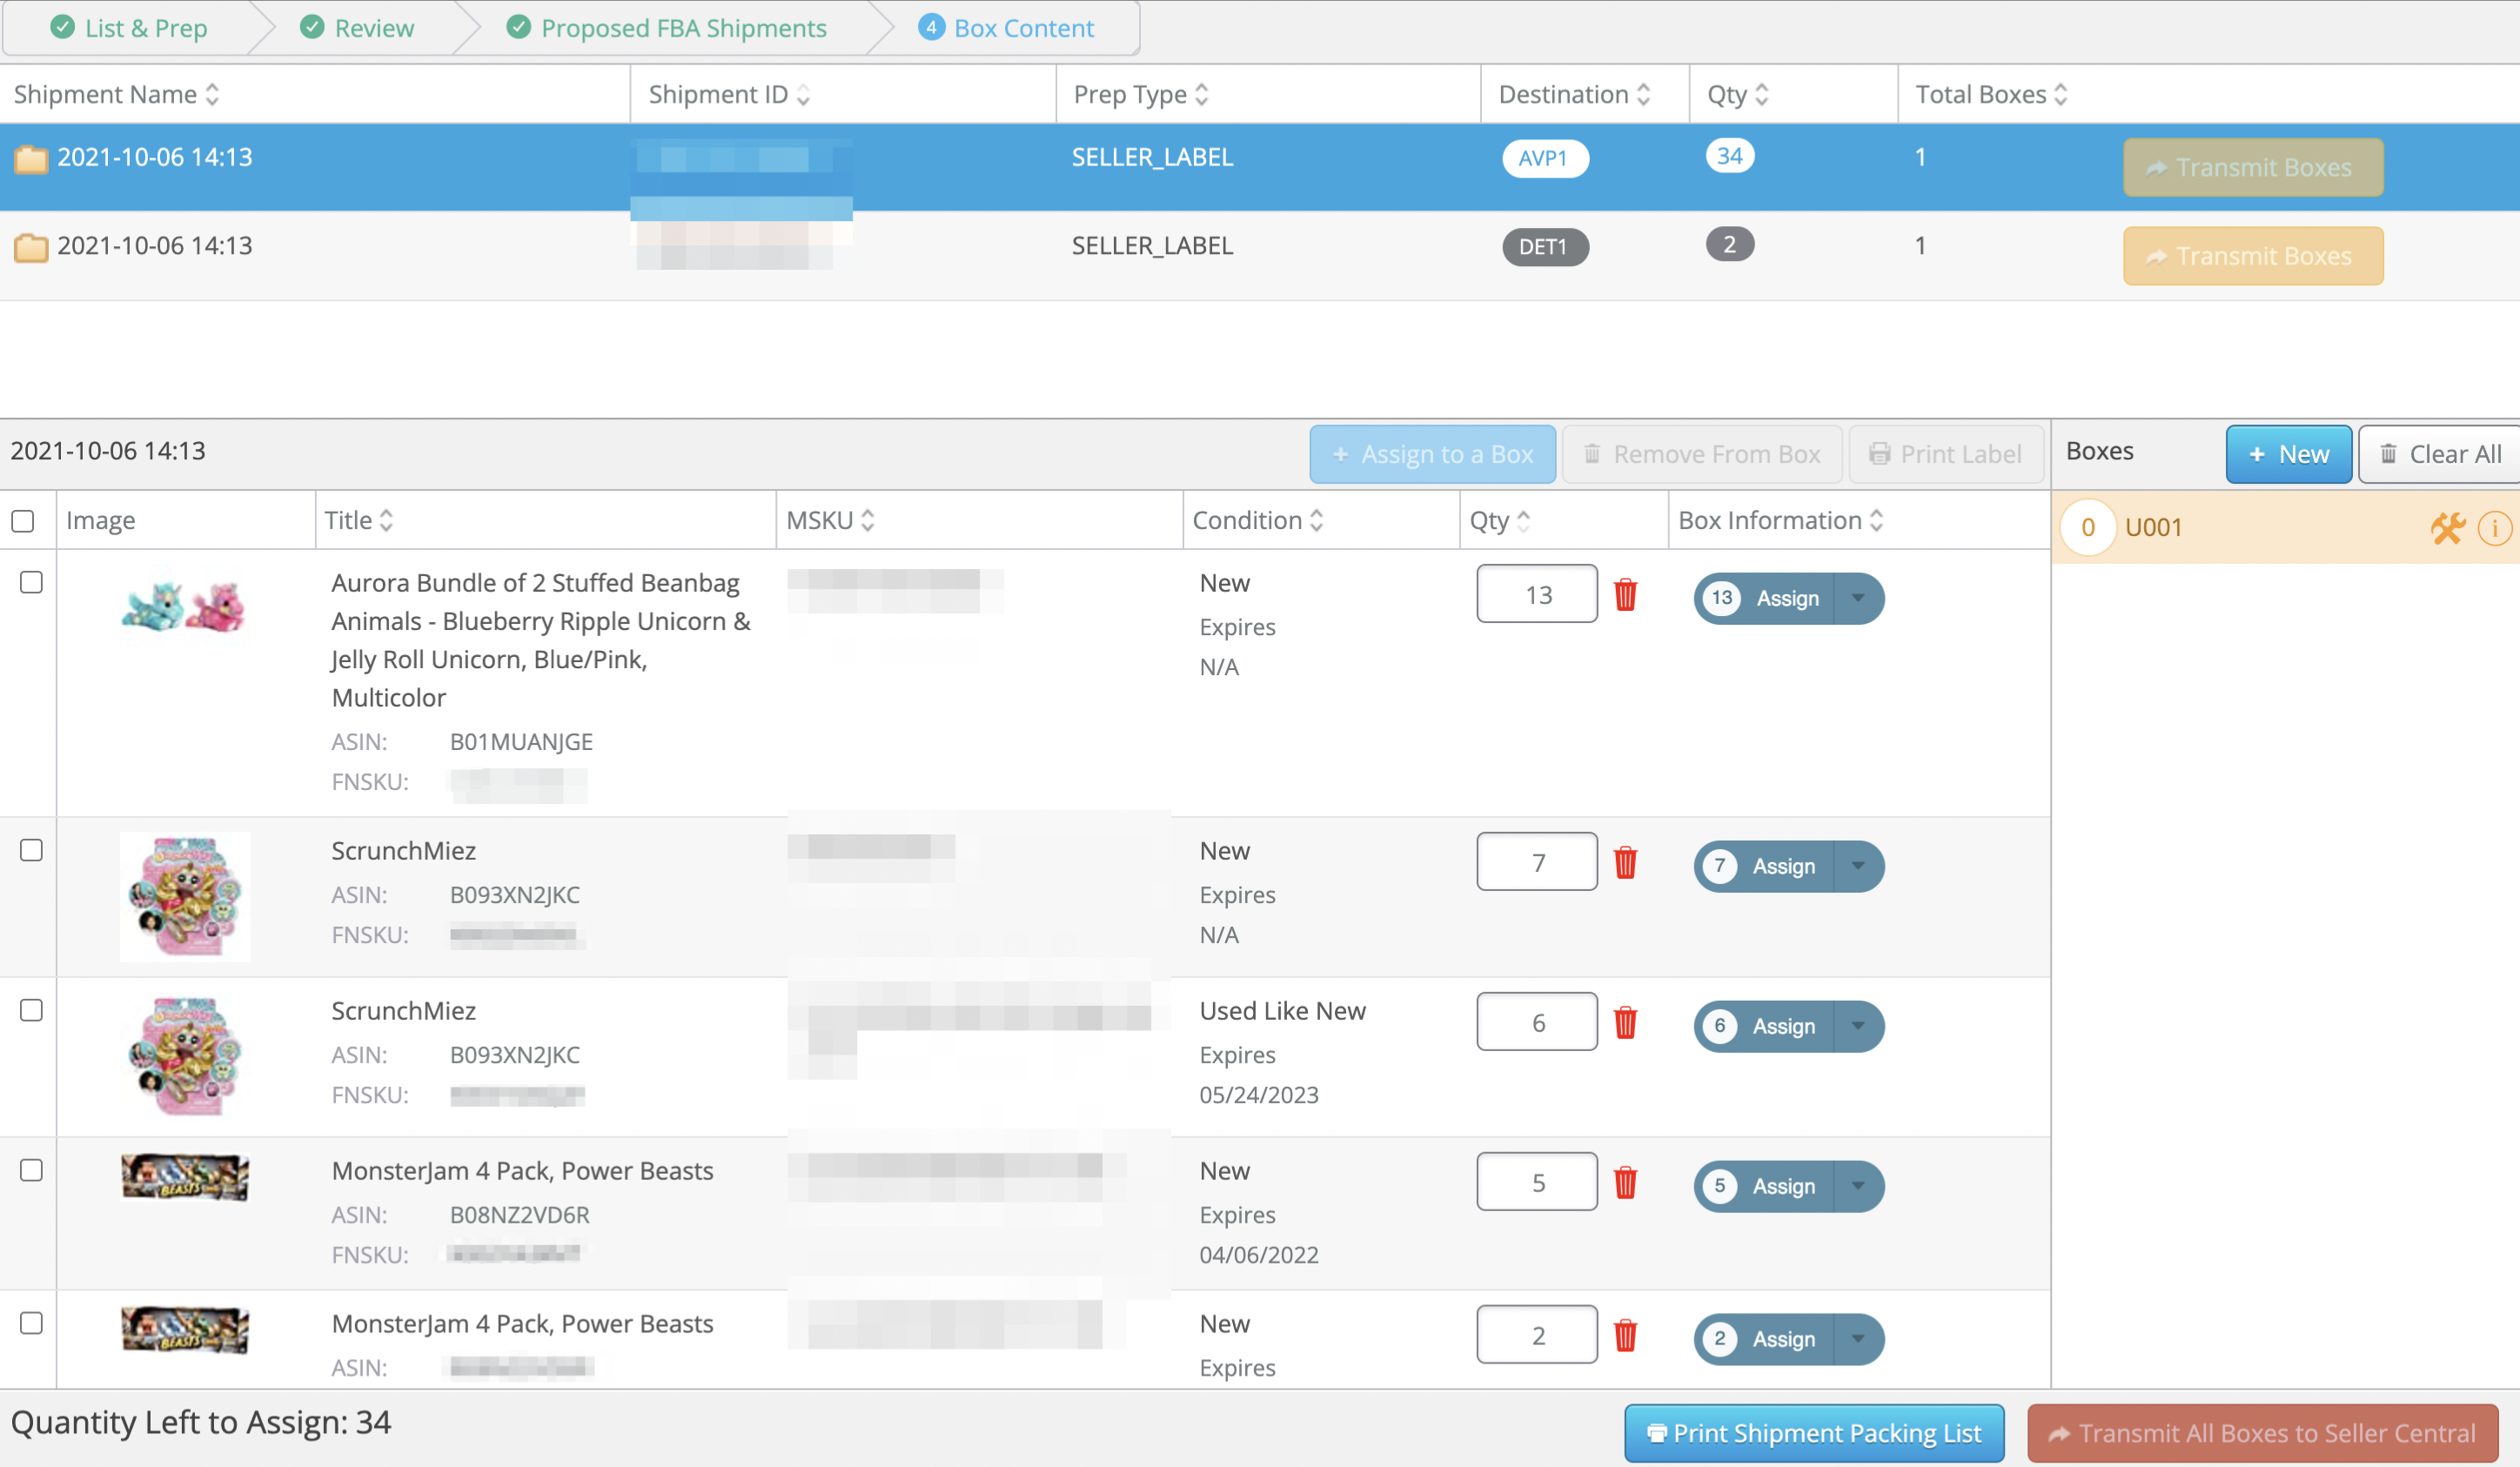
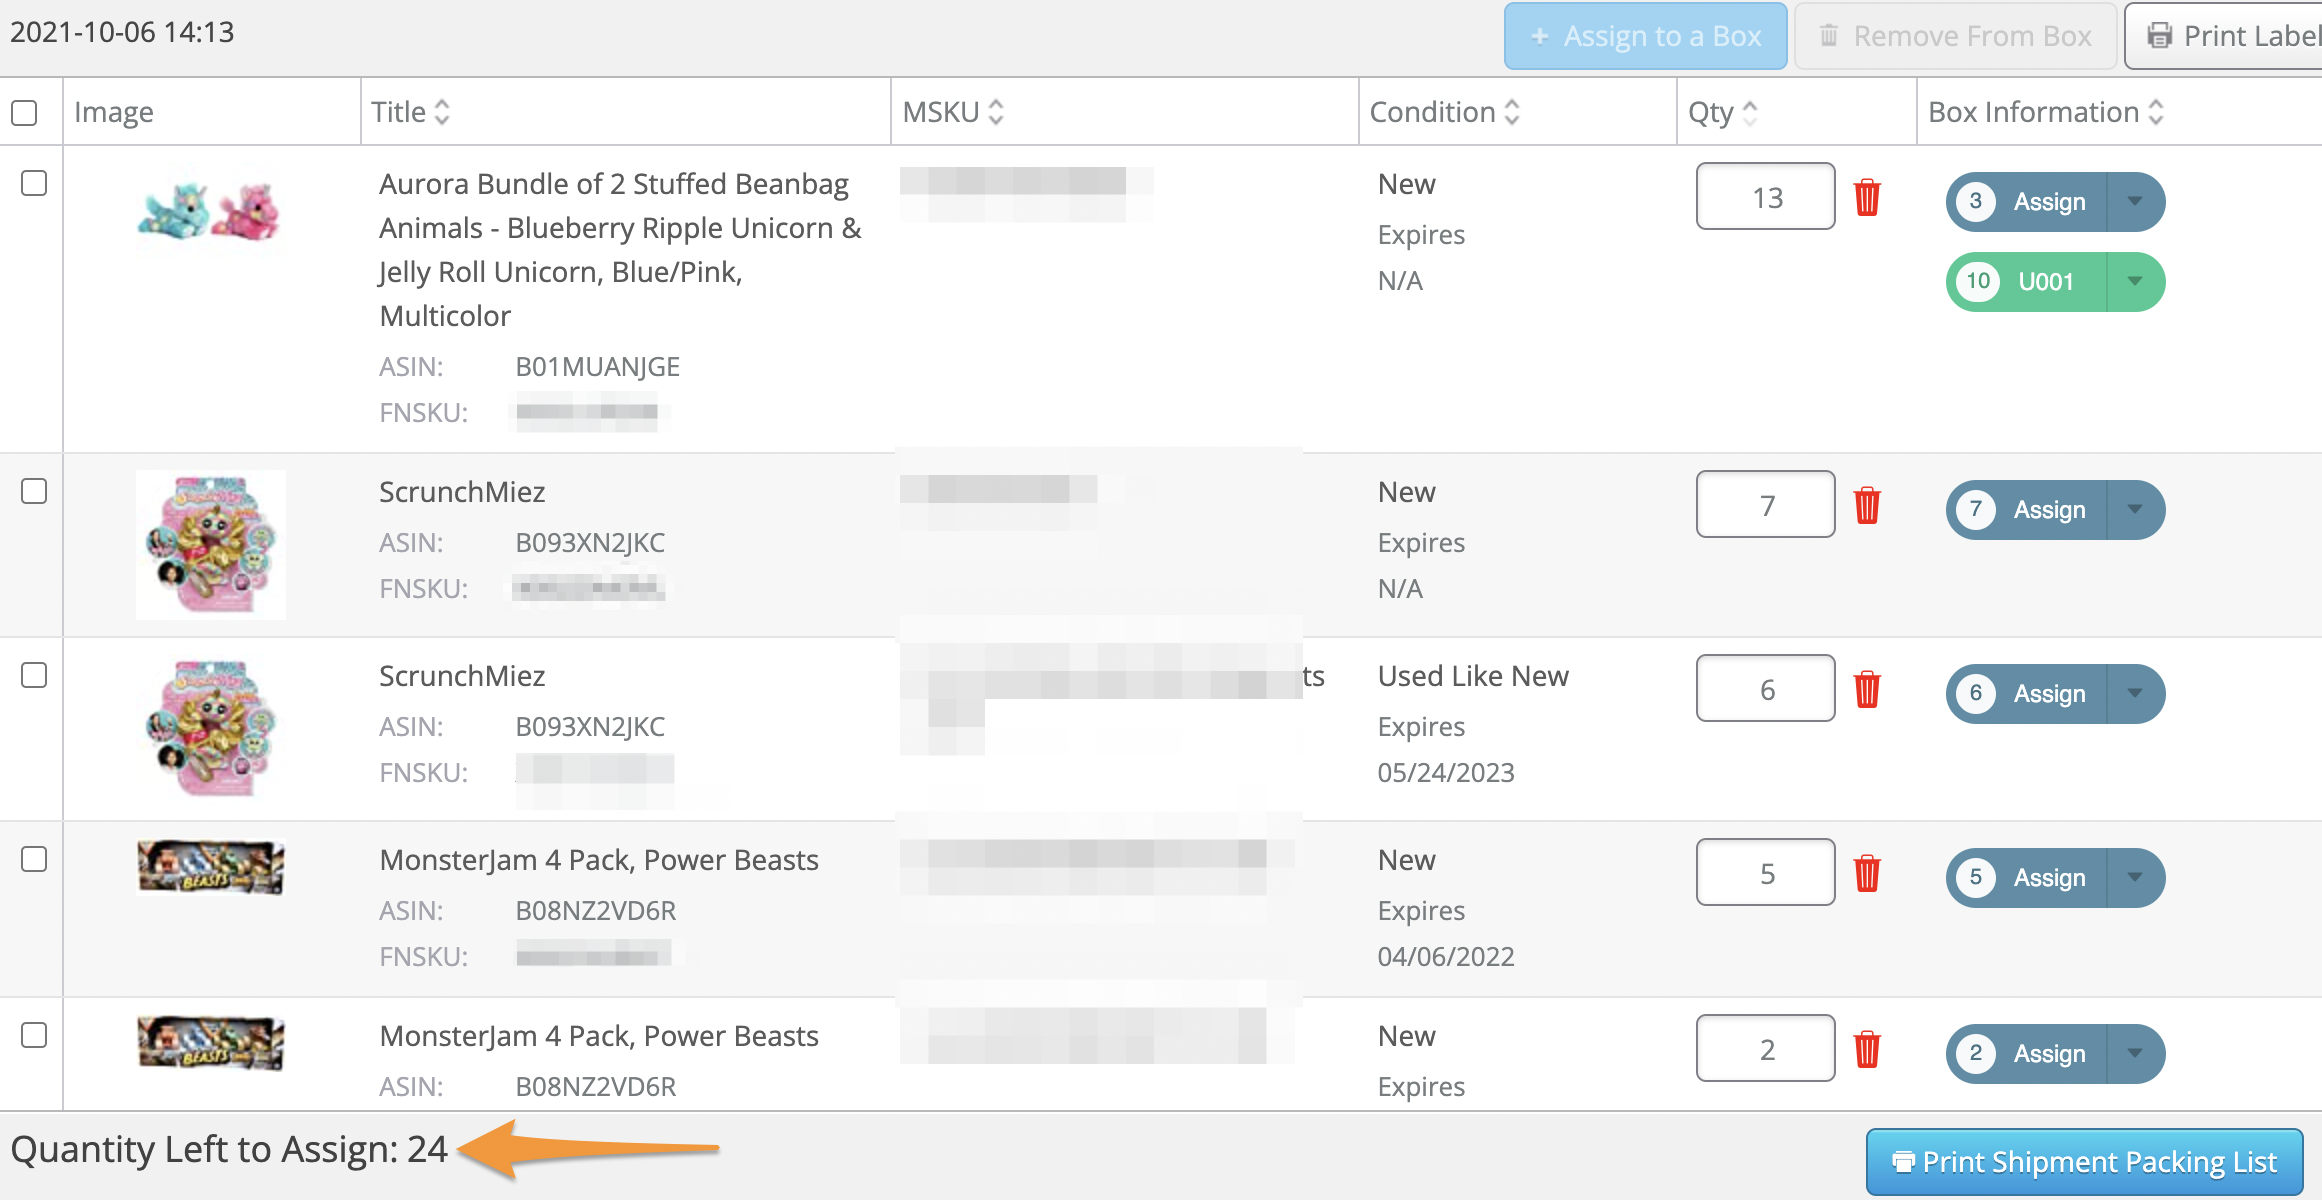
This page has the following sortable columns:
Shipments Area
• Shipment Name
• Shipment ID
• Prep Type
• Destination
• Qty
• Total Boxes
Box Contents Area
• Title
• MSKU
• Condition
• Qty
• Box Information
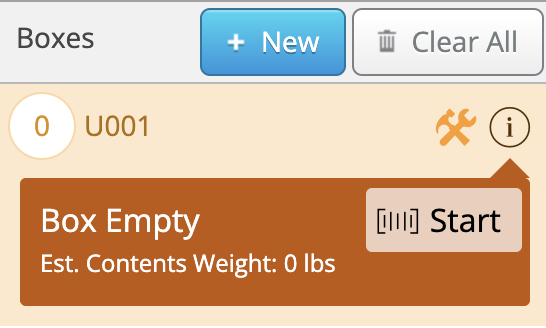
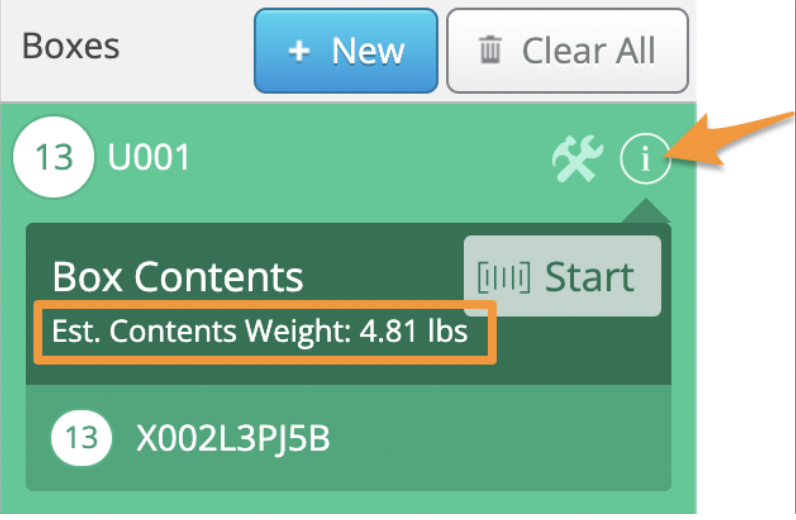
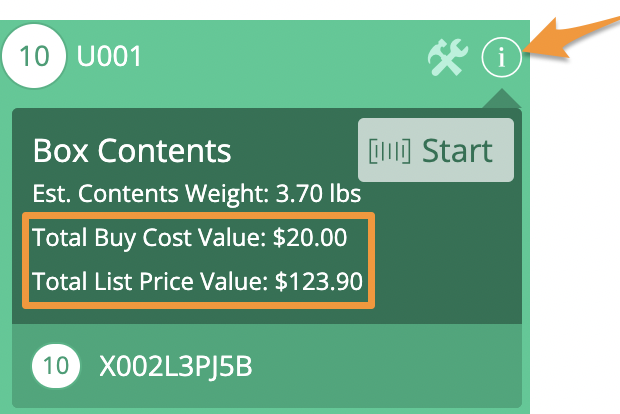
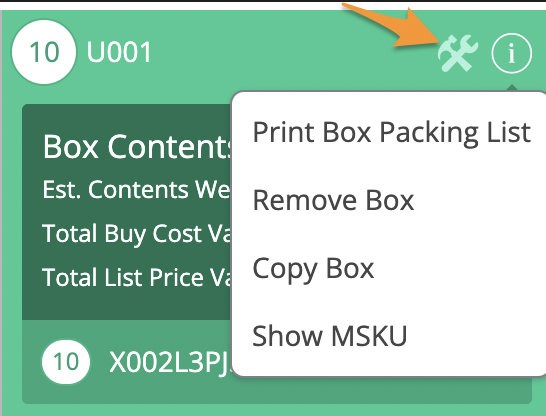
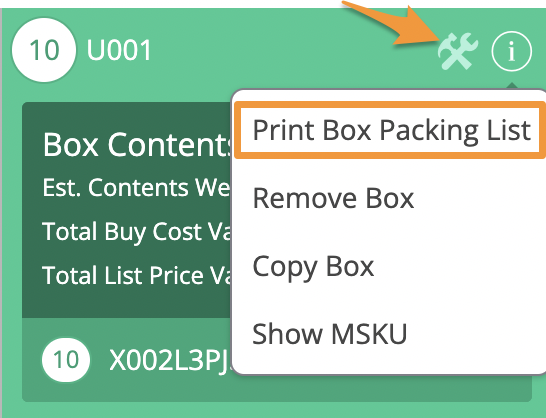
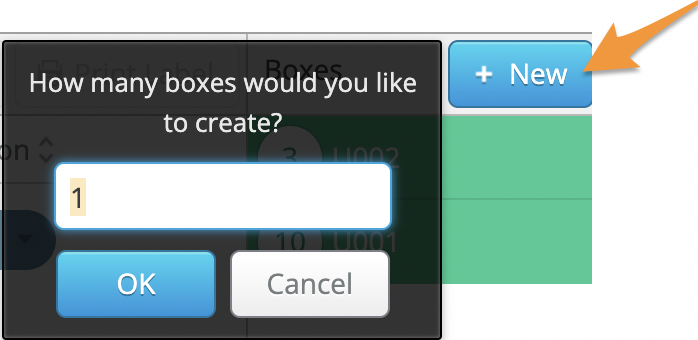
We automatically create the first box for you, as is shown in the panel to the right side of the screen. If you need additional boxes, click the + New button to create a new box.
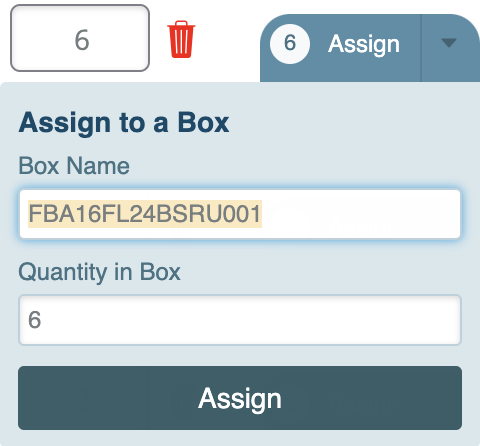
To assign an item to a box, locate it in the list and click the arrow next to Assign. Choose the box you’d like to put your items in, enter the quantity of units you’d like in the box, then click Assign.
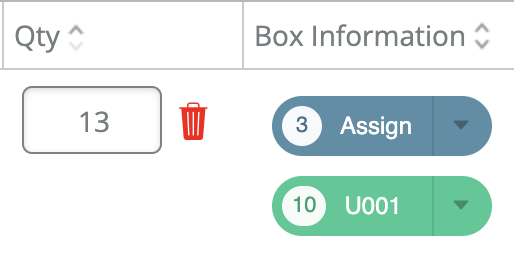
A gray box means you have not assigned any quantities of that item to a box yet.
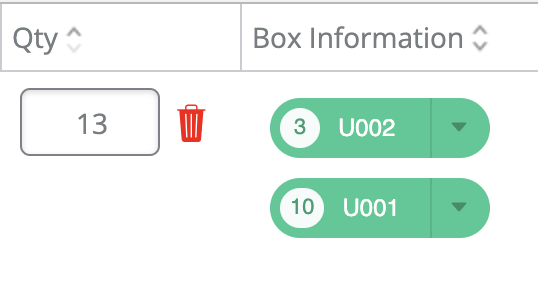
If you only assign a portion of the quantity of an item in your shipment to a box, you will notice the remaining quantity still has a gray Assign button next to it. This indicates that you have more of the item that has not yet been given a box designation.
You can see the total number of items left to assign in a shipment at the bottom left of the page.
Note: Amazon allows up to 100 items per box but only 700 characters per 2D Barcode label. Due to variables that affect the number of characters needed per item, we have set the limit to a maximum of 40 ASINs per box to prevent issues.
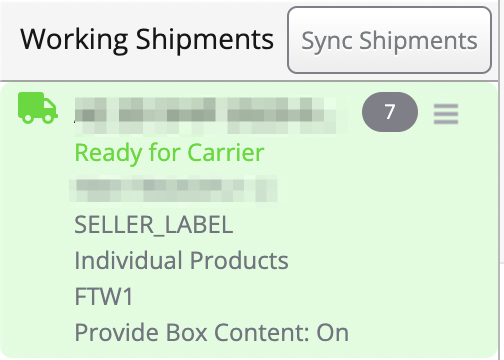
Note: Amazon marks shipments as "Shipped" with the first scan from the carrier. They will still show in the Working Shipments window in Stratify and as "Working" in Seller Central until that time.
Once the shipment is showing as "Shipped" in Seller Central, clicking the Sync Shipments button in Stratify will update the Working Shipments area and clear out the shipment.
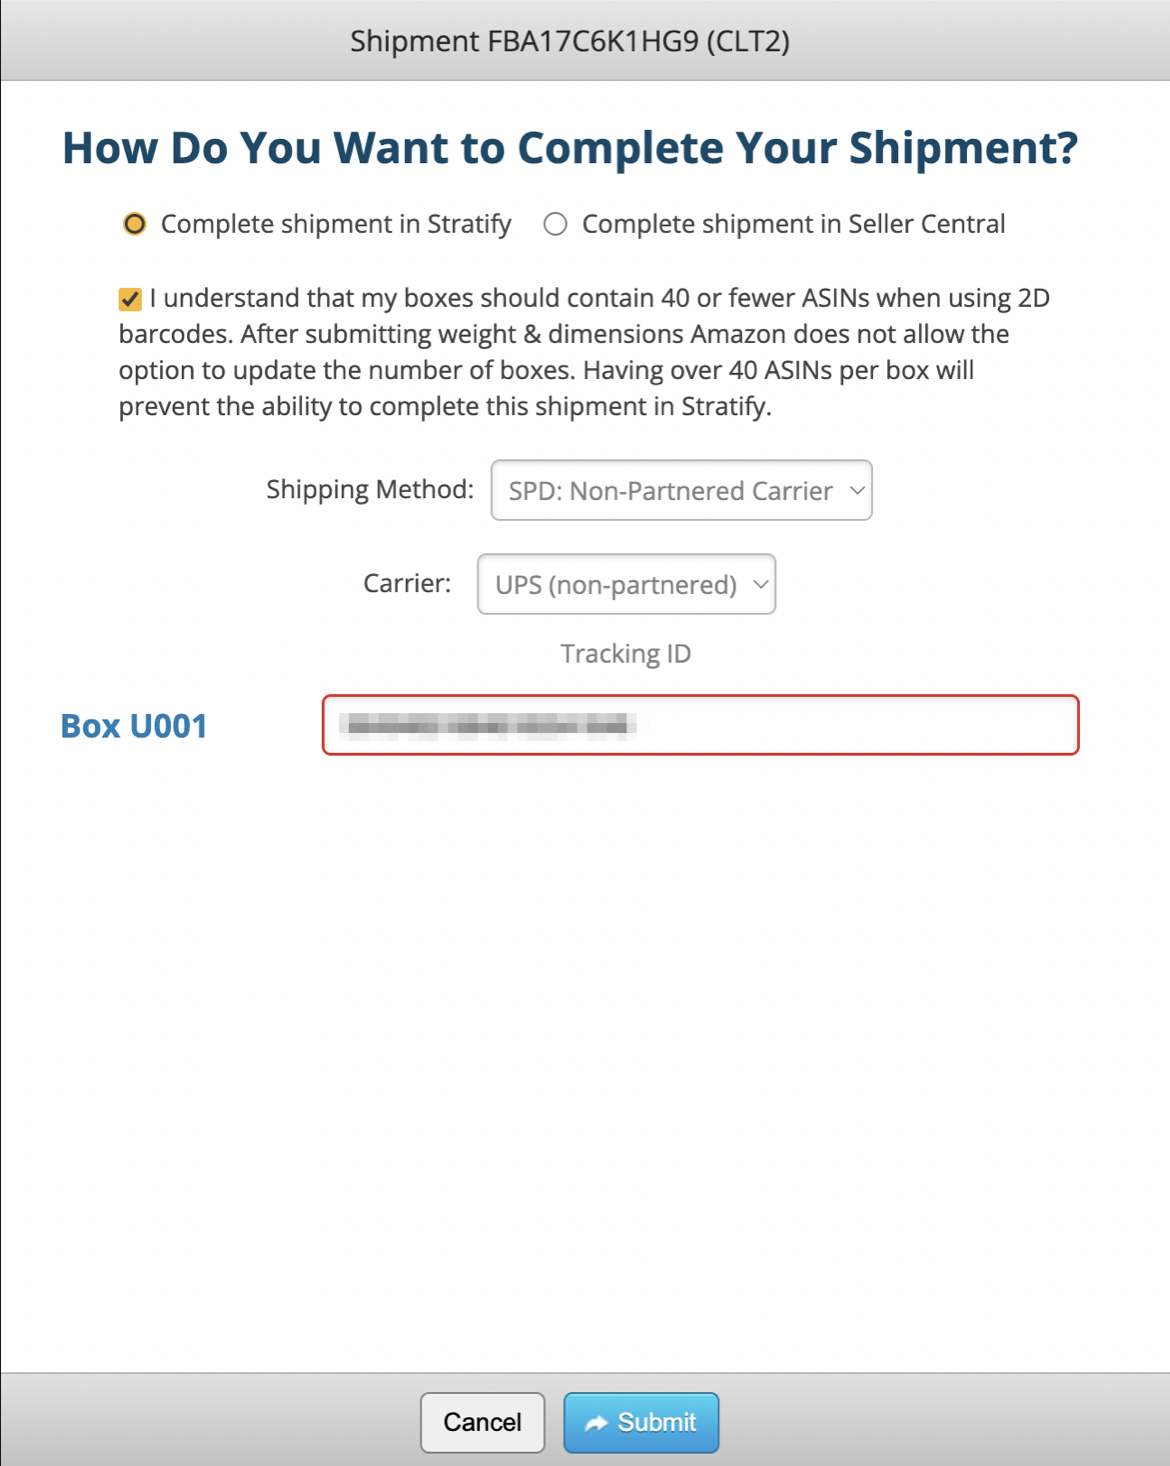
We recommend waiting until the boxes have shipped and Amazon changes the shipment status to "Shipped" before interacting with it in Seller Central. At that time, the tracking IDs entered in Stratify will be available for reference in Seller Central.


