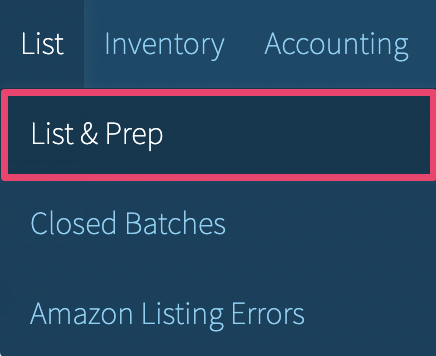
To begin a Private batch, click the List tab and select List & Prep from the menu.
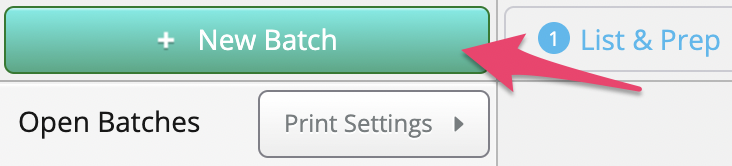
Click the green New Batch button.
After clicking the New Batch button, the screen below will appear and you will need to make some selections for your batch:
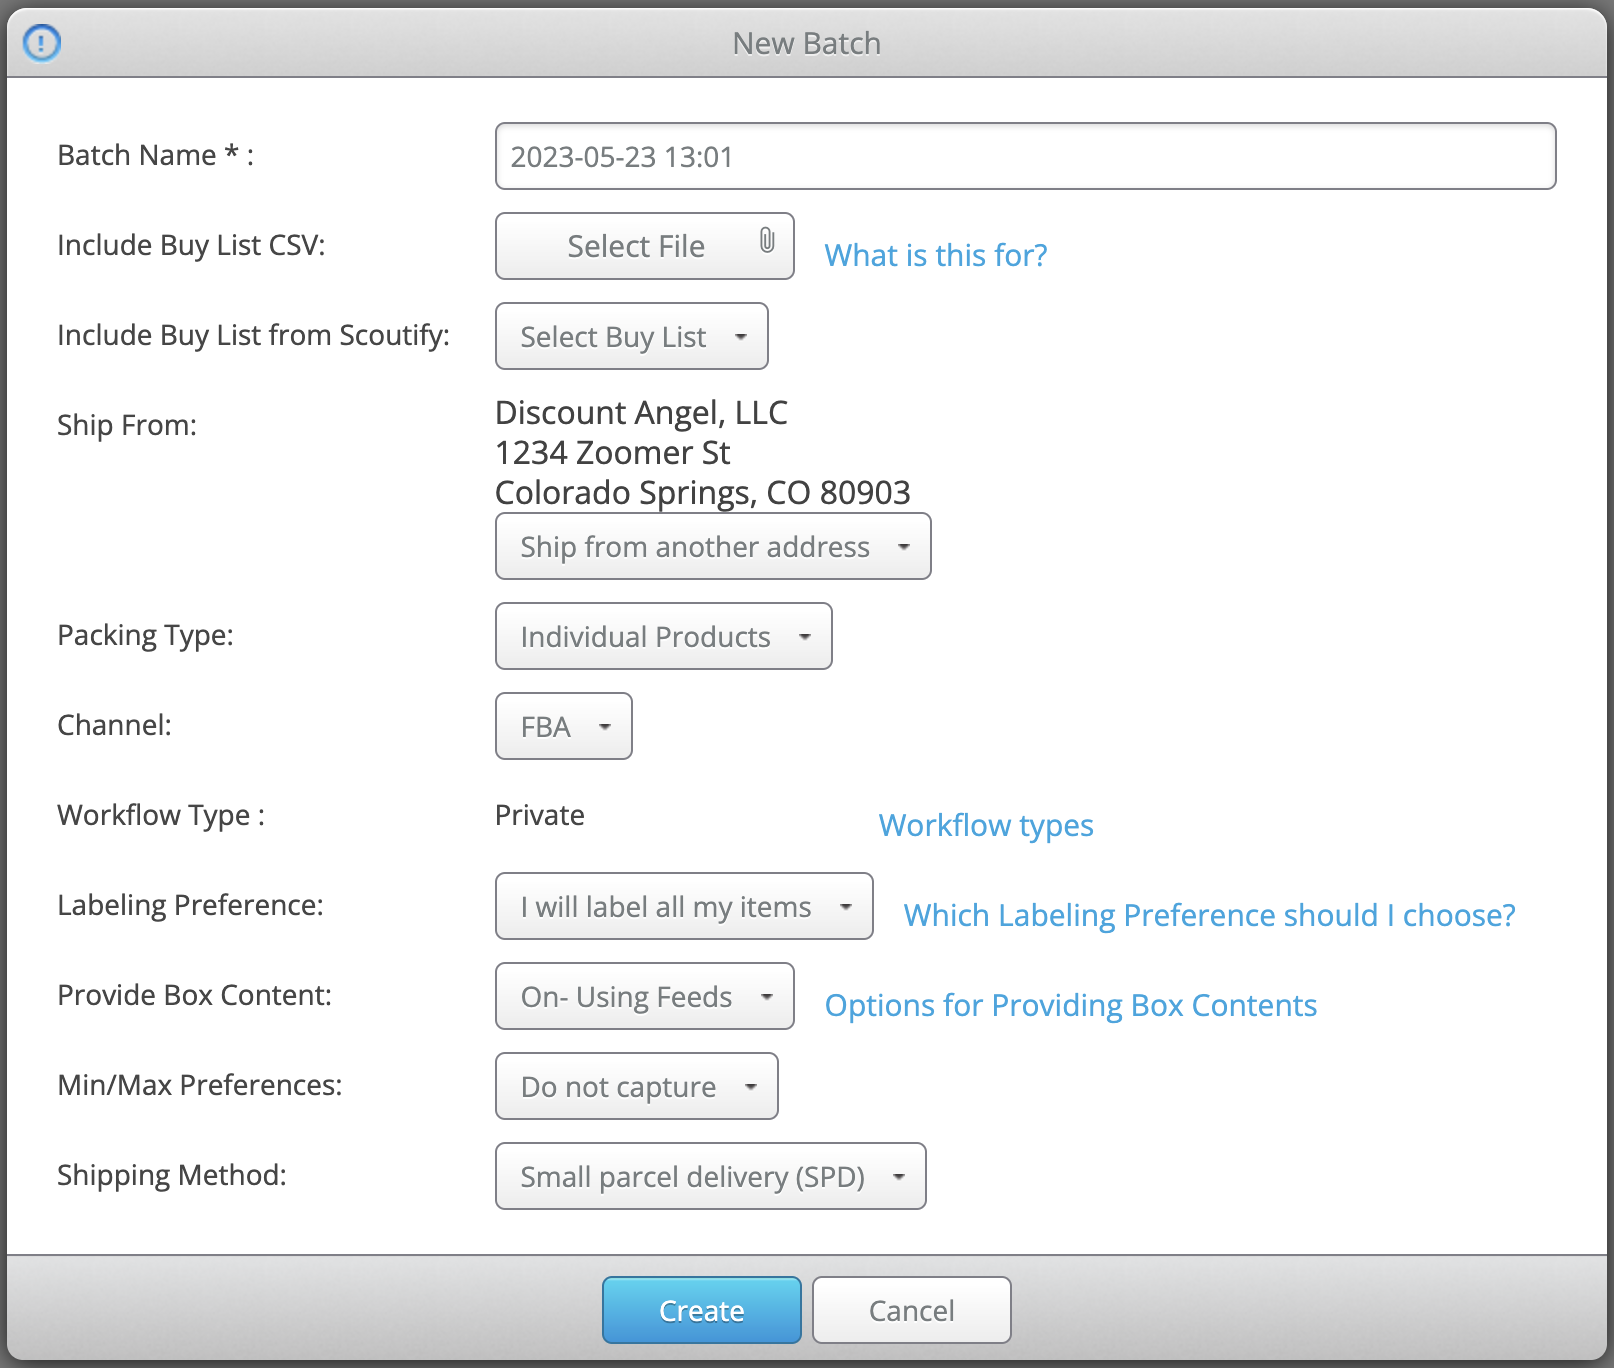
Batch Name – Default is the date and time you are opening the batch. You may choose to customize it based on supplier, contents, etc.
Include Buy List CSV - You can choose to import your batch items using a .CSV file. You can either use a Buy List created within Scoutify 2 or create your own.
Include Buy List From Scoutify - If you don't need to make changes to your own Buy List and want to import directly from Scoutify 2, click here and select any Active Buy List from the drop-down menu.
Ship From – You can choose your Ship From address here. The default address will be displayed. If you have more than one address in settings and wish to change to one of the secondary addresses, click "Ship from another address" for a menu of address choices. In the drop-down, you'll also have the option to add a new address that will save to your settings as well.
Packing Type – Indicate if your batch is individually packed items or case pack items.
Channel – Choose from FBA (Fulfillment by Amazon) or MFN (Merchant Fulfilled).
Workflow Type – The Private workflow is chosen automatically.
Labeling Preferences – Choose if you would like to label your items, or if you want Amazon to label them. (Make sure your Amazon Seller Central settings are the same!)
Note: By default, Amazon will set your account to have a commingling (also known as FBA virtual tracking or NO_LABEL) setting turned On. For information on this setting, please see Amazon's Help Page. If you’d prefer to label all of your items yourself, please check out this article to turn off this setting before you start your batch.
If your settings are NO_LABEL when you add your first item to a batch, you will be notified and prompted to change the setting if necessary.
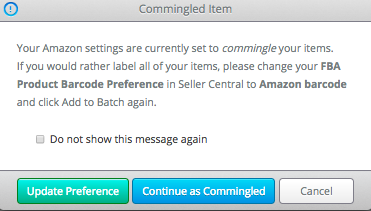
If you choose to update your preference, you will be taken to the barcode settings page in Seller Central. Once you change the setting and return to InventoryLab, a new SELLER_LABEL MSKU will be created once you choose to add it to your batch. If you continue as commingled, your item will add to your batch as NO_LABEL.
Provide Box Content – As of shipments being received on November 1, 2016, Amazon began charging per item if you do not provide Box Content information for your shipments. InventoryLab has built this feature right into your workflow to make this process as easy as possible. To take advantage of this feature, select one of the On options available. For more information, see- Box Content Settings
Min/Max Preferences - Choose whether you would like to capture min/max prices for items added to the batch. You have a choice of "Do not capture", "Send to Amazon", or "Save to InventoryLab." For more information, see- Entering Min/Max Pricing
Shipping Method - Choose whether you plan to create the shipment as a Small Parcel Delivery (SPD) or a Less than Truckload (LTL) shipment. This does not allow you to choose which one you are using - that has to be done in Seller Central - but it allows you to be able to create the correct amount of boxes needed for each option. SPD has a box limit of 200 boxes. For information on listing LTL with Stratify, please see- How to List a Pallet Shipment
Once you've made all your selections, click the blue Create button.